

In one of my wanders round the web in search of scrap projects, I found this wonderful way of making very small pieced blocks by the amazing Elizabeth Hartmann. I have used a rather slap-dash and lazy version (which I wouldn’t use for anything larger than this project) of her technique for these coasters. It’s a great way of getting quick and pretty accurate results.
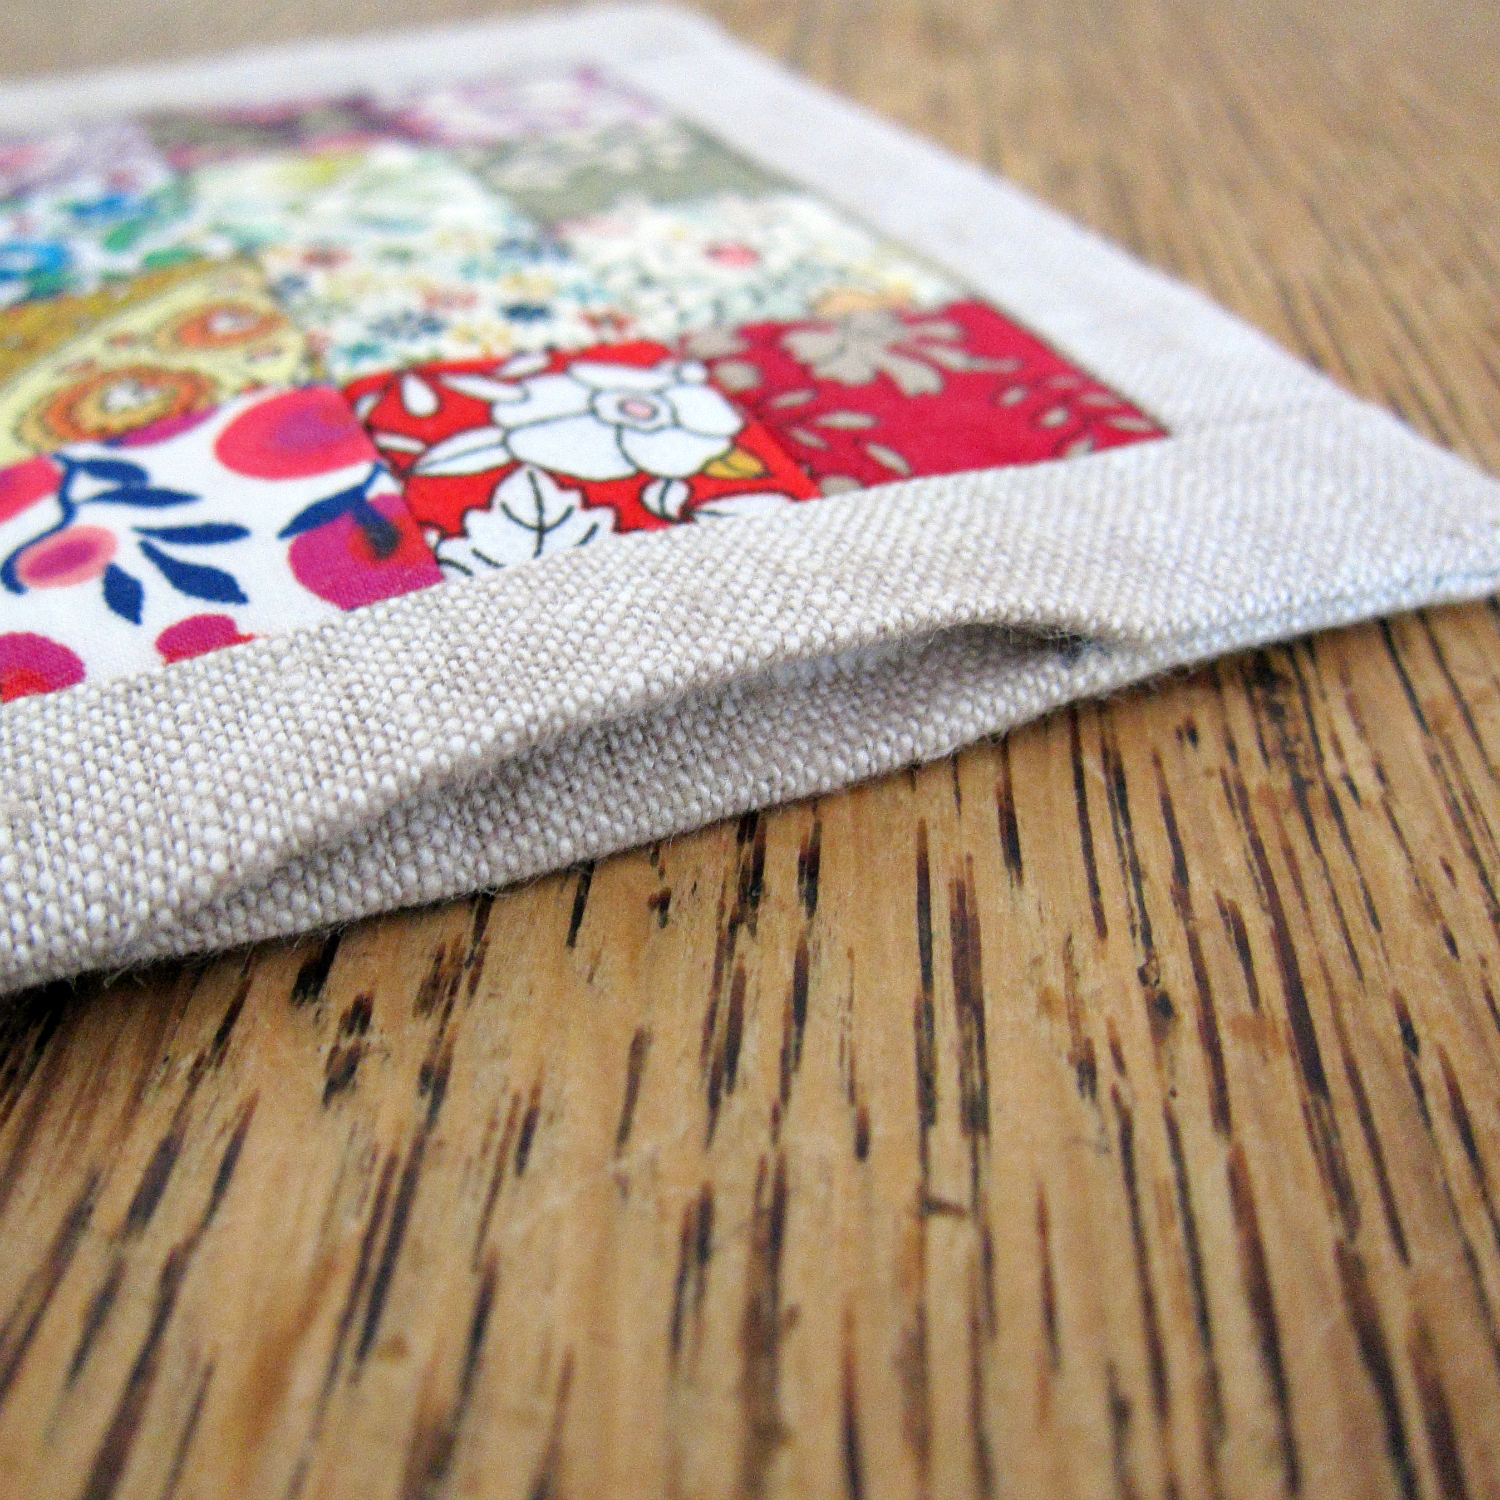
These instructions are for four matching coasters around 4″ square. I have used Liberty fabrics, but it would be a great project for using up any scraps – the patchwork squares are just 1.25″.
You will need:
16 pieces of fabric in rainbow shades. You need two of each colour, red, orange, yellow, green, blue, indigo, violet, with a couple of extras in any of the shades. Each piece needs to be 5″x1.25″ minimum.
About 18″ x 23″ (maybe less if you do a bit of juggling…!) of coordinating solid fabric for edging top and forming the base.
At least 20″ x 20″ of medium weight iron-on interfacing. I recommend Vilene G700.
At least 16″ x 16″ of fusible fleece in weight of your choice. For this project using linen, I chose low-loft, but you might want to go with medium loft if you are using less weighty fabrics.
Cutting
Cut four 1.25″ squares from each of the 16 rainbow colours you have chosen. This should give you 64 squares. Be as accurate as you can – good cutting at this stage will make the rest of the project really straightforward.

Cut four 5″x5″ squares of medium weight iron-on interfacing – again be as accurate as you can.
Cut 8 pieces of your chosen solid fabric measuring 3.5″x1″, 8 pieces measuring 4.5″ x 1″, and 4 pieces measuring 4.5″x4.5″ from the coordinating solid.
Cut 4 pieces of fusible fleece measuring 4″x4″.
Place the iron-on interfacing, adhesive (shiny!) side up, on your ironing surface. Take the first red square and position it, very accurately aligning the edges, in one corner, and carefully iron into place. You can use a bit of baking parchment between the iron and the fabric, if you are worried about getting your iron sticky. Don’t worry, this gets a bit easier as you have more fabric stuck on. If you have one of those mini-irons then this will be a cinch!

Then place the next red square alongside, right next to the first, and iron again.


Then continue with each of the squares in rainbow order.

The key is getting the squares aligned as accurately as possible. Repeat all this sticking for the other coasters.

Take one of the coasters and fold (right sides together) along the line between the first two rows of squares. Sew along this fold , 0.25″ from the folded edge, like this:

Use a sharp pair of scissors to cut the folded interfacing open, then press the seam open.

Next repeat the folding, cutting and sewing process for the rows working across the fabric. Press the seams open really thoroughly. This is how it ends up looking on the front, after you’ve done the rows in one direction:

Now you need to do the same thing with the rows in the other direction. Here’s the first fold, ready to be sewn along that blue dotted line. The trick here is to make sure that you line up the seams on either side of the fold:


Repeat this process of folding and stitching, cutting and pressing for the other three coaster panels. This is how a finished panel looks:

Now take one of 3.5″x1″ pieces of solid fabric and place right sides together with the edge of one of the patchwork panels. Stitch into place, using a 0.25″ seam:

Repeat with one of the other 3.5″x1″ pieces on the opposite side:

Unfold and press flat, like this – don’t bother to press open the seam this time, just fold it over to solid fabric side:

Take one of the 4.5″x1″ pieces and place right sides together with one of the remaining free sides of the patchwork panel, and stitch in the same way as before.

Repeat with the remaining solid piece on the other side. Unfold these and press flat, again just pressing the seam over to the solid side, rather than opening it out.

Repeat this process for the other coasters.
Fuse a piece of fusible fleece to one of the 4.5″x4.5″ solid pieces, positioning it centrally (not like this one!). Repeat for the other three coasters.

Now place the front and back of the coasters right sides together, pin round and the stitch round the edge using a 0.25″ seam (blue line in picture below). Leave a 2″ turning gap on one of the seams, remembering to do some reverse stitching on either side of the gap so it doesn’t all unravel when you turn it through.
I find it easiest to work on the patchwork side, especially as you can use previous stitching lines as a guide for your stitching. Have a look at the photo – see the pink line and the blue line? There needs to be a scant 0.5″ between them. If you really want to make sure that all your coasters are the a very similar size then I recommend marking your stitch lines before you sew.

Repeat for the other coasters. Snip all the corners to reduce the bulkiness, tapering off the corners like this:

Turn the coasters right side out and push out the corners with something pointy but not too sharp. Iron very thoroughly, folding in the edges of the turning gap as shown.
The next stage is up to you. You can stitch the turning hole, using ladder stitch, but this is not essential if you use some washable glue to hold it in place instead. Whichever method you choose, you need to finally finish the edge and close up the turning gap by top stitching around it. I also stitch another line as indicated – you don’t have to – I just think it looks rather nice.

Leave long starting and finishing threads when you top-stitch, and once you have finished your top stitching, pull the threads through to the reverse and tie them together.
Thread the ends onto a needle and take the needle through the back of the coaster, right next to the knot (where that giant blue arrow is!), bring the needle out again a bit further along the seam line, as shown, and pop the knot inside the coaster.

Cut off the thread ends, and you are all done.

Time for drinkies!


0 comments:
Post a Comment