1. You need:
a) fabric, preferably one that will not fray — 2 pieces of 16 x 18 cm
b) cord, 50 cm — 2 pieces
c) ends or beads — 2 pieces, or you can just tie the knots gently
d) beautiful wide braid,18 cm, but you can do without it
And of course scissors, thread, sewing machine and your desire!
2. Leave 6 cm from the top for folds. Do not cut!
3. The top croners are folded and stitched up to the "not" mark.
4. Sew the beautiful braid below.
5. Each cord is folded in half, passed through an end or a bead and tied into a knot. Put the both cords on
each other, with the ends in different directions (as in photo 2),
apply to fabric, fold and sew. Remember about double holdfasts for the
edges!
The main thing is not to sew the cord to the fabric, otherwise it will not be a pouch.
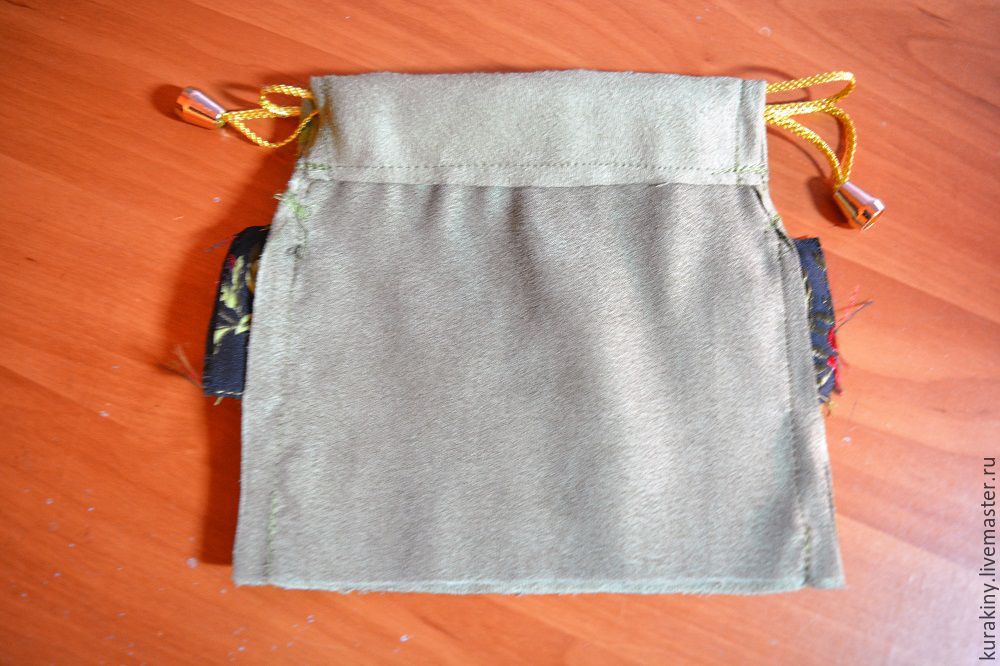
6. The second part is applied
face to face: put the corners together, also sew the length and edge so that both ends were outside
7. That's what you should get.
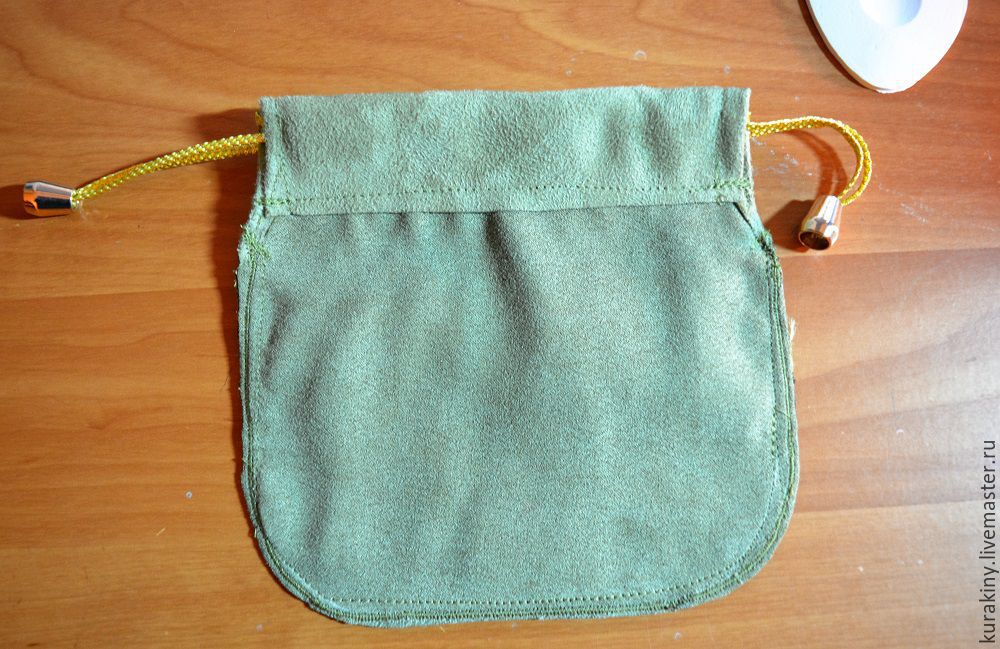
8. Put the sides together, the edges of the top should be one right under another, sew up.
9. Round the edges, a circle or a straight bevel can be made, or leave
as it is — depending on the shape of the packed masterpiece.
10. Stitch the edges, process them with an overlock or zig-zag and cut off all excess.
11.Turn outside in, iron and get the pouch for 5 minutes. If you sew a
lot at the same time, then split the whole process into stages and sew
all together step by step, so your time is saved. Store them in a
package, take one by one if necessary, one could hang tags on the cord.
Sizes, colours may be completely different. But do not overload with
decorative elements. I wish you good luck!
Author:
Author's glass Kurakinykh (kurakiny)


0 comments:
Post a Comment