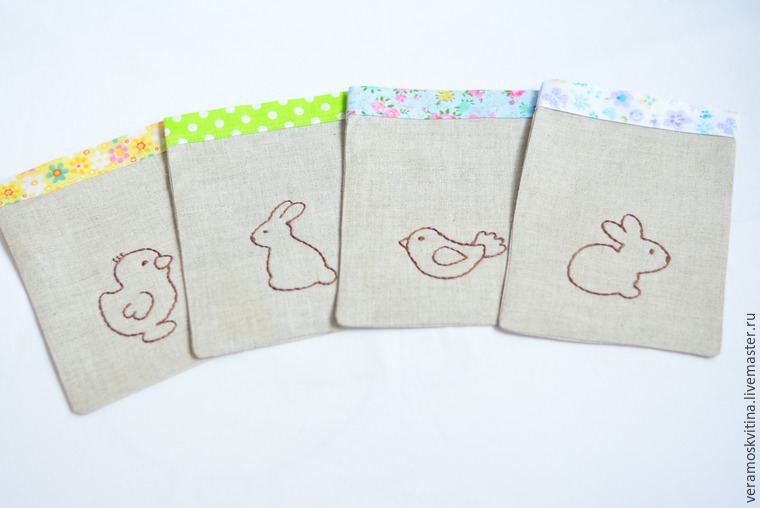
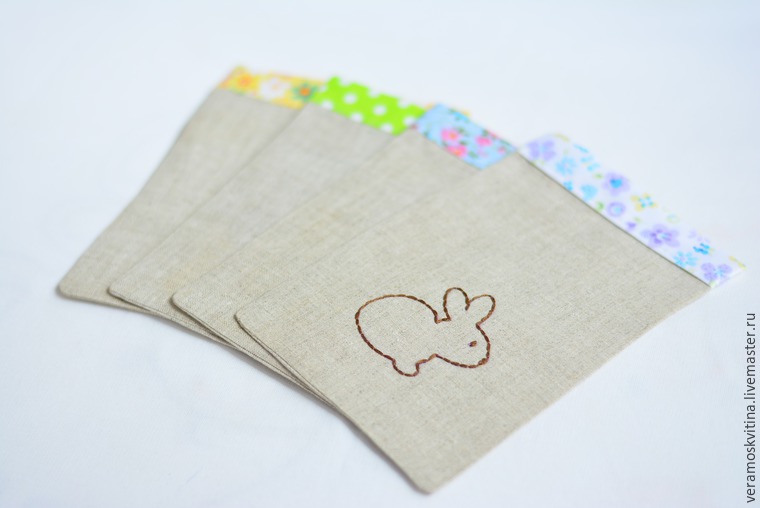
How to Sew Sweet Easter Gift Bags
Any gift needs a packaging. I think that any of your loved ones will be pleased to receive your gift in a lovely bag.
You need:
1. Fabric (cotton, linen is at your discretion) — I have a flax bag and cotton for the edging top.
2. Floss for embroidery.
3. Hoop.
4. Needle, sewing thread.
5. Sewing machine.
6. Tailor's or washable marker.
7. Cords to tie the bag.
8. Any Easter patterns.
Wash, dry and iron all before you start.
Determine the required size of the bag depending on what you want to put in it. The template of the bag:
Cut out fabric rectangles of the desired size (I will show at the example of 4 bags).
Draw a small picture that will decorate your bag.
Cut it out along the contour. Define the part on the bag for the embroidery; draw the outline with the marker .
Stretch the fabric on the hoop for further embroidery. Embroider the contour with a backstitsch.
Get the finished embroidered pattern.
After the embroidery iron the fabric from the hoop traces.
Start making the edge of the bag. Cut a strip. Its length will match
the length of the top of the bag in expanded form. Width is what you
like. You need to consider that the edge of the strip will be ironed for
about 0.5-0.6 cm, then it will be folded in half. I had it of 26 x 6
cm. The width of the ready strip was 2.2 cm
Choose fabric.
Cut out the strip.
Iron the edges, fold in half and iron again.
Get them ready :)
Pin the edging to the bag, putting the bag inside.
Stitch. That's what comes out.
Fold the bag in half with the right sides inside. Pins or sew. Stitch
the edges along the planned line. Process the cuts on overlock or with
an overlock stitch on your sewing machine.
When the bag is stitched, turn it outside in, straighten the corners, iron. It remains to fill it up and tie with a cord :)
The bags are ready!
Author: Vera Moskvitina


0 comments:
Post a Comment