
Make a laptop case that can be adjusted in size to fit your own personal laptop or any of your electronic devices. This laptop case is padded to protect your laptop from bumps and knocks, and features a zipper to keep your laptop safe, and two handles for easy carrying.

This tutorial is going to be posted in THREE (3) parts. The first part (this one) is going to walk you through how to prepare all of your quilted pieces. The second part (HERE) will show you how to construct the case. The third (and completely optional part) is posted HERE and shows you how to make the handles.
WHAT YOU NEED:
> *Approximately 3/4 yard exterior fabric
> *Approximately 3/4 yard interior fabric
> *Approximately 3/4 yard fusible fleece
> A 22 - 24" zipper (22 works well for smaller laptops, 24" for larger)
NOTE: The zipper will be used in PART 2 of this tutorial.
> A 2" piece of Velcro (male and female) for the pocket.
*Yardage may vary depending on the size of your laptop. 3/4 yard should be sufficient for most laptops, however if you have a large laptop, directional fabric or want to play it safe, you may want a full yard of each. I'm sure you can find something to do with the leftover!
STEP 1: Measure Your Laptop
Using a tape measure and measure all the way around the width and length of your laptop.

You can round up to the nearest 1/4"

My laptop measured 26" x 18.5".
DIVIDE each measurement in half (this gave me 13" x 9.25")
ADD 1.5" to both measurements to account for seam allowance and the zipper. (This changed my measurements to 14.5 x 10.75)
NOTE: This will be a snug fit, if you want a bit more room, you can increase this to 2" or 2.5", but I wouldn't go much more than that...you don't want your laptop sliding around too much.
STEP 2: Cut the fabric
You will need 2 pieces of each of the following cut the size of your final measurement from above.
Exterior/Main
Interior/Lining
Fusible Fleece

You will also need one piece of exterior, lining and fusible fleece cut 3" less width-wise than your main pieces for the pocket (mine was 14.5 x 7.75)

And you also need to cut one strip of fabric the width of your case (14.5") by 2.5" for the bias tape of the pocket.

STEP 3: Fuse / Iron
Fuse one piece of fusible fleece to the wrong side of one of the main fabric pieces. Turn over and iron a lining piece to the other side (this will not actually fuse, but the steam will keep it in place long enough for the next step!) Repeat for the other main/lining piece and the pocket piece.

You now have three pieces of fabric/fleece sandwiches. Two main pieces and the pocket piece.
STEP 4: Quilt
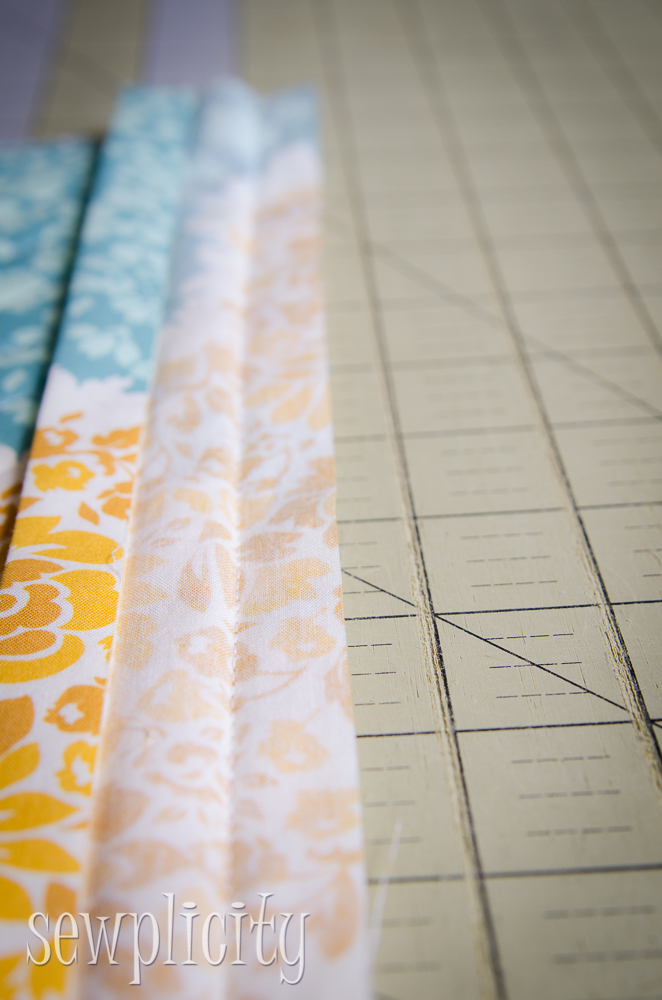
It's now time to quilt! You can do this anyway you like. You can make straight lines every inch, vertical or horizontal or both. You can free hand quilt if you like! I decided to go with a diagonal quilt line. I made my initial quilting line by placing my fabric sandwich on my cutting mat which shows me the 45' angle. I used a pencil to draw this line.

Once this line was marked and sewn, I used my Acufeed* foot as a guide for the rest.
*An Acufeed foot is basically Janome's version of a walking foot. Although not necessary, I would highly recommend using a walking foot for this part so the layers of fabric do not shift on you!

You can see in the picture below how I have my needle positioned in the left position and I'm lining the sewn line up with the edge of my foot. This created about a 3/4" space between each of my lines and kept them quite straight. No need to mark and measure each of these quilt lines....too time consuming!

Grab a drink, turn on your radio and spend some time quilting all three pieces. Take your time and enjoy the monotony.

Here is a view of the back side...

Once all three pieces are quilted, if you have a serger, go ahead and serge the raw edges. If you don't, a nice tight zig zag stitch will work perfectly. This is IMPORTANT! Please don't skip this, as these edges will be visible on the interior of the case. This step not only cleans them up, but prevents fraying too!

STEP 5: Bind the Pocket
Put the quilted main pieces aside. It's time to bind the top of the exterior pocket to hide that raw edge. Grab your 2 1/2" strip of fabric and iron it into a piece of bias tape by folding and ironing it in half (length wise), then opening it up and folding and ironing the the long edges in towards the center crease.

Once creased, open up one side and place it along the top edge of the pocket piece. The exterior side of the pocket will face up, the right side of the binding strip will face down and the raw edges line up.

Sew along the crease closest to the raw edges to hold in place.
Fold the bias tape up and over the raw edge and pin in place making sure the back of the bias tape is covering the seam line you just made (the one that attaches the bias tape to the pocket). To hold the bias tape in place, sew "in the ditch" of the front seam line.
NOTE: The pocket's exterior fabric will be facing up while sewing. Continually check to make sure you are catching the bias tape on the back side.

Here is a view of the back side of the pocket piece when finished.

STEP 6: Add Velcro
Center the male Velcro piece on the back side of the pocket piece about 1/2" from the bound edge and pin in place then sew.


To determine where the female piece of Velcro goes, place the pocket on the front of one of the main pieces. (You may want to try out both pieces before placing the velcro to decide which offers the best design placement.)

Pull back the edge of the pocket and place the Velcro exactly where it needs to go on the main fabric piece. (Since all of you are making different size laptops, this is the best way for me to describe how to get this placed correctly.)

Pin in place and sew.

STEP 7: Finish
Finally, place the pocket back on the front main piece and baste along the sides and edges (1/4") to hold in place.

And now you have the front and the back of your laptop case all ready for construction!
I will show you how to construct the case in PART 2 of this tutorial. And if you haven't already, if you want handles, you can go ahead and make them by following the tutorial HERE.


0 comments:
Post a Comment