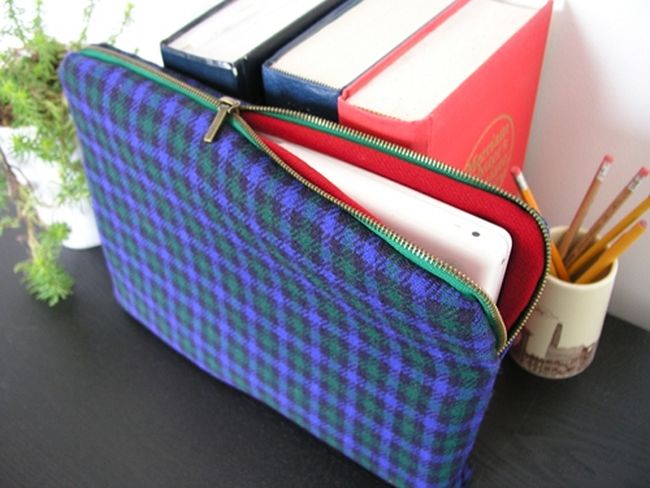
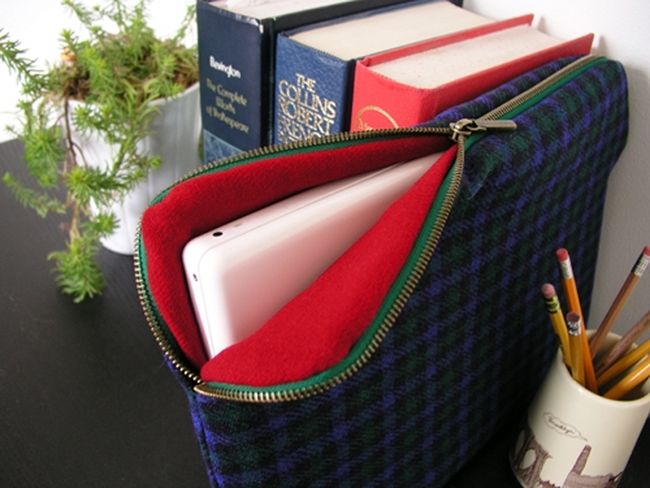
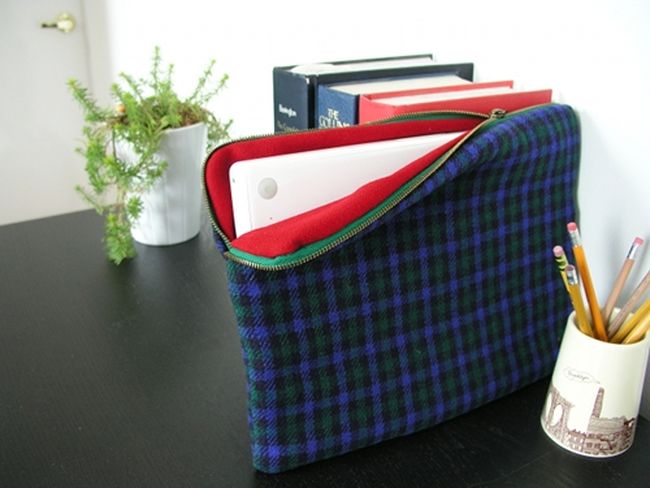
You can use these instructions to make a case for a laptop, tablet reader, or any flat electronic device. Once you get the hang of the construction, these sleeves really only take a couple hours to make, so they’re great weekend projects (and good gift ideas, too).
In this project, you’ll learn how to install a zipper around a curve, which really isn’t difficult to do, I promise.
Let’s get started!
Materials
1/2 yard of fabric for exterior — A thick fabric is recommended. Wool plaid works great; you could also consider using a vintage wool blanket or even a wool men’s shirt.
1/2 yard of fabric for lining — A thick, cushy fabric is recommended, such as wool felt, fleece or other soft material.
zipper, about 4–6″ longer than the width of your device
sewing machine with zipper foot
sharp scissors
tape measure
Instructions
1. Cut the fabric.
Measure your device (this pattern will work for a laptop, tablet reader, or any flat electronic device) as follows: Measure the width of the device plus the depth, and add 1.5″, then measure the length of the device plus the depth, and add 1.5″ to this. Cut two pieces of exterior fabric and two pieces of lining fabric to these dimensions.
2. Attach the zipper to the first exterior piece.
Place the zipper right-side down on the right side of one of the exterior pieces, orienting the zipper so the overhang is equal on both sides. (Note: I’m placing the zipper on the long edge of my sleeve, but you could just as easily place it on the narrow edge if you prefer.) Pin the zipper in place along the side edge.
At the corner, make small snips in the zipper tape every 1/4″, which will allow the zipper to bend around the corner more easily. (Be careful not to snip too close to the zipper itself.)
Pin it in place, placing extra pins at the corner so things won’t budge while you’re sewing around the curve.
Using a zipper foot, sew the zipper in place, beginning and ending the seam about 1/2″ before the stops at the end of the zipper. (Remember to remove the pins as you sew, taking them out before sewing over them.)
3. Attach the first lining piece.
Next, place a lining piece right-side down over the piece you just sewed, so that the zipper is sandwiched in between the two pieces of fabric. Do a quick check to make sure the right sides of the fabric are facing together at this point, and the right side of the zipper is facing the exterior piece. Pin the lining in place all along the zipper just as you did for the previous piece.
Now, sew the lining down, following the exact same line you made in the previous step. I find I get the best results if I sew this piece with the exterior piece facing up, so I can sew right along that first seam line, assuring that the two seam lines will be lined up perfectly.
After this seam is sewn, trim the excess fabric from the corners, following the curve of the zipper, and clip the seam allowance every 1/4″, which will help the corners to look neat once you turn the piece right-side out.
4. Add the second exterior piece.
Turn your fabrics right-side out, and this is what you’ll have — the lining and exterior will be neatly attached to one side of the zipper, and the other side of the zipper tape will still be naked. We’ll be working on the naked side now.
Place the second piece of exterior fabric right-side up, then place the assembled piece over this, aligning the naked edge of the zipper with the new piece of fabric so that everything is aligned the same way it was the first time around. Remember to snip the corner curve on the zipper tape.
Pin everything in place, then sew the naked edge of the zipper to the new exterior piece. (Things might start to feel a little awkward at this point, since you’re working with so much fabric already attached to one side of the zipper, but just take your time, and you’ll get through it!)
After sewing the exterior piece, place the remaining lining piece right-side down on top of the whole stack. So what you’ll have, from bottom to top, is: second exterior piece (which you just sewed), the zipper, the first exterior piece, the first lining piece and finally, the second lining piece. Pin the second lining piece in place and sew it, following the seam line you just made when attaching the second exterior piece.
Whew! Turn everything right-side out, and this is what you’ll have — the zipper is installed, but the bottom and sides of the sleeve are still unfinished. (Confession: In this photo, I made my zipper seams a little too long. I should have stopped the seams about 1/2″ before the stops at the end of the zipper. I later redid those seams but forgot to redo the photo [sorry]. The reason you need to stop the seams earlier is so the zipper stops will be hidden inside the next seam we’ll be sewing.)
5. Finish sewing the exterior.
Flip the piece inside out so that the right sides of the exterior pieces are facing each other. (Move the lining pieces up and out of the way for now.) Pin the exterior pieces together around all three unfinished edges. Using the zipper foot on your machine, begin sewing at the center of the bottom edge, and sew up around the side, stopping at the point where the zipper seams begin.
Backstitch at the end of this seam to secure. Repeat for the other side, again beginning at the center bottom and working up the side. (Sewing in this direction, and using a zipper foot, helps you get a neat, finished seam at the point where this seam will meet the zipper.)
If you like, sew a curve rather than a 90-degree angle on the bottom corners, to mimic the curves created by the zipper on the other corners.
6. Finish sewing the lining.
Finally, flip the piece again so that the right sides of the two lining pieces are facing each other (move the exterior pieces out of the way). Pin the lining pieces together as you did for the exterior and sew them in the same way, but leave a 6″ opening along the bottom edge so that you can turn the piece right-side out.
After sewing these seams, carefully turn the piece right-side out through the opening in the lining. Finally, stitch the opening closed by hand or on the machine.
And you’re done! I know these steps may seem a little tricky, but once you wrap your head around the construction, this really isn’t a difficult project. Have fun!


Thank you. My sleeve turned out great.
ReplyDeleteThank you for this tutorial! Exactly what I was looking for as I wanted a lined version. I just finished a cover and it turned out great.
ReplyDelete