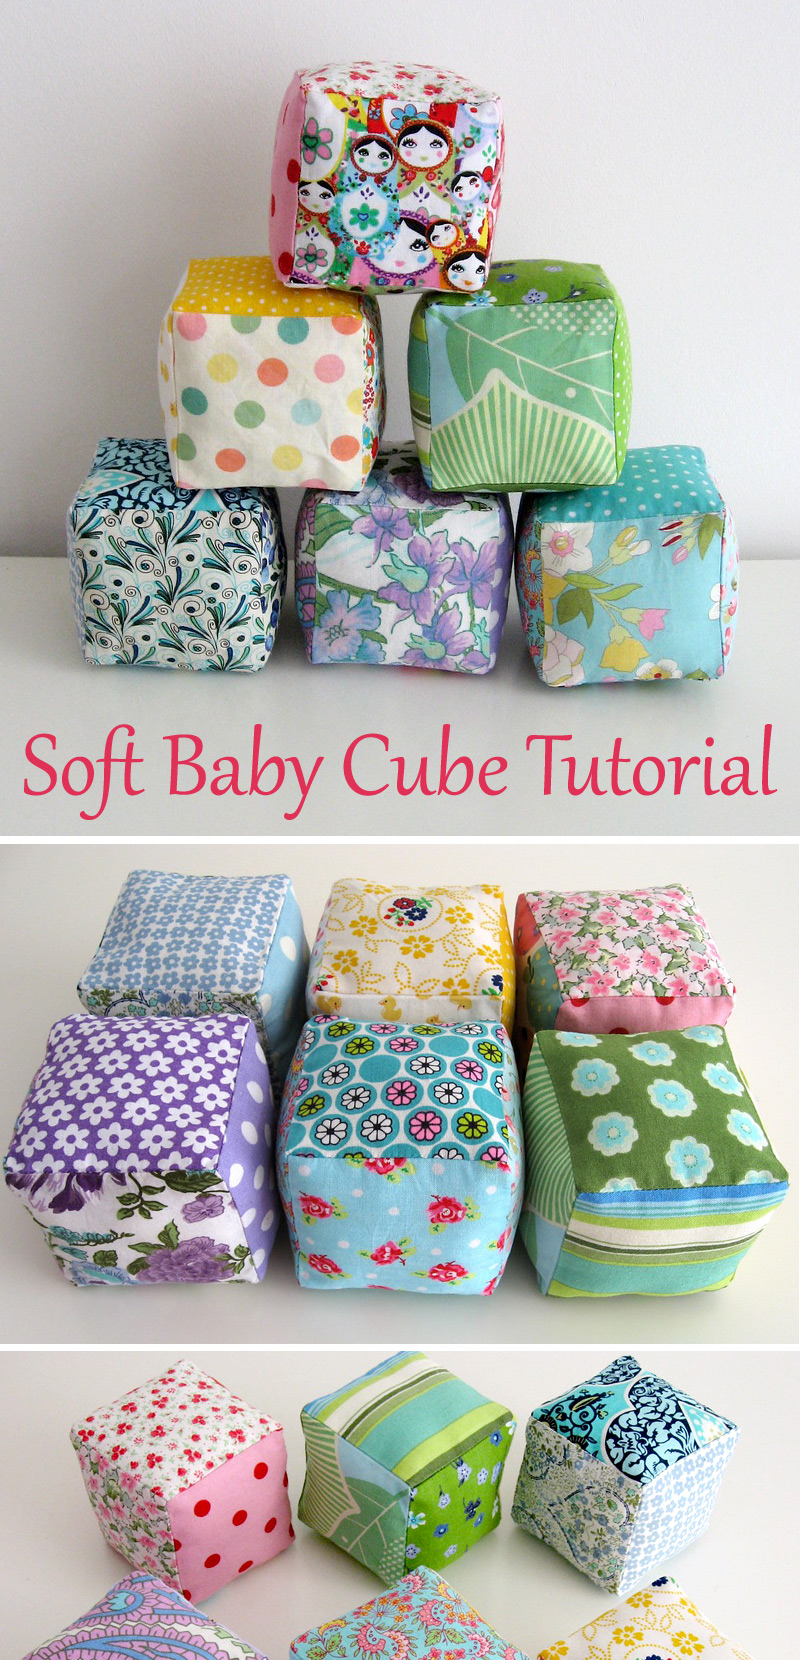
How to Make Baby Soft Blocks. Free Sewing Tutorial
Cut out six four inch squares from your chosen fabric - I chose three different prints.
Mark half an inch from edges on all sides on the wrong side of the fabric - preferably with a fabric marker but if you can't find it then just use a pencil :)
The points where the lines cross are your starting and finishing points for sewing.
Pin together two squares with right sides facing. Sew along marked line starting and finishing at the cross points. Back stitch at each end to secure.
This photo just shows you where the stitching line starts and finishes - on the cross.
Repeat process with another square.
If like me you want matching squares to be opposite each other then follow the sequence, otherwise just use any of your pre-cut squares.
Sew your fourth square in the same way. Don't forgot to start and finish on the cross.
Now take your fifth square and align the edges. The left and right pencil lines should align with the seams already sewn on the plain blue squares.
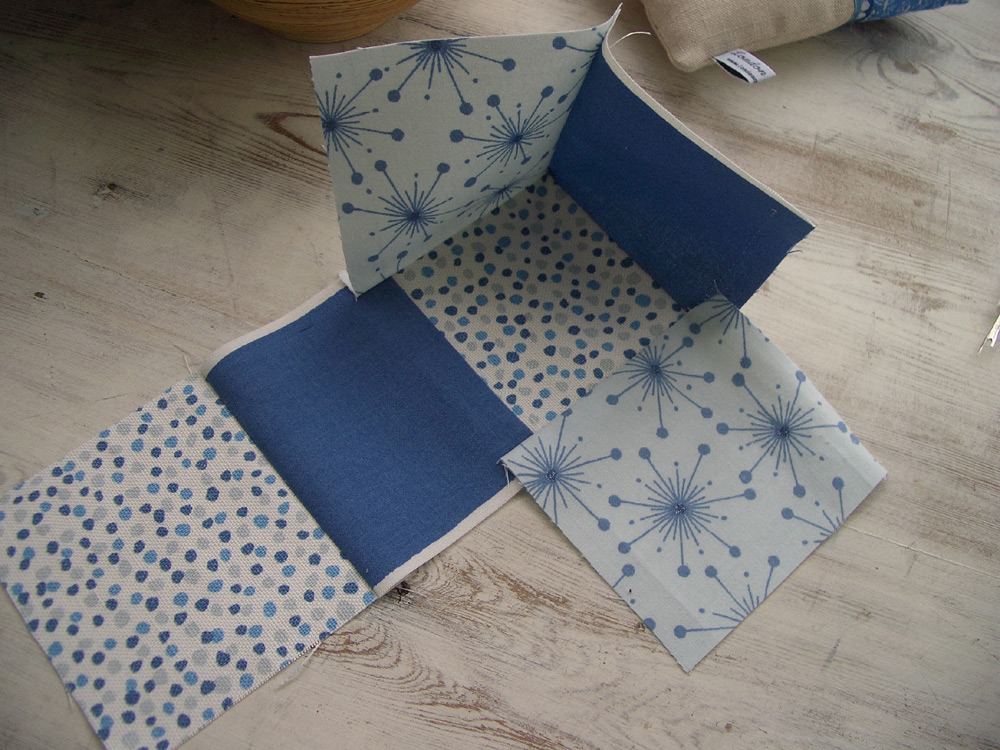
Once opened out it should look like this - you can see that the half inch allowance on each side is free - this will enable you to turn the fabric and stitch it to an adjacent square.
Repeat with your final square on the opposite side.
Open out and press seams as before. It should now look like this and we can start to sew the adjacent sides up to start forming the cube.
I will align the right hand side of the top square of the star fabric to the top of the piece of plain blue fabric (on the right of the picture).
Here it is pinned and ready to sew.
Sew along the pencil line. Starting and finished on the cross as always.
Hopefully it will now look like this :)
Continue in this way with the other sides until you have just one left.
Repeat until you have sewn all the edges except one. It doesn't matter too much if your sewing lines get a little wonky as mine did here it will all come good in the end.
Now you have an inside out cube - you should have one edge that is completely open.
This is your open side. At this point I press the seam open which will help me when I come to slip stitch it closed. You will be sewing up part of this side and just leaving a small enough gap for turning.
After pressing that last seam open, I have stitched in from each cross and left enough of a gap for turning. Don't forget to backstitch to secure the stitches just before the gap as you will stress your stitches a little as you turn the cube right side out.
Trim the edges and corners with pinking shears except for the side which has the gap for turning.
This is the last stage of my tutorial.
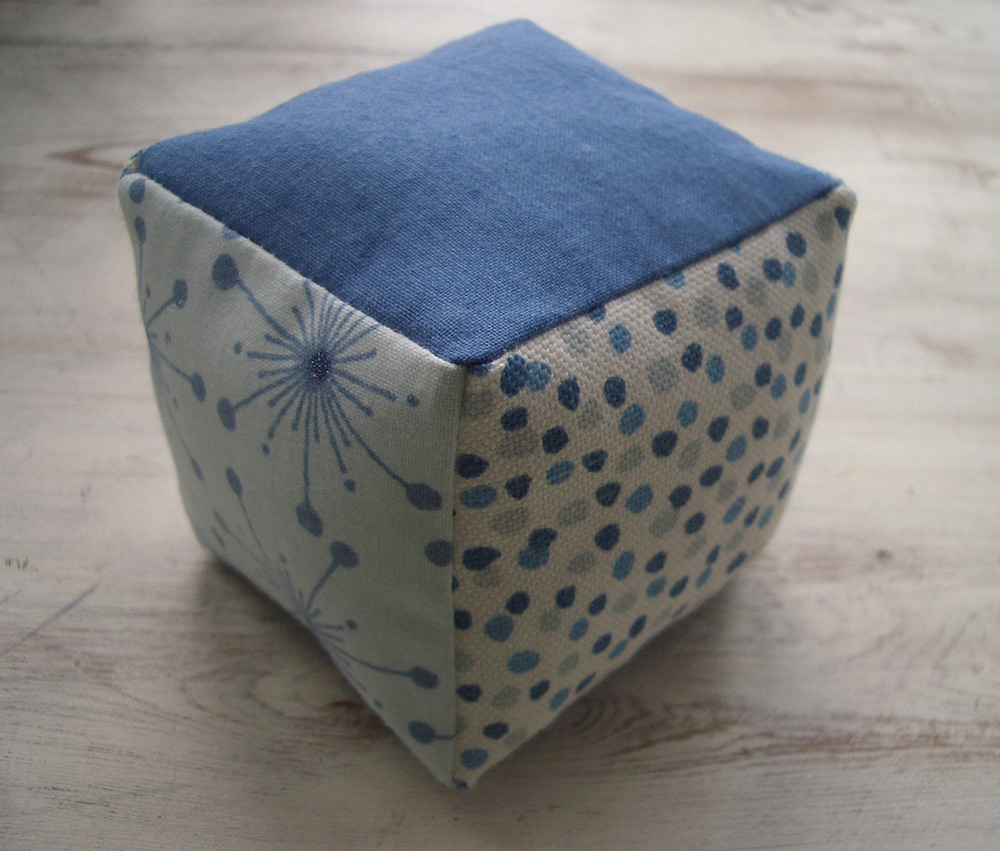
Turn your cube right side out, fill with stuffing (you could also add a small bell) making sure you go right into the corners and slip stitch the gap closed.
All done - enjoy :)
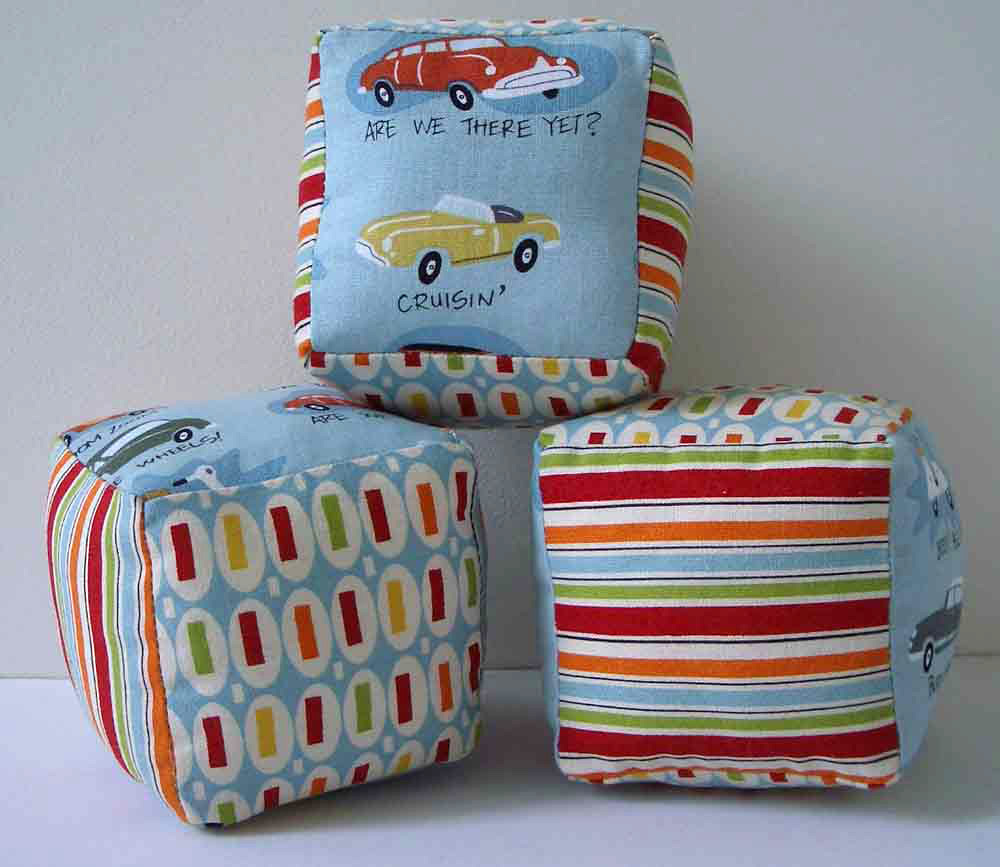
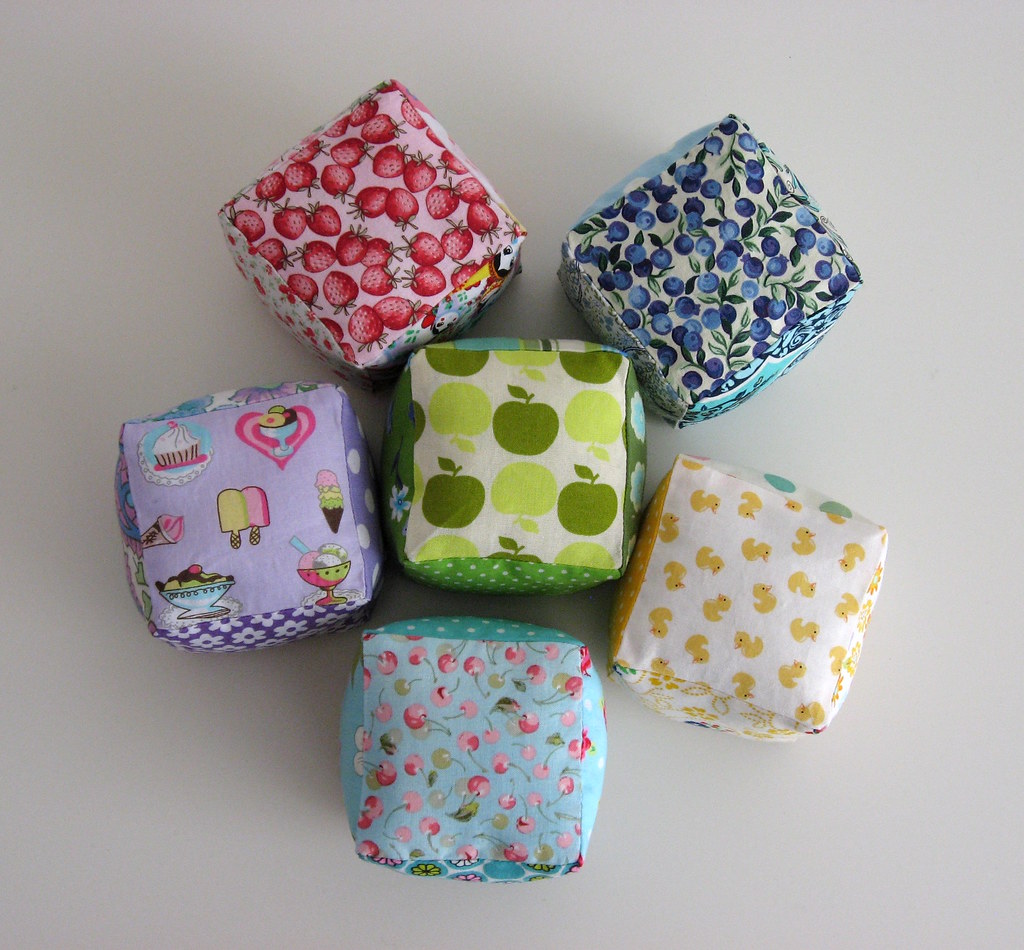
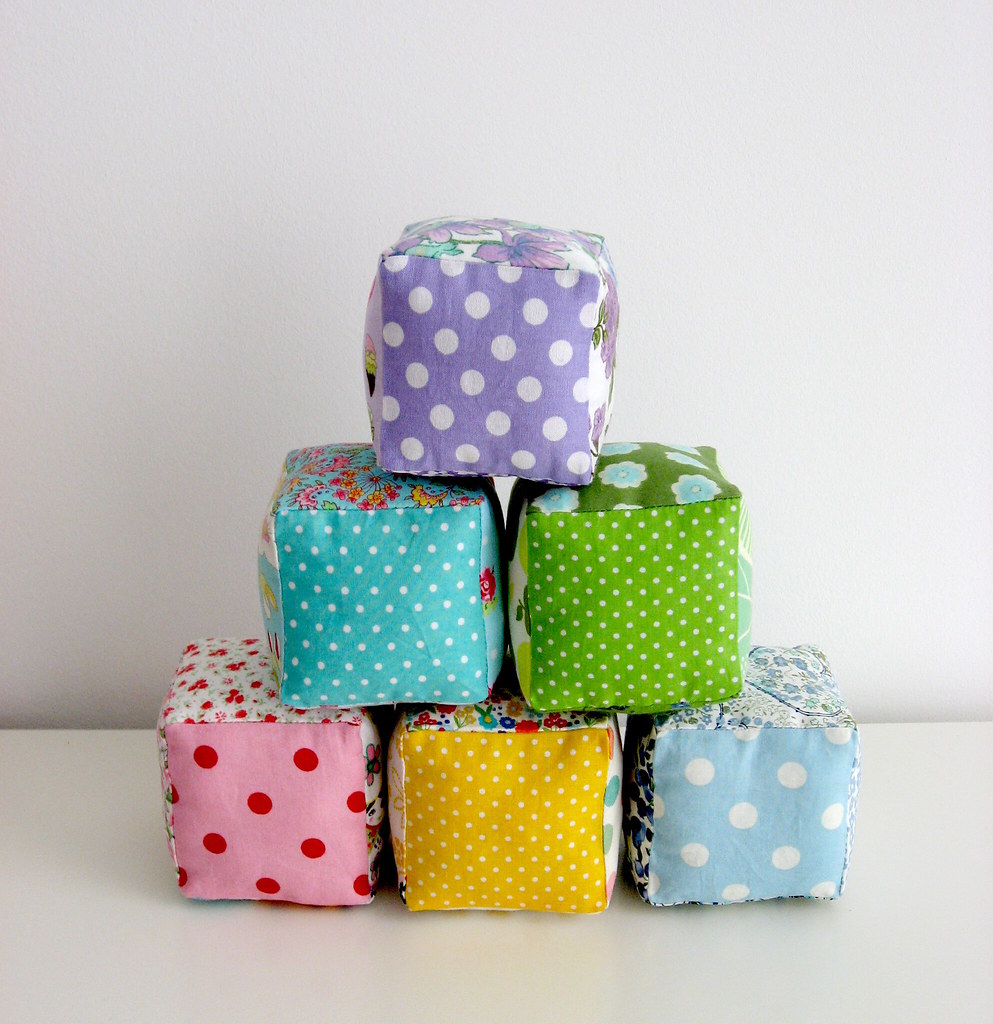
Another set of soft baby cubes made as part of a gift set







0 comments:
Post a Comment