Now that the awesome Reprodepot Pattern books are out and available, I wanted to share a tutorial for one of the hundreds of projects I have been inspired to make while thumbing through each book (seriously hundreds - it's insane). I wanted to start with something fairly basic and simple, using printed fabric instead of paper.
Yes, that's right - you can use these patterns to not only make countless amazing paper projects, but you can also print onto cotton fabric! We carry a few different kinds at Reprodepot. It is backed with paper to feed through the printer, and then you peel the paper off and can cut and sew the fabric into anything you want!
For this project you need:
printable fabric
Reprodepot Pattern Book
cooridinating sewing thread
cooridinating embroidery floss
small button
To start, choose two patterns that you would like to use for the inside and outside of your card case, and print them out onto your printable fabric following the directions on the package (basically you're just putting the fabric into the printer and pressing print - I just recommend reading the instructions to make sure it will print correctly the first time, without wasting any sheets). You can use the following instructions to make a case of any dimensions you'd like. I made mine small to hold my business cards.
Cut both fabric sheets into 5 x 8in rectangles. (The pattern will print out at 6 x 8. If you would like the pattern to fill the 8 1/2 x 11 sheet, you can either enlarge the image in photoshop, or follow the tiling instructions in the back of the book.)
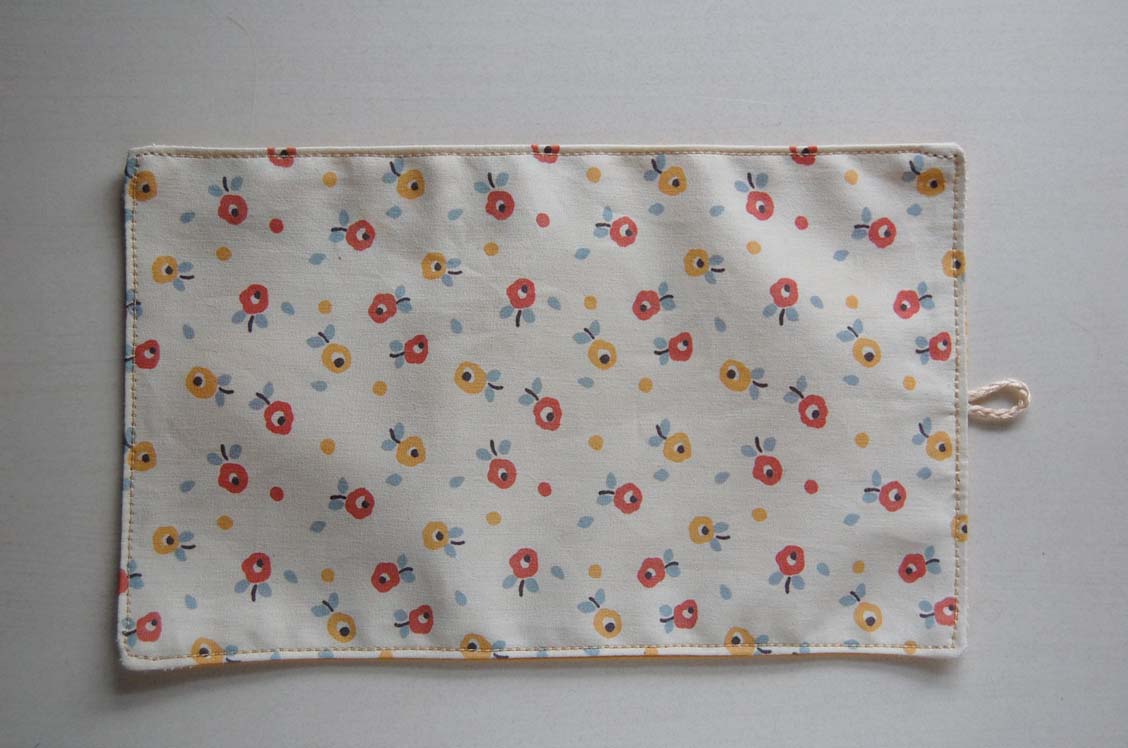
Carefully peel the paper from the backs of the fabric if you haven't already. Place the patterns face to face and sew around all four sides, leaving an opening in the middle of one short side, as shown here:
Turn the sewn piece right side out through the opening, using a knitting needle, or something similar to push out the corners. The fabric may be a little stiff and get wrinkled from turning it out. Iron your seams flat, using steam over the whole piece to smooth out the wrinkles.
Now you're ready to make a loop for the button closure. You could probably use a thin ribbon for this. I used embroidery floss, braiding it first to make it thick and strong. I think the braid is a nice little detail!
Find the very center of the short side with the opening. Fold the braided floss to make a little loop and insert the ends into the opening in the sewn piece. I didn't tie the ends of the braid, I just carefully stuck them inside the opening so that there aren't any weird bumps in the case. Holding it in place with one finger, make sure your button can slide easily through the loop you have made. (It would be really frustating to complete the case only to realize the button is too big and the loop doesn't work! Trust me - I've done it!) Pin the opening closed around the braided loop to hold it in place.
Now you will sew all the way around the piece. Beginning about a half inch before the loop, sew across and all the way around all four sides, sewing back over your first stitches and the loop, and ending about a half inch beyond the loop.
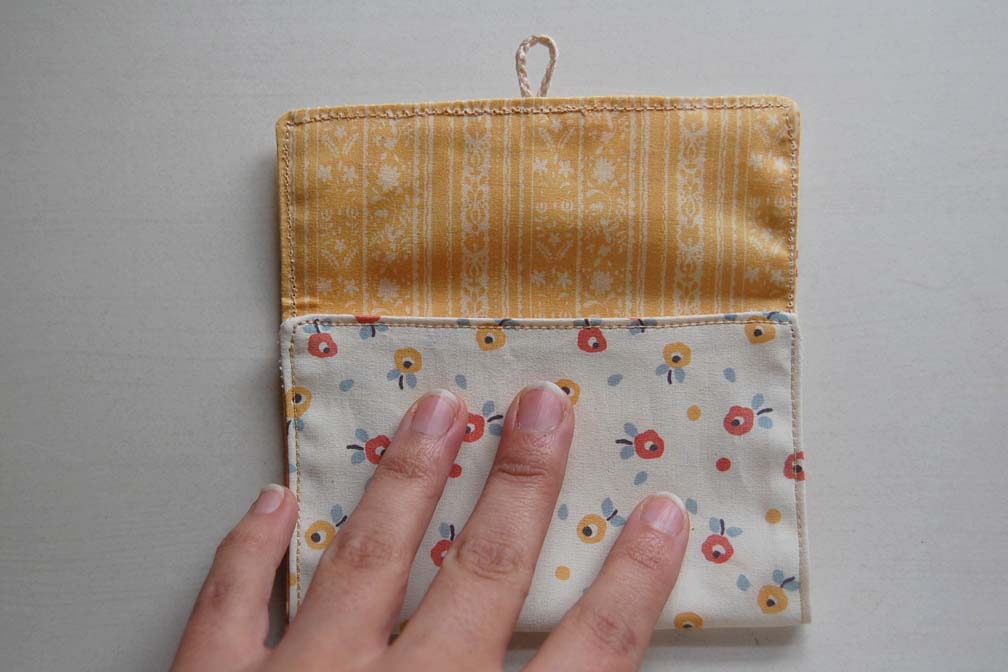
You're almost done now! Lay the piece with the inside facing up, and the loop at the top, and fold the bottom up about three inches. (I didn't measure this, I just found a place that looked nice, and fit my business card completely. Remember, if your pocket is too deep, the flap will be very short. Play around with this a little to get it right.
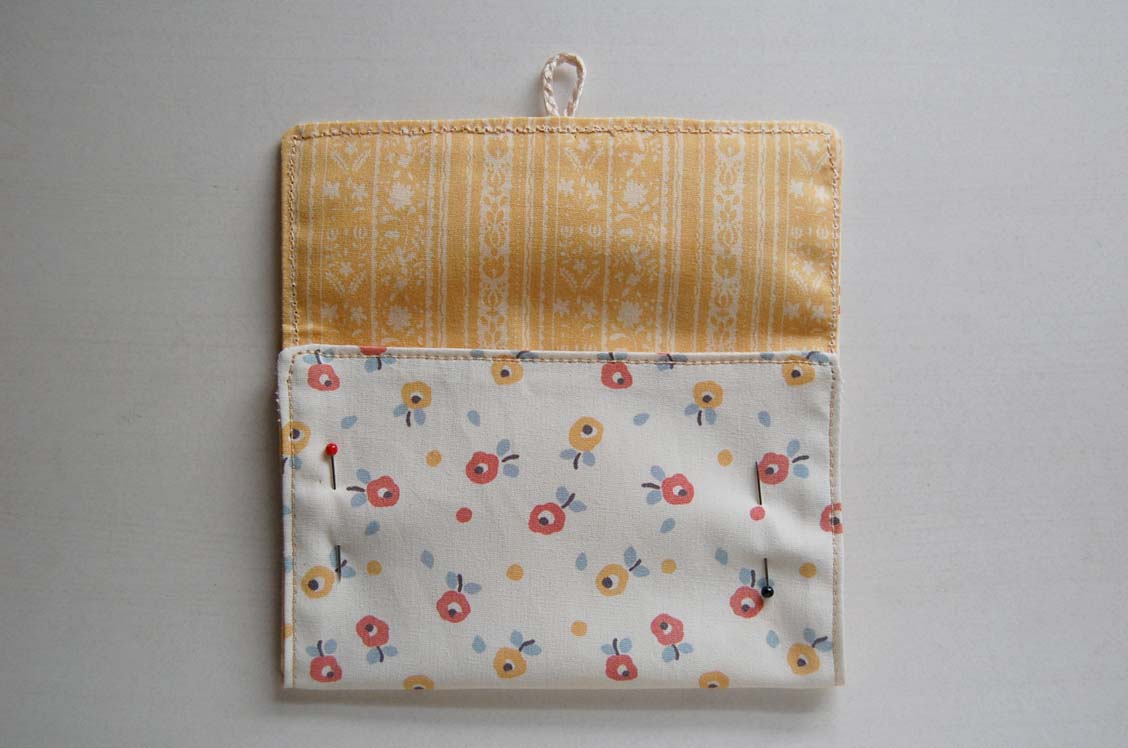
Once you find a nice pocket height, pin in place.
Sew down the right edge, stopping at the very bottom, turning the whole piece, and sewing back up over the the first line of stitches again. Sew just over the edge of the pocket, and repeat a few more times. You will be able to see these stitches, so sew slowly and carefully. Oh, and using a pretty matching thread helps too! Sew the left side the same as the right. I stitched each side about four times up and down to make the seams nice and strong.
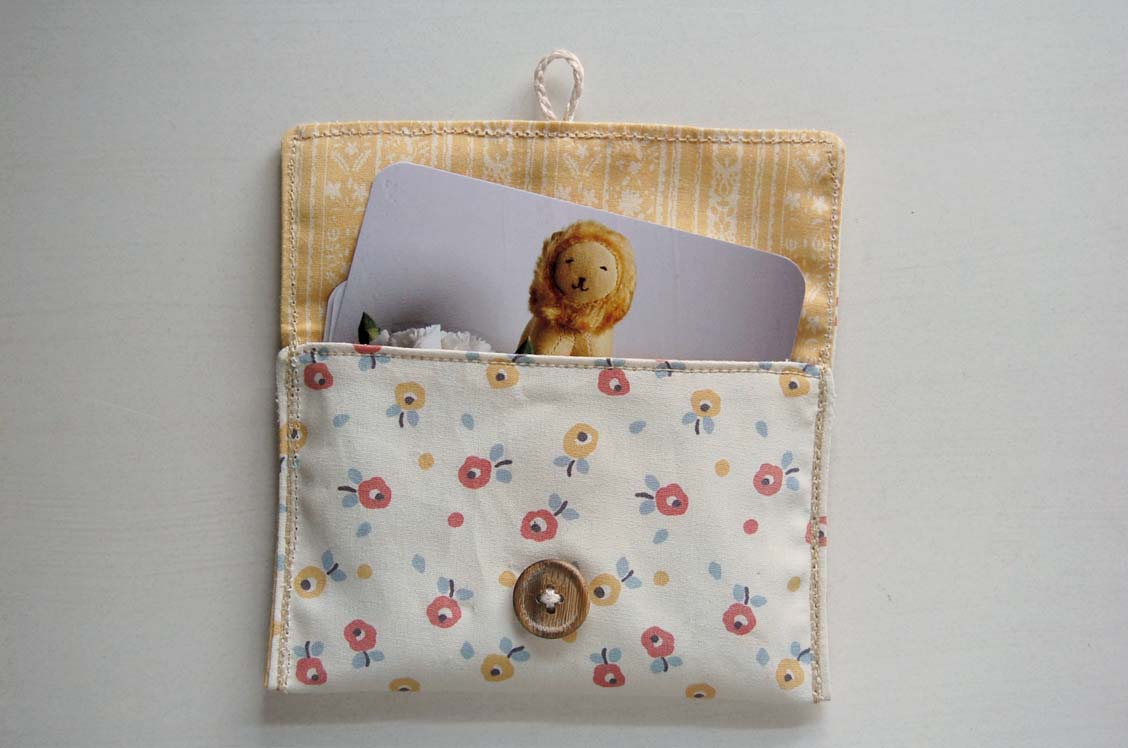
And now we're already at the last step! Trim any stray threads, and fold the flap down to find the right place for your button. The placement will depend on the size of your button. You want to make sure the loop can be easily removed from the button, while still holding the case closed. Lightly mark where you want the button to be sewn on - this is generally at the lowest inside edge of the loop, when the flap is closed and the loop is laying against the pocket, not stretched. Double check this to make sure it works for you. Sew the button in place.
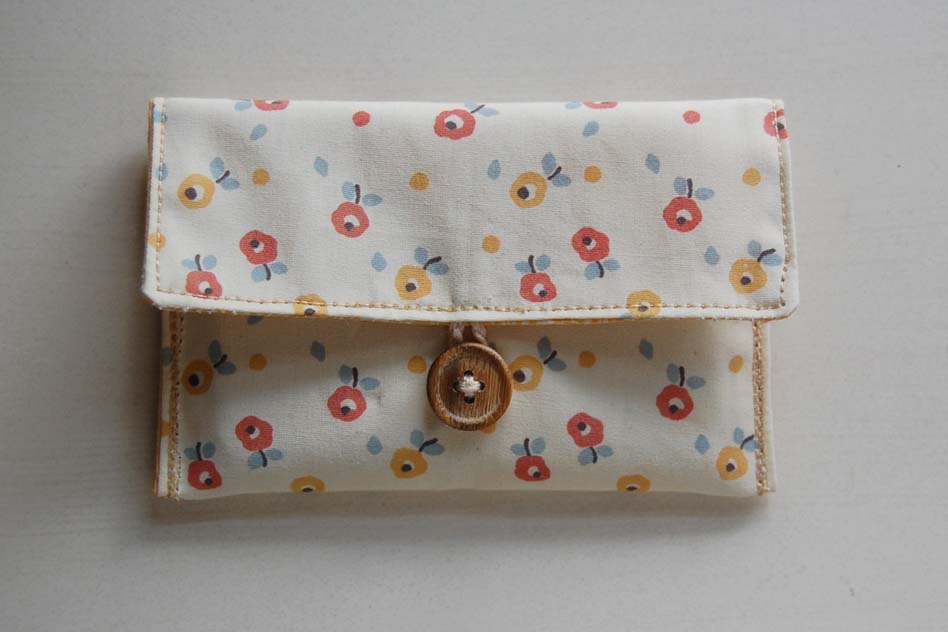
And you're done! Now, stuff some of your fancy business cards in there, and always have one on hand when talking about what you do. This will give you a chance to brag about your superb sewing skills too!





Great idea. So easy to make too!
ReplyDelete