
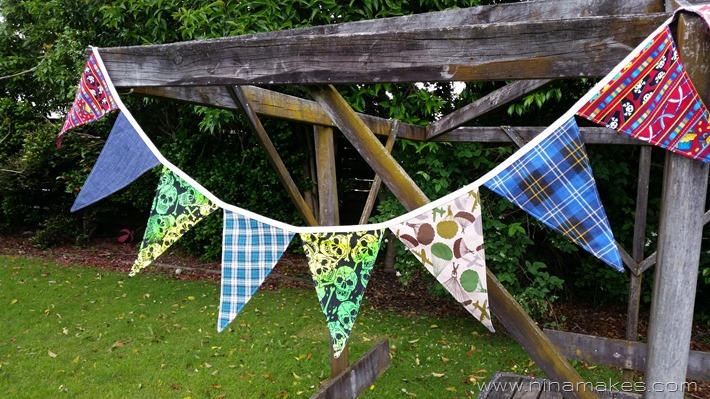
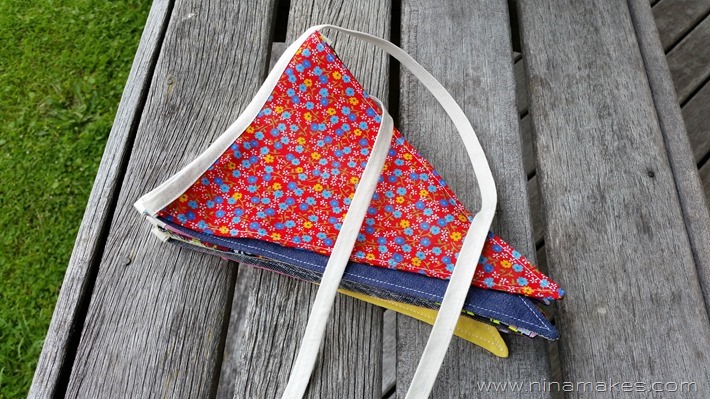
Especially if it is double sided, one for Boys and one for Girls! Or one side birthdays and the other for Christmas. Or what ever combo you need!
What you’ll need
Fabric – remnants/off cuts/scraps are great for this!
Bias Binding – However long you want you bunting to be.
Template (or draw your own triangle for a different size)
General sewing supplies
Thread
Sewing Machine
Pins
Scissors/Rotary Cutter
Iron (not essential but will give a much better finish!)
Step 1 – Print Template
Print the template in actual size. This is for a finished size of approximately 7” wide by 9 1/2” long (roughly 18cm x 24cm).

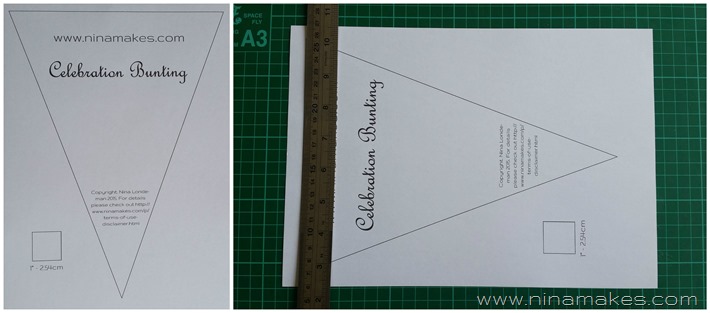
If you want a smaller size you can just use a ruler to draw a line parallel with the top (shortest) line. You can also draw your own by hand, or easier still by using the ‘shapes’ in Microsoft Publisher. The last option will give to you the dimensions of the triangle while you are drawing it in the bottom right of the screen!
Step 2 – Cut Fabric
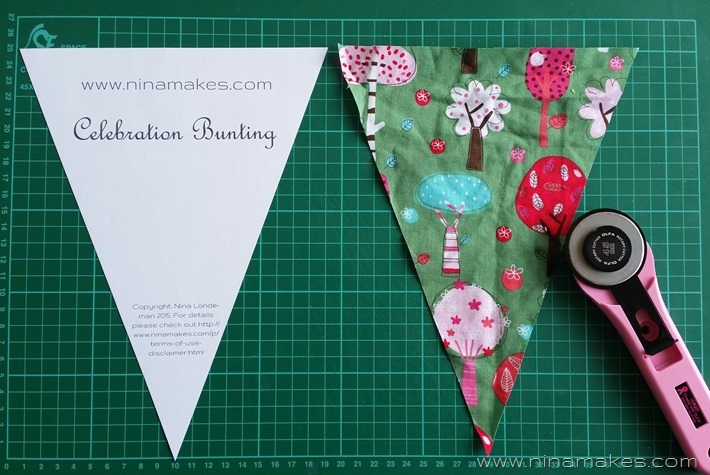
Using your template as a guide cut out as many flags as you will need. I used a roller cutter and ruler, you can do that or use scissors.
How many flags to make? You can do the maths to work out the exact number if you like. If you want a 3m (300cm) length of bunting, each flag is 18cm + ?cm (gap in between flags – optional I prefer without) equals 18cm. 3m divided by 18cm equals 16.67 flags. Obviously the 0.67 is going to be difficult…not really I just take it back to the nearest whole number. So for this one I would do 16 flags. Remember the flags are double sided (and Reversible!) so you will need to cut 32 triangles.
Again in Inches for those who prefer it! A similar length at 118” divided by 7” + ?” (optional gap) equals 16.85 flags. So you get the same result at 16 flags.
Note: These calculations do not take account any length you want at the end for tying it up! I would leave about 30cm (12”) for this. You can create a loop but I prefer the plain tie as it is easier to attach to whatever you are hanging it from.
Step 3 – Sew Flags
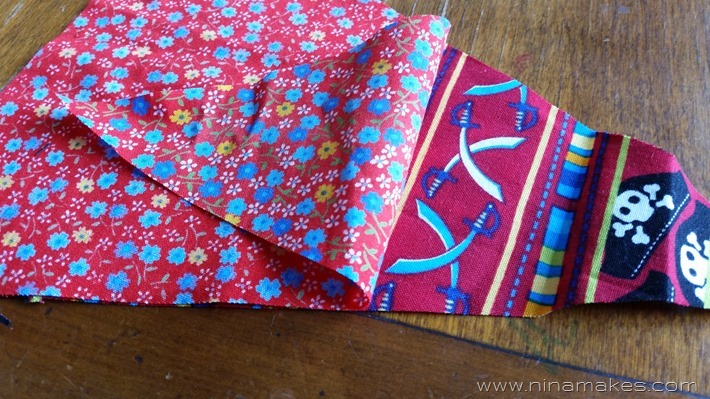
Sewing the flags is very simple! Take the two flag pieces you want to sew together. Press them flat, I like to do this with the two flags together. Be a little careful at which two you put together as the fabric can show through. If you have a light colour paired with a dark pattern you will be able to see the dark through the light.
You will also see the seam edge on thin fabrics, you can’t do much about this…I actually quite like it. Looks a little like a decorative edge!
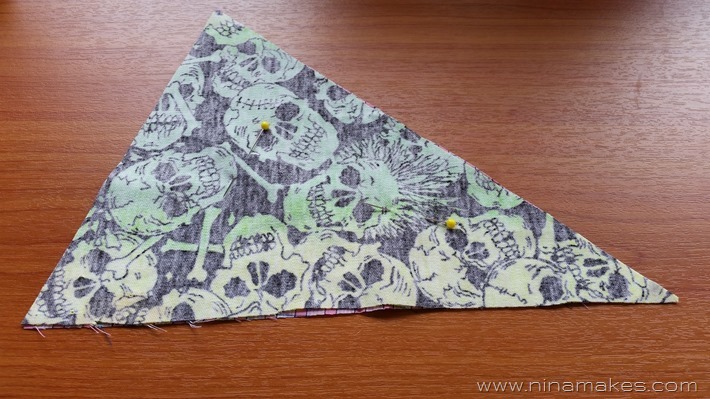
Pin together with the right sides of the fabric facing each other. The top will be left open to turn the flags the right way around. As you can see I’m pretty generous on the pins! Feel free to add more if you wish.
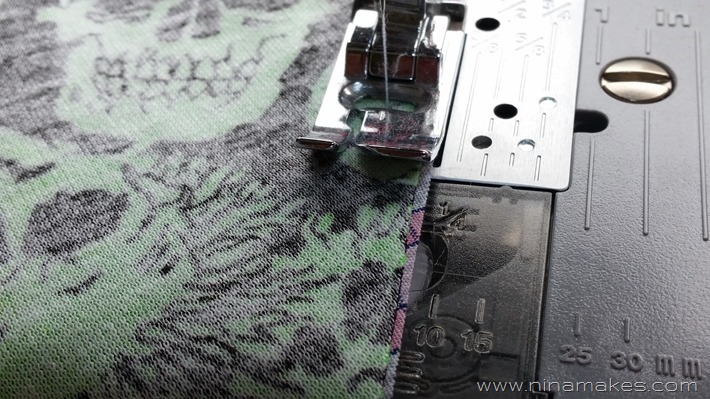
Sew with a 1/4” seam allowance. From one side at the top down to the point, then back up to the top on the other side.
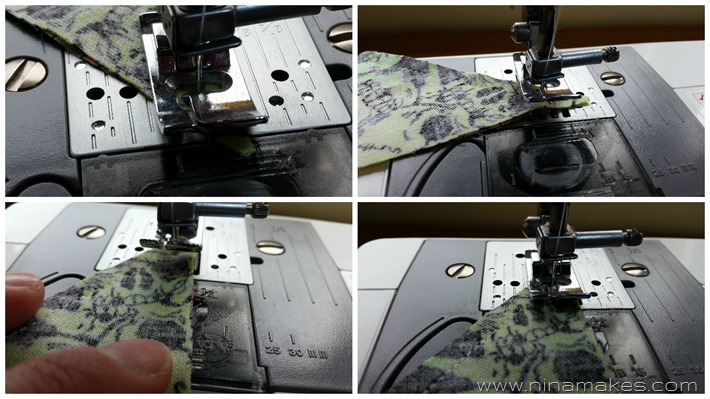
Hint: to turn at the bottom sew as far as you need, it might pay to do the last few stitches by turning the wheel by hand so you don’t sew to far. Then with the needle in the fabric lift the presser foot and spin the fabric into position, lower the presser to sew up the second side.
Now carry on and sew all the other flags…only a few more to go!
Step 4 – Turn and Press Flags
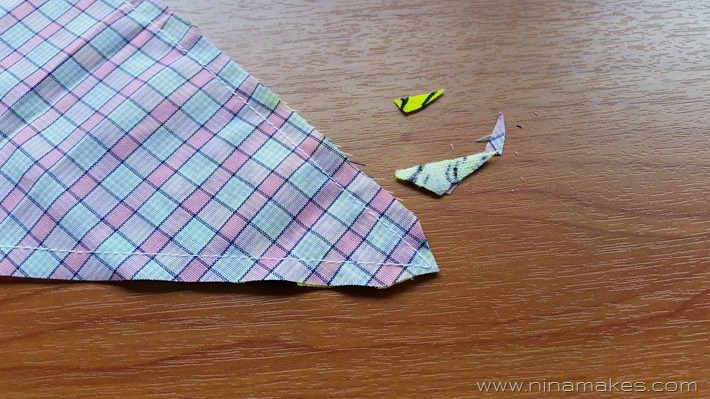
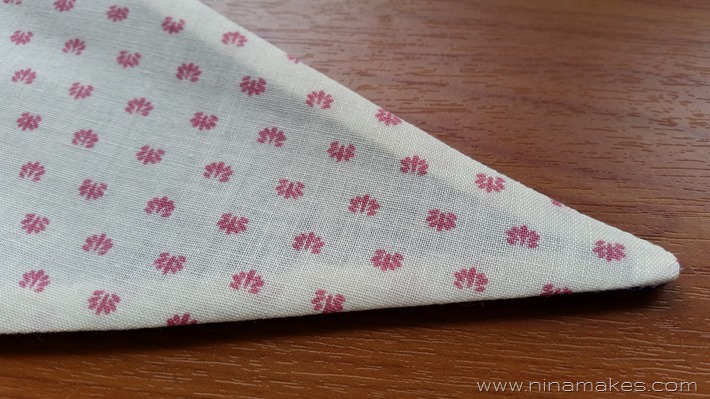
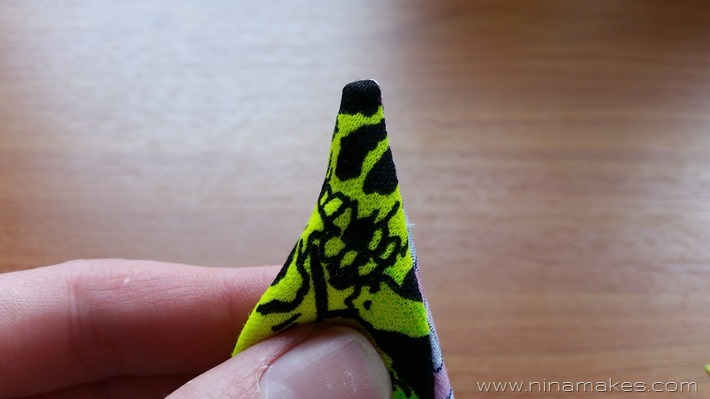
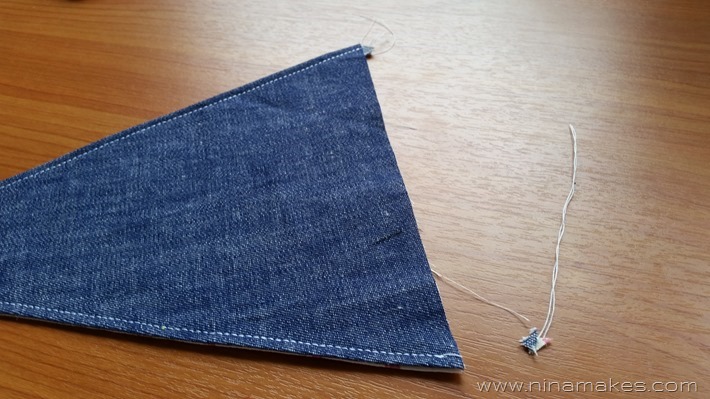
First up you will need trim off the excess at the point. If you don’t do this it will not sit nicely when turned the right way around.
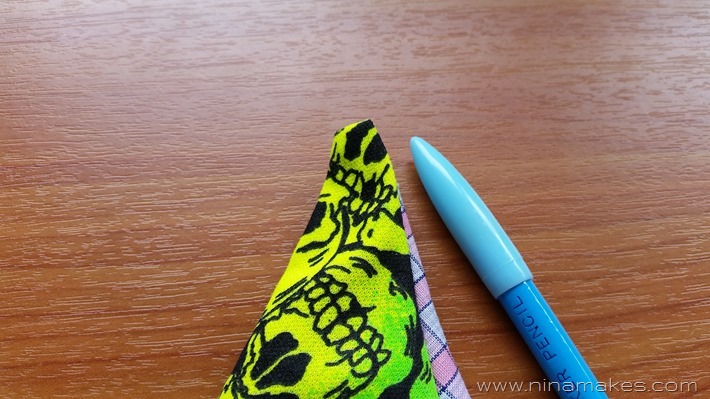
Turn the flag the right way around. You might like to use a pointed blunt tool to help push the point out, from inside of the flag.
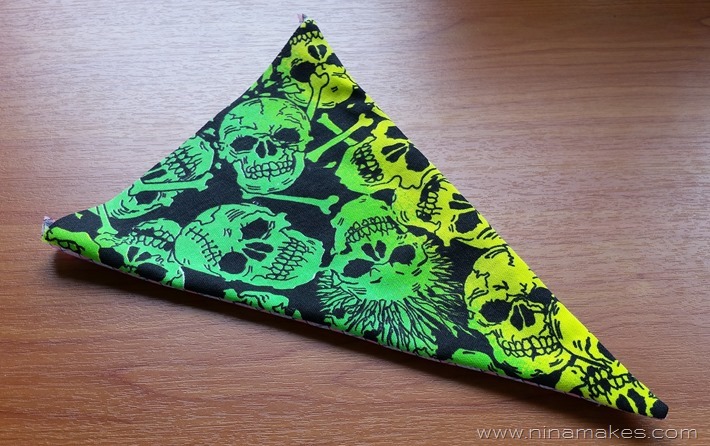
There you have it turned around! Now just the other 15 to go…
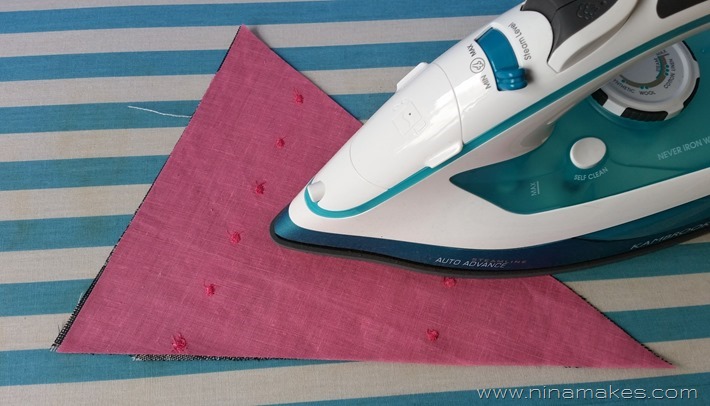
After you have sewn them all you get to press them all. Luckily I quite like pressing but I do need to invest in a taller ironing board, not so easy on your back leaning over the whole time!
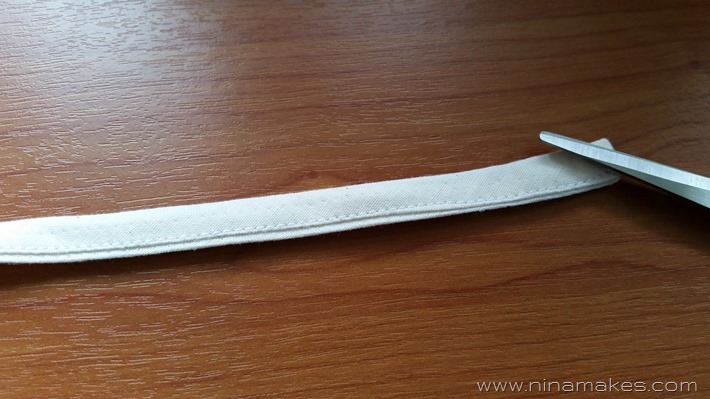
Step 5 – Trim tops of flags
You will get these little tabs at the top corners of the flags. You need to trim them off so that the flag will sit nicely inside the bias binding.
Some might also be a little uneven at the top edge, you can trim it to match the shorter side. This happens with the different thickness/type of fabric stretch a little more or less than each other when sewing.
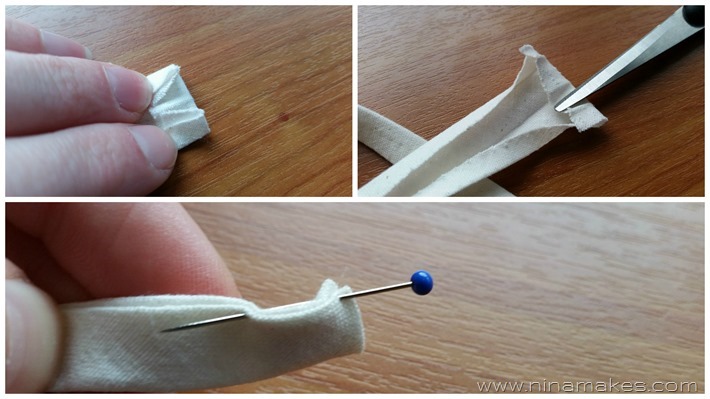
Step 5 – Pinning Flags to the Bias Binding

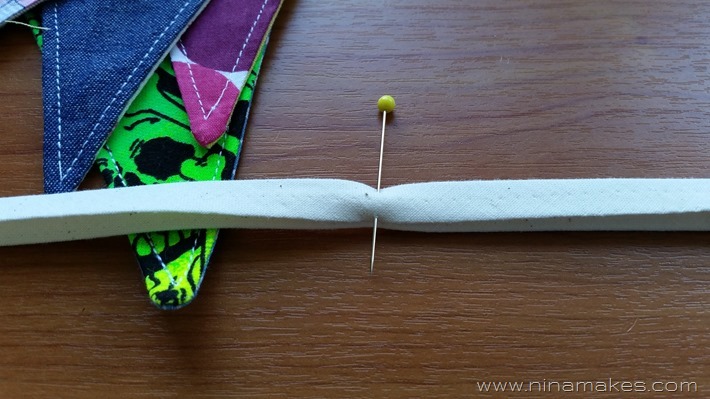
I like to start at the centre of the bias and work my way out. That way I will have even ties at the ends! So if you have an even number of flags like me you will have one either side of the middle point (pink pin in photo below). If you have an odd number of flags you will need to have the centre of one flag lined up with the middle point.
The double fold bias binding is very easy to use. Just insert the top of the flag in between the fold of the bias. Pin in place making sure to catch all the layers with your pin!
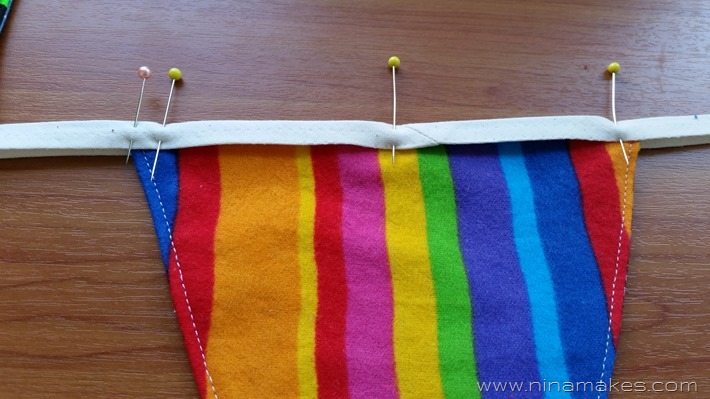
Pin all the rest of the flags in place! Now it is time to sew!
Step 6 – Sewing it all together.
Start with folding under the edge of the bias binding as shown above.
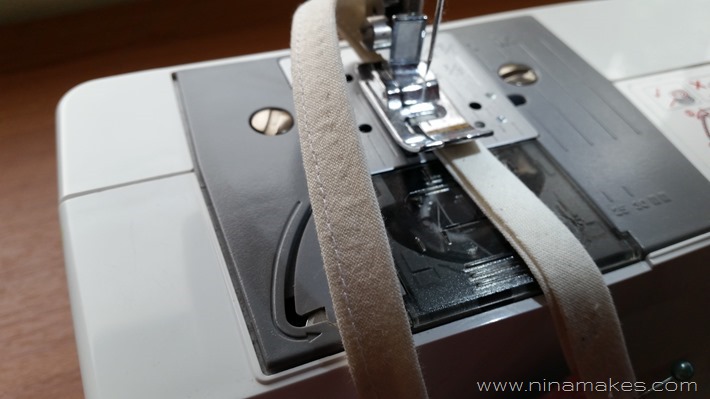
Start at one folded edge and sew all the way from one end to the other in one go. Note: Some bias is folded slightly to one side, you can see this on mine in the picture above. Make sure you have the narrower side up, otherwise you risk missing it when you sew.
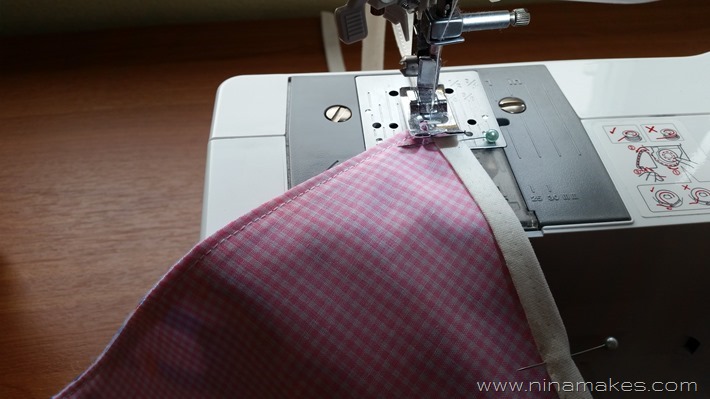
You just sew straight over the flags, making sure the corners of the flags are tucked in properly as you get to each one.
There we are right at the other end. Don’t forget to lockstitch (reverse a couple of stitches) at the end.
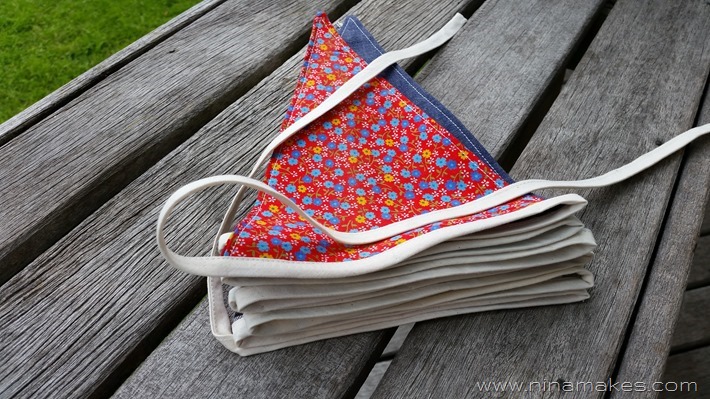
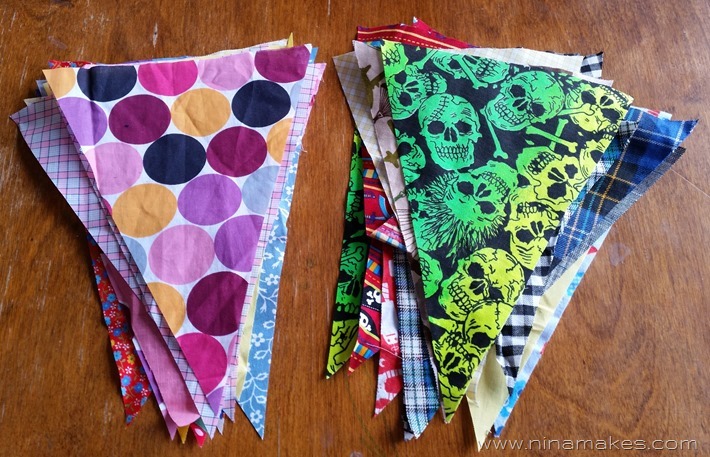
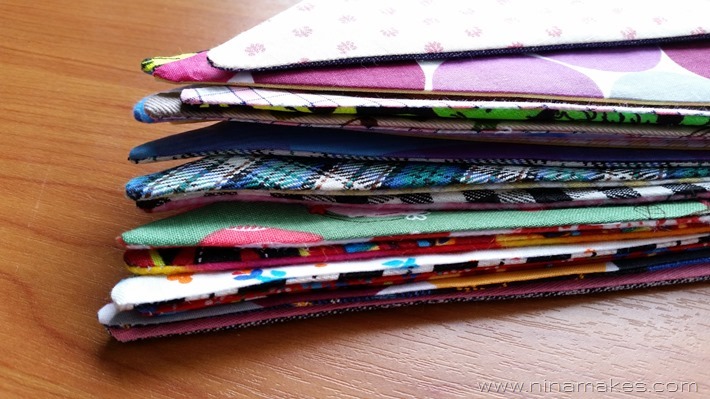
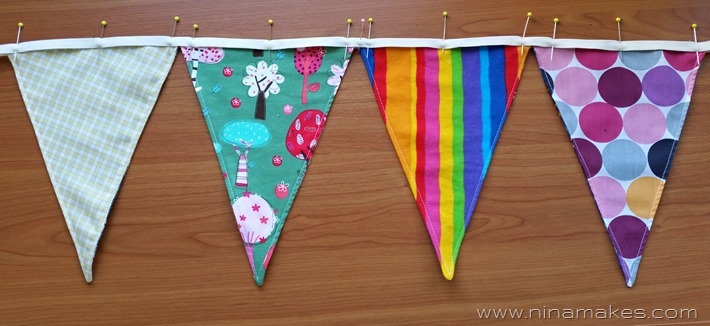
A gorgeous we stack of brand spanking bunting! Well it has quite a percentage of upcycling, both the bias and many of the fabrics were upcycled.
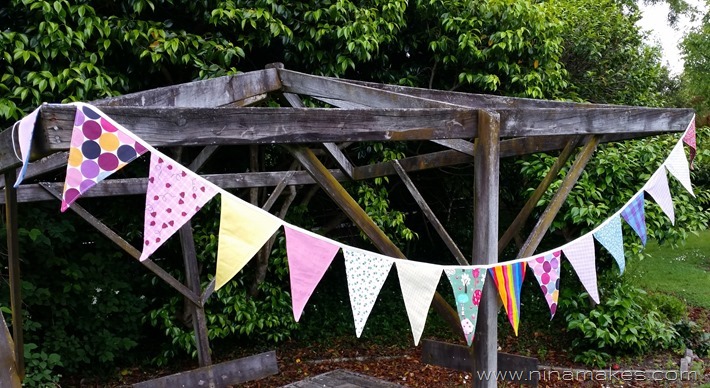
Enjoy your bunting!


0 comments:
Post a Comment