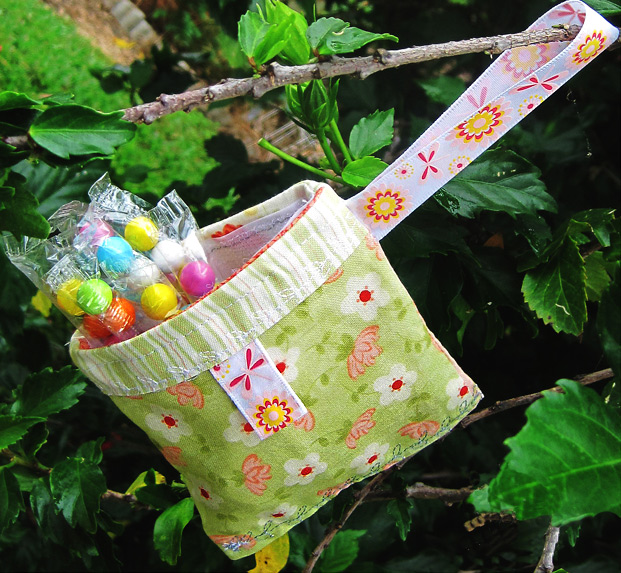
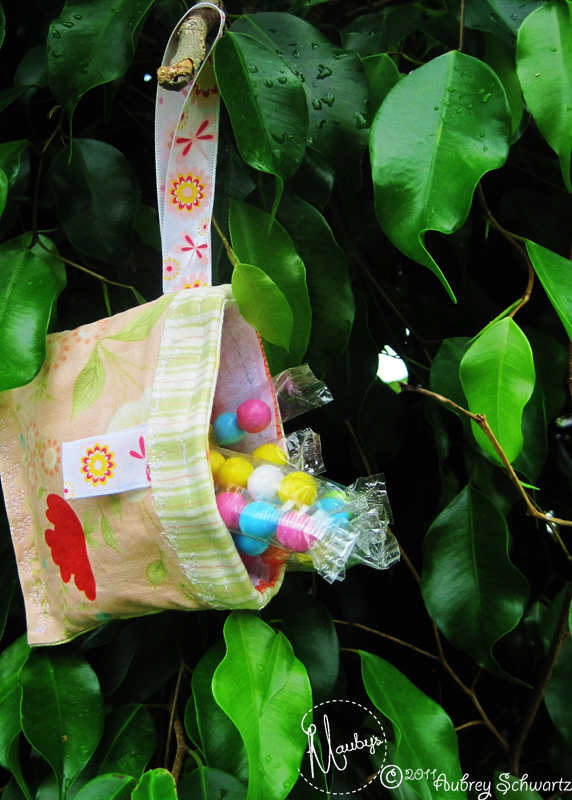
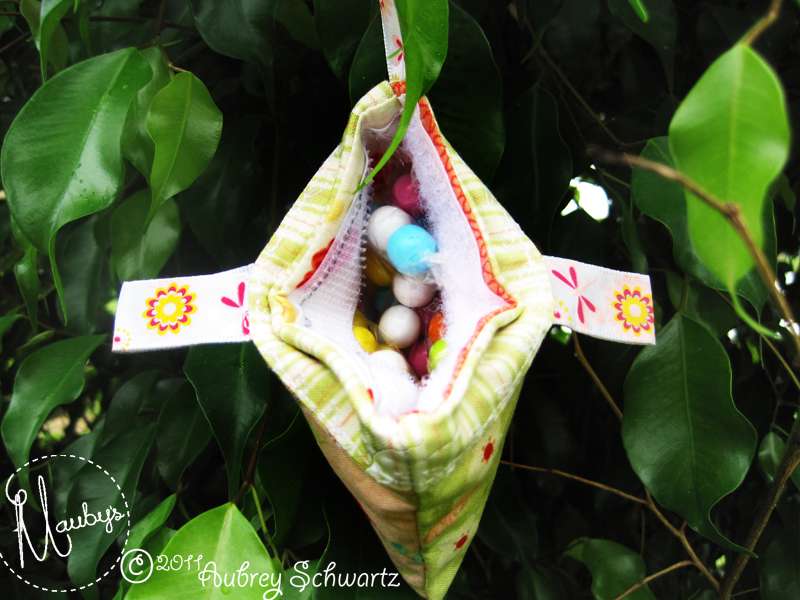
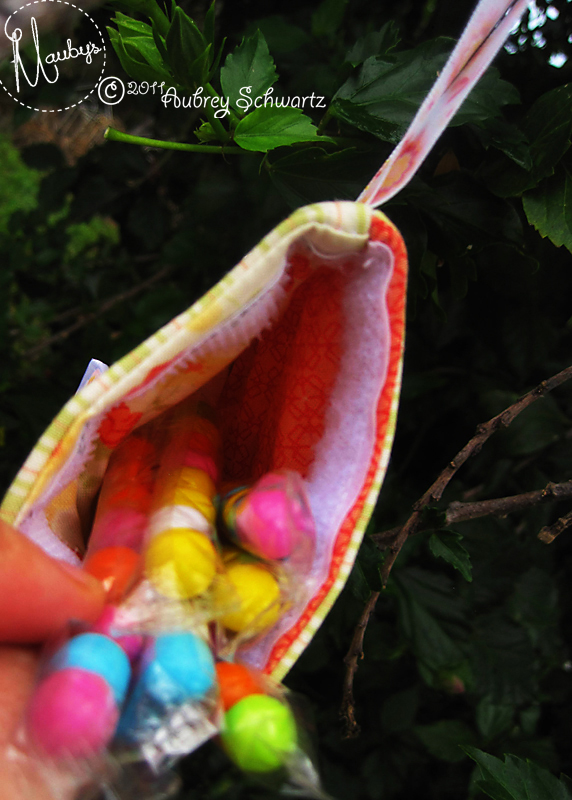
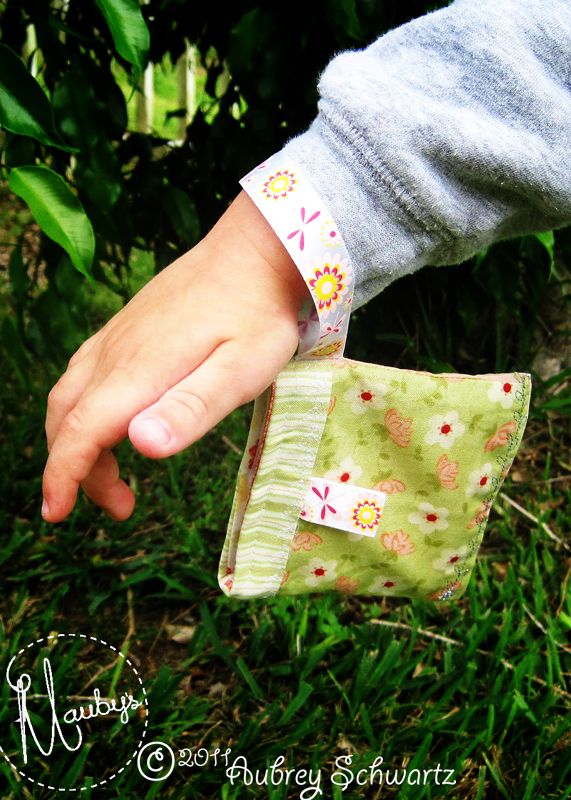
They are great little Easter gift holders. And then they can be used as a little treasure bag later on!
Isn't this so cute! Couldn't you just adorn an entire tree with a bunch of them? An Easter tree??? :)
Just grab 5 Charm squares, a piece of ribbon and some hook & loop fastener to make up one of these!
Materials
5 Charm (5") squares
2, 4" strips of 1" wide sew-able hook and loop fastener
1, 4 1/2" piece of ribbon
2, 2 1/2" pieces of ribbon
Matching Thread
Directions
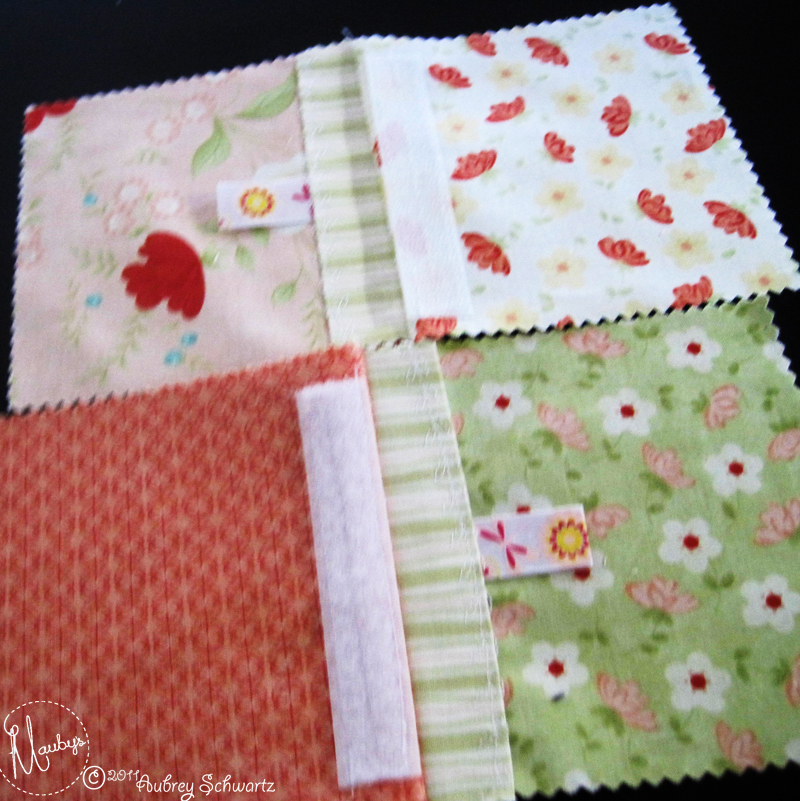
1. Choose the layout based on the following:
Two charm squares will be the outside.
Two charm squares will be the inside.
One charm square makes the outside top border.
2. Cut the outside top border in half so that the square
measures 2 1/2" x 5".
3. Fold each border piece in half and press.
4. Fold the two smaller pieces of ribbon in half and finger press.
Take the two outside charm squares.
Place the folded border piece from step 3 on top of one of the outside squares with the open ends lined up with the edge of the square.
The edge of the charm square with the border will be referred to as the TOP for the rest of the tutorial.
At the center of the border piece, pin one of the folded ribbons with open edges under the folded border piece. This will create a loop or "handle".
Sew the border piece to the outside square, securing the ribbon and the border, by edge stitching along the folded edge of the border piece.
Repeat with the other ribbon, border, and outside piece.
5. Sew the hook fastener to one of the inside squares, 3/4" from the edge.
Sew the loop fastener to the other inside square, 3/4" from the edge.
The side of the charm square with the hook/loop will be referred to as the TOP for the rest of the tutorial.
6. Place one inside square on top of one outside square, right sides together and TOPS together as well.
With a 1/4" seam allowance sew on outside/inside set along the top.
Repeat with second outside/inside set.
7. Open the seam and press.
8. Fold the longer piece of ribbon in half.
Place at the top of one of the front squares, lining up the open edge of the ribbon with the left or right side of the square.
Attach using 1/4" seam allowance.
9. Place one top and bottom on top of the other top and bottom,
right sides together,
insides on top of insides,
outsides on top of outsides,
bottoms on top of bottoms,
tops on top of tops,
and
hook and loop attached.
Sew along the sides and the bottom of the inside pieces with a 3/8" seam allowance.
Leave the bottom of the outsides open.
10. Trim off the corners of the bottom.
11. Turn right side out through the top opening.
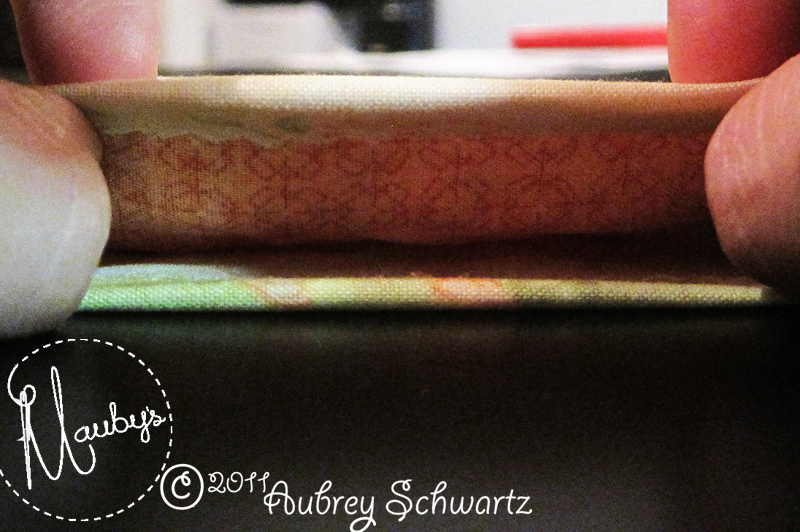
12. Turn the top over the bottom and fold at the seam line where the inside is sewn to the outside.
This creates the pouch.
13. *OPTIONAL*
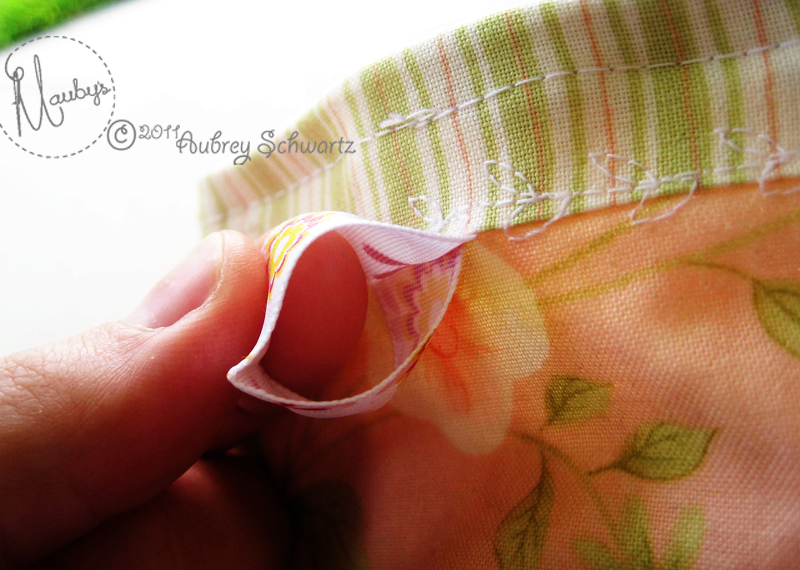
To create a nice finish you can stitch around the top of the pouch attaching the outside to the inside. This gives a bit of a crisp finish to the opening.
*If choosing to skip this step move onto step 14 to continue*
14. Fold the bottom of the outside pieces, tucking in the open edges and press.
15. Edge stitch this opening closed.
These handy ribbons make great "handles" for opening the pouch easily.









0 comments:
Post a Comment