
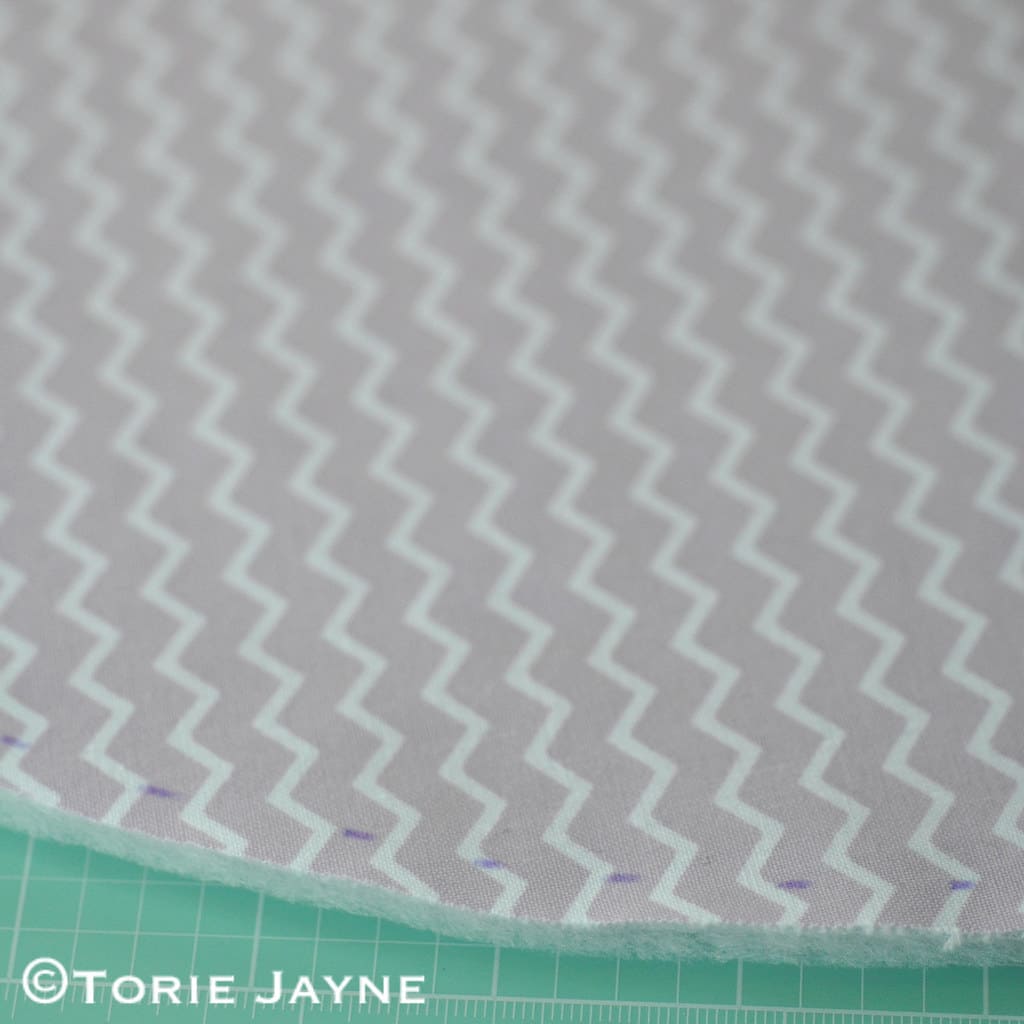
My new outdoor floor cushions. To make them super comfy and hardwearing I fused Vlieseline fusible batting H640 to all the panels which gives them a lovely soft smooth look and feel, and is easy to apply as you just place the interlining with the coated side on the wrong side of the fabric.
Cover with a damp cloth and press each area for about 15 seconds, without pushing the iron. Allow the pieces to cool flat for about 30 minutes, so that the adhesive can set properly and away you go.
As I plan to use the floor cushions outside I have sprayed them with Liquiproof, which uses the innovative qualities of nanotechnology to form an invisible barrier, which is water-resistant and oil-repellent. The individual fibres of the surface are bonded with silicone dioxide particles which form the protective coating, meaning my cushion surfaces are fully protected from oil and water.
Here's my Round Floor Cushion Tutorial...
You will need...
chevron hill fabric in mauve (2 x 52cm squares)
chevron hill fabric in pastel violet
159 cm mint large pom pom trim
vlieseline fusible batting H640
polyester toy filling
liquiproof fabric protector
all purpose sewing thread
household assorted needles
water erasable pen
iron
How-to step by step...

Step 1
You will need the above, to cut perfect circles follow steps 3 & 4.

Step 2
You will also need the following to get a great finish and protect your floor cushion along with polyester toy filling.

Step 3
To cut your circles fold the fabric square in half and half again, press.

Step 4
From the centre fold mark points 26cm away, join these points to create a smooth curve. Cut out and you will have a perfect circle.

Step 5
Following the manufacturer's instruction fuse the wadding to the back of the gusset and front & top circles.
Step 6
Using a water soluble or vanishing pen mark a pin line 5mm from edge of the top circle.

Step 7
Pin the pom pom trim round the edge of the top circle so that the pom poms are on the inside and the edge matches up with the marked lines.
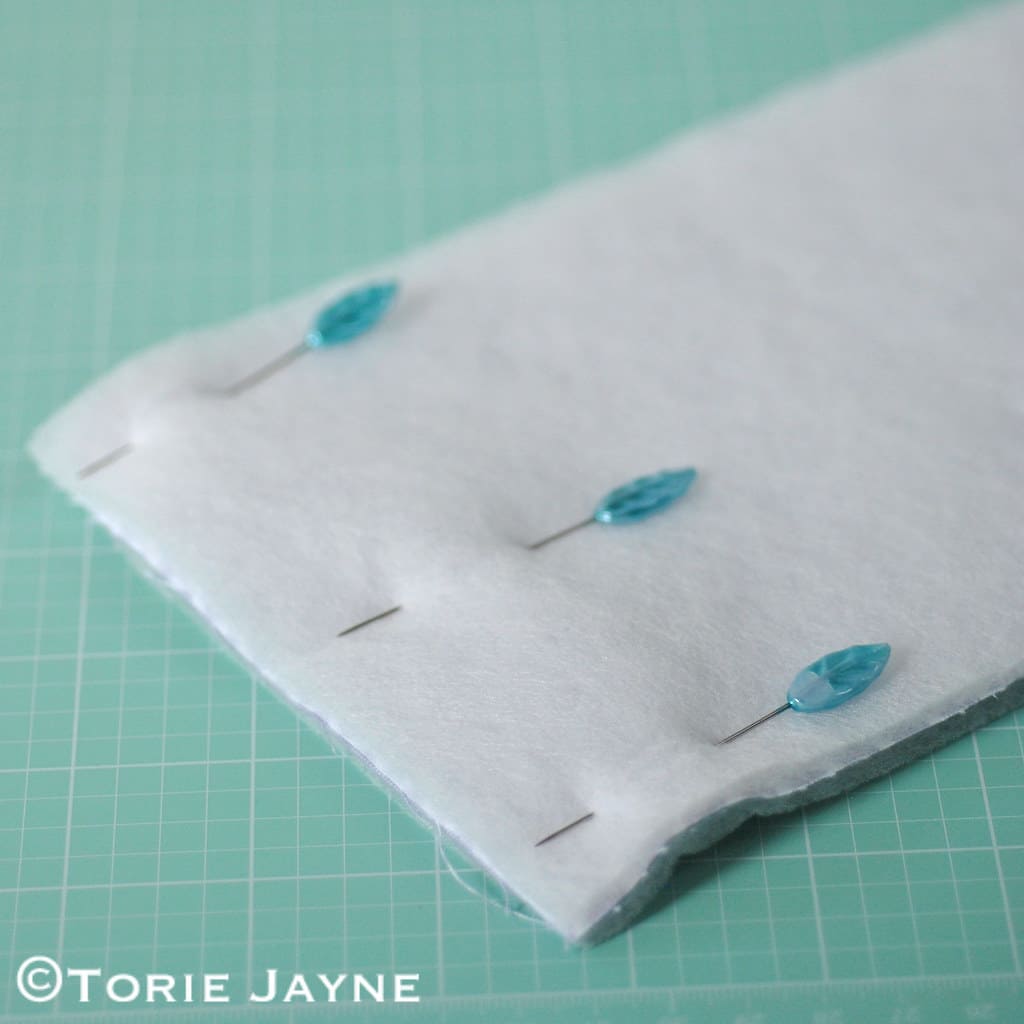
Step 8
Pin the two ends of the gusset right sides together, matching up the raw edges.

Step 9
Stitch together using a 1cm seam allowance

Step 10
Press the seam open

Step 11
Clip the top and bottom edge of the gusset so that it fits round the circles.

Step 12
Pin one edge of the gusset to the top circle, right sides together.

Step 13
Using a 1cm seam allowance, stitch the top circle to the gusset.
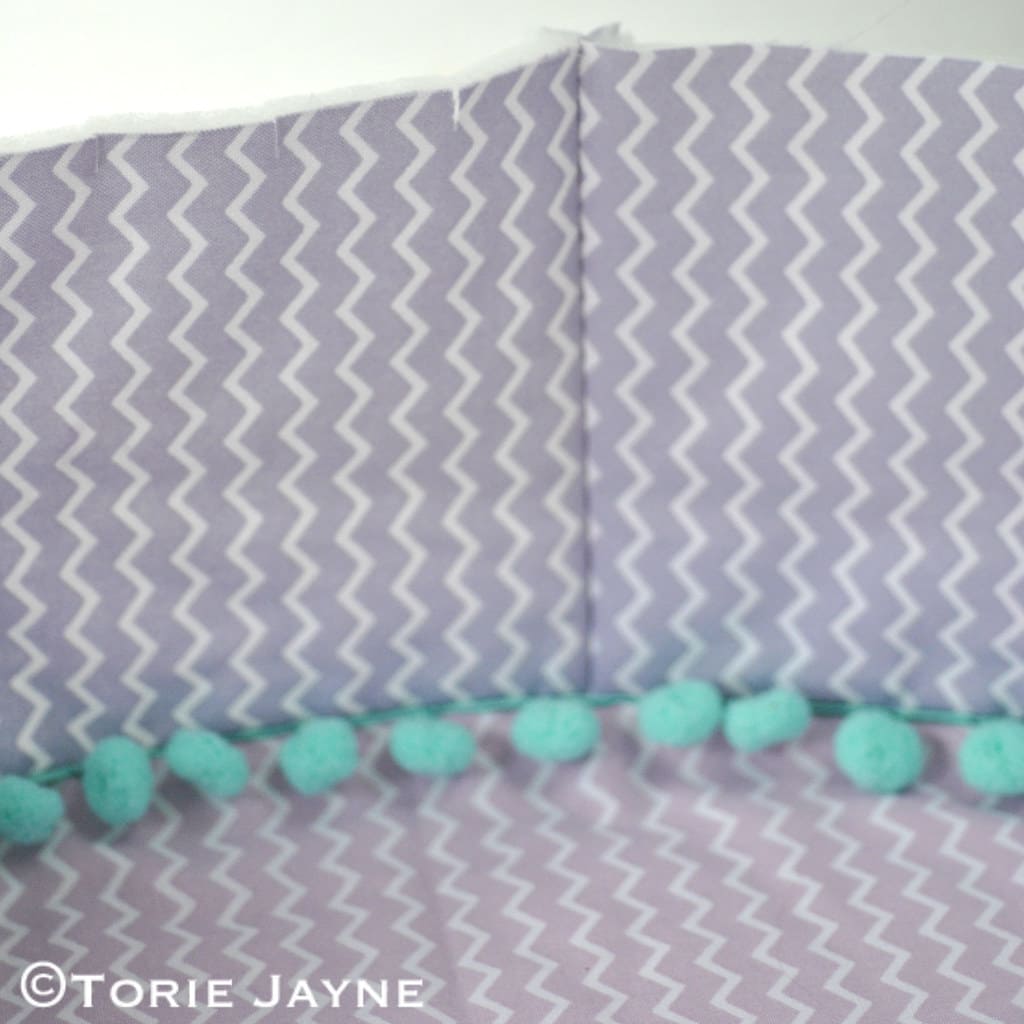
Step 14
Your floor cushion should now look like the above photo.

Step 15
Now pin the bottom circle to the other side if the gusset, right sides together.

Step 16
Using a 1cm seam allowance stitch the bottom circle to the gusset leaving a small gap big enough to get your hand inside.

Step 17
Turn the floor cushion the right side out using the hole left in the bottom. Stuff the cushion with filling.

Step 18
Turn in the seam allowances of the opening and slipstitch closed.

Step 19
Ensure the surface is clean and free from dust and dirt before you use Liquiproof to protect your floor cushion.

Step 20
Spray Liquiproof evenly over the entire surface of the bottom of the floor cushion from a distance of approx. 10-15 cm until the surface is damp.

Step 21
Liquiproof recommend the coating is gently rubbed into the fibres to ensure it bonds deep into the fabric using a clean, soft brush.

Step 22
Allow 10 minutes then repeat previous 2 steps at least once. Leave to air dry for 24 hours. Then spray the front and sides of the cushion as before.


0 comments:
Post a Comment