
An envelope bottom bag creates a clean finished look and a nice square bottom. It’s a great skill to tuck away for when you need to sew up bags quickly for birthday party treats, Halloween trick or treats, Easter baskets and more! I’ll show you two project tutorials we’ve used it in at the end.
Envelope Bottom Tutorial
1. Start with two rectangles. These will determine the size of your bag. I’m doing a quick example here, so I’m making just a small bag.

2. Sew the bottom of the rectangles right side together. I ironed it all nice and flat.

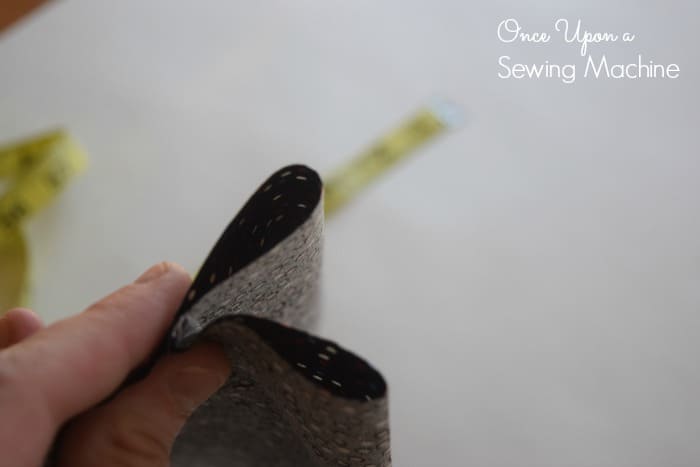
3. Fold your rectangles right side together. Pull the bottom seam down 2″.

4. Bring up your second side 2″ so your raw edges meet. Now you have a four layer sandwich. There are a couple pictures so you can see what I mean.


5. With your sandwich flat together, sew up both side seams. Now everything is contained in the seam.

6. Flip your bag right side out.


0 comments:
Post a Comment