
I needed a quick project to work on this weekend, and turned it into a tutorial - be prepared as I am posting many pictures to help you. This one is quick, and the possibilities for embellishment are endless. In my case, since I chose a busy pattern, I did not add any other decorations.

Using free-motion quilting, I outlined the flowers and used stippling on the brown background, but you can just as easily use straight lines, too.
No pockets, to keep it simple. Here is what you will need:
Supplies
Outside fabric: 1/2 yd X width of fabric
Liner fabric: 1/2 yd X width of fabric
Batting: 1/2 yd X width of the fabrics you are using
1 strip of a contrasting fabric for handles: 3-1/2" X width of fabric
Rotary cutter, mat
Matching Thread for sewing, contrasting thread for top stitching
Monofilament for quilting, or other quilting thread
Rulers
Scissors

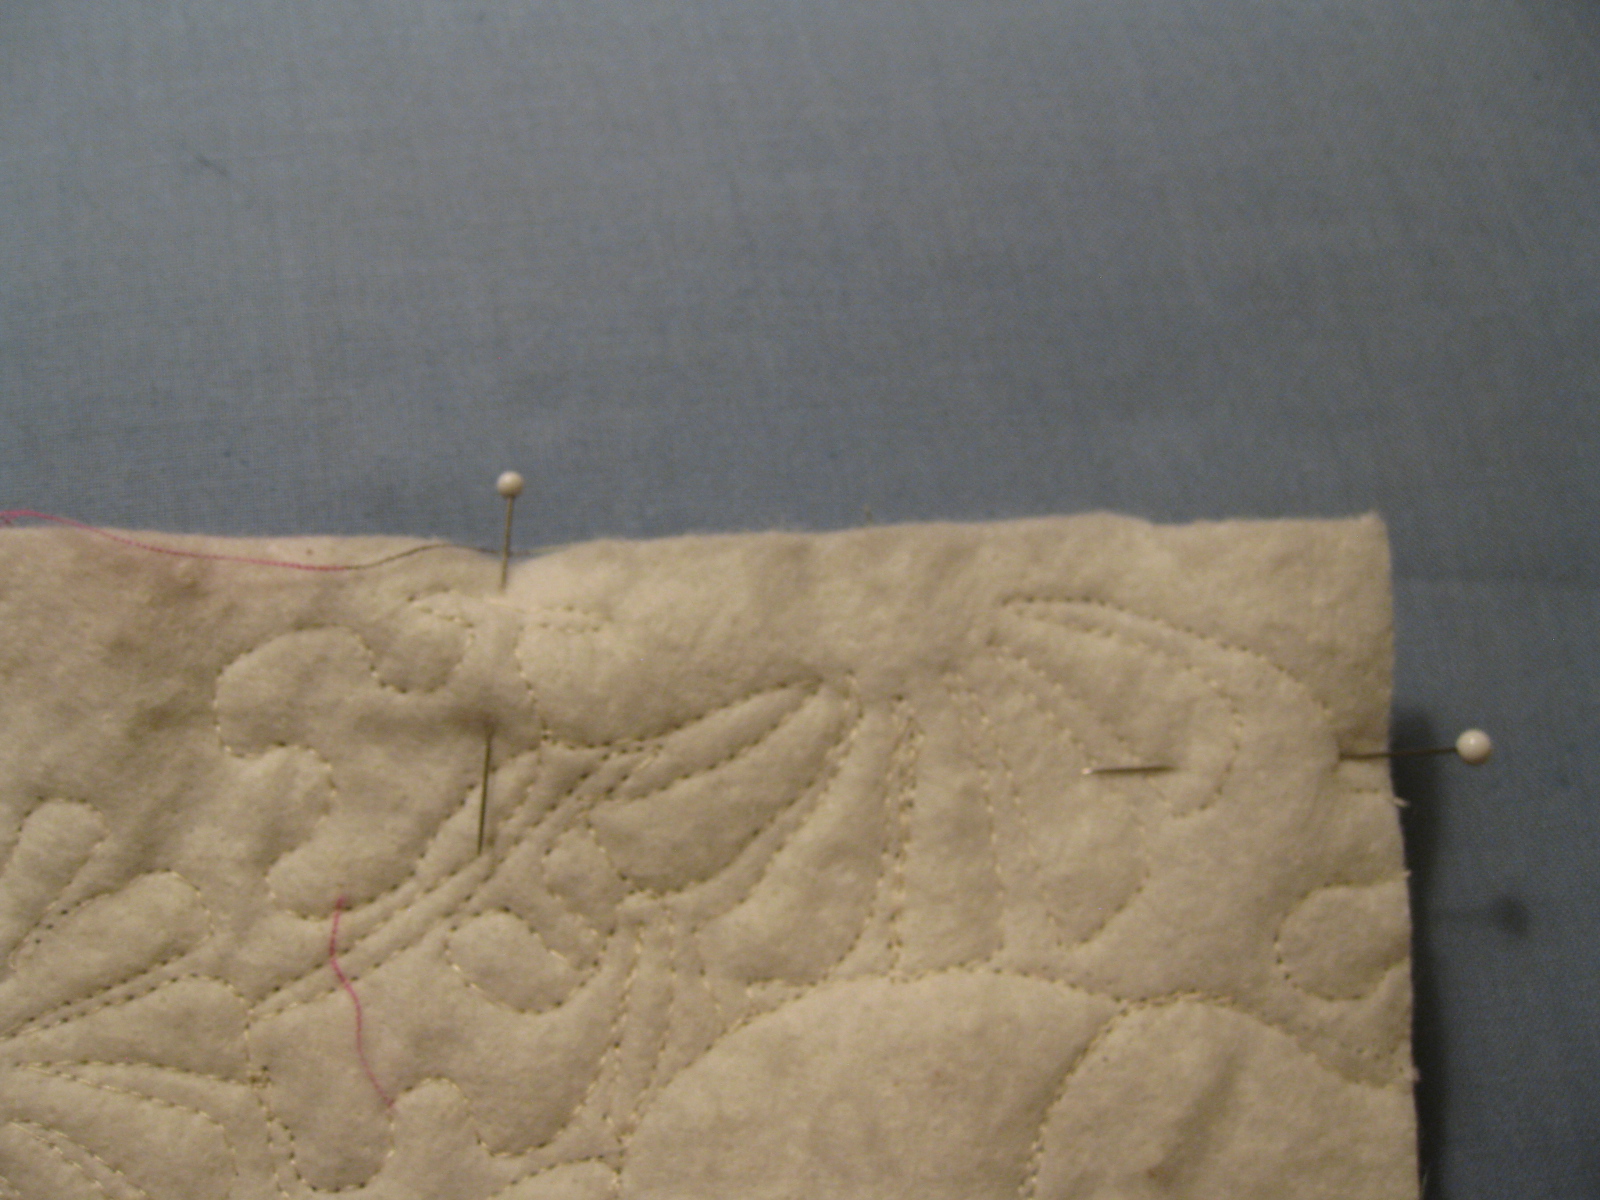
Remove selvage of fabrics. Set liner fabric aside. Place outside fabric over batting, right side up, and trim batting if necessary.

Pin outside fabric and batting together. Quilt using your favorite quilting thread or monofilament. In my case, I used monofilament as I did not want to add more color to the fabric.
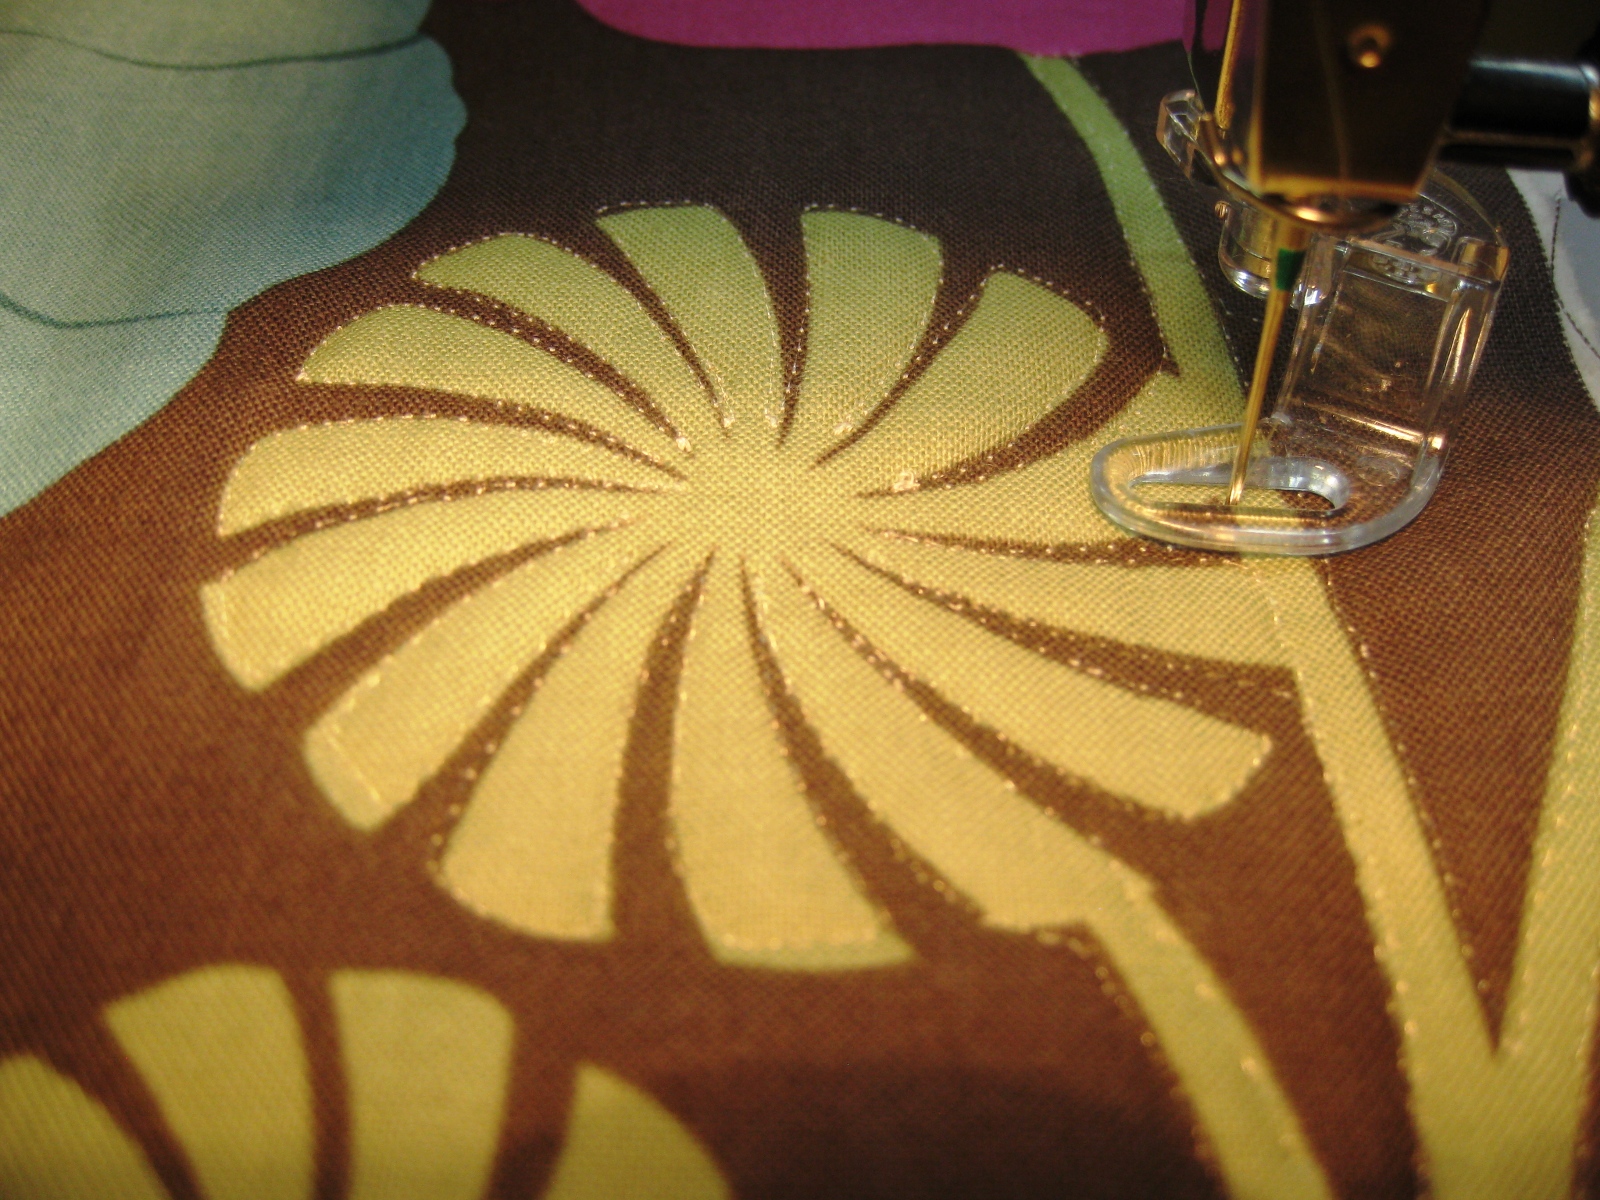
Before you start quilting, remember to practice for a couple of minutes on a quilt sandwich to check your thread and bobbin tensions. Also, if your bobbin case has a 'thumb', remember to run the bobbin thread through it - it will prevent problems as you free-motion (such as the little thread dots you see on the center of this flower: that is when I realized I had forgotten to thread the thumb).

Cut in half (lengthwise) the strip of fabric for the handles.

Take the strips to the ironing board, fold up 1/4" on one side, then press it.

Fold down 3/4" from the top, and press it.

Fold up the 1/4" side over the 3/4" side.

Now you won't have edges fraying under the handle, and you did not have to sew a tube and turn it inside out. The handle should be 1-1/2" wide. Next...

Take the strip to your sewing machine and sew it.

Flip the strip to the 'right' side and top stitch it, using contrasting thread so the strip will have two lines of stitches. Do the same for the other strip.

Now, you will pin the handles to the outside fabric/batting sandwich you quilted. Measure 5-3/4" from the left side, position and pin one end of the handle, with wrong side of handle facing you.

Measure 5 inches, and pin the other end of same handle.

Measure 12" from this last pinned end, and pin one end of the second handle. Again, with five inches in between, pin the other end of this second handle.

There should be 6-1/2" left to the right of this sandwich. The extra 1/2" on the right side will be used as a seam allowance. Another way to do it: fold the sandwich in half, mark six inches to the right of the fold, pin one end of the handle there. Mark 5 inches to the right of that end, and pin the other end of the handle. Now, measure six inches to the left of the fold, and do the same thing with the other handle strip.

Place lining fabric onto quilt sandwich, right sides together. Pin along the edge to which you attached the handles.

Sew the lining and outside fabric together (I used a walking foot, to easily sew over the thickness of two fabrics, batting, and handle) - 1/2" seam.

This is what it looks like on the right side when you are done sewing them together.

Press it well.

You are almost done! Now, fold the bag with right sides together (make sure you fold it so the main fabric folds over itself, and the lining folds over itself as shown above), pin, and sew around the three sides of the bag (the fourth side is the fold). When sewing the short end of the lining fabric, you will need to leave an opening (about 5 inches) so you can flip the bag inside out later.

Be sure to match the middle seams well.

When you get to the stopping point at the bottom of the liner (i.e., close to the section you will leave open), back stitch a couple of times on both sides of the opening so it won't rip when you are flipping the bag inside out through it.

To square the bottom of the bag, pull the sides apart, smooth them so you can measure 2" inches on both sides of the seam line (well, the 12 on the ruler 'was' on the seam line before...). Mark it with a pen. Do the same on the other point.

Repeat it with the lining fabric, mark it with the pen, and...

.. sew on the line marked on all corners. Then...

... trim the corner 1/4" away from the seam line, repeating for all corners.

Pull bag through the opening on the lining fabric...

Check out the pretty corners...

On the ironing board, press all the seams, stuff lining inside the bag and...

...press the edge of the bag, leaving maybe 1/8" of the lining fabric showing on the outside of the bag because on the next step you will...

... fold the edge down 1-1/2" and pin all around.

Bring the handle up over the folded edge and pin it, too.

Top stitch all around twice using contrasting thread if you like.

Pull liner out of bag and sew the opening shut. Stuff it back inside the bag, and you are done!

What do you think? Easy peasy... You can opt to add pockets inside and/or outside, and make the handles longer. But for a quick project, this one should do!


0 comments:
Post a Comment