
I love it! And what’s best, this case is actually pretty easy to make. The perfect teacher gift as we wrap up the school year. Get the curved sunglass case DIY below.


These are a quick make, so you will have time to make some for each pair of sunglasses you have – or make a coordinating one for each of your bags! The dimensions are perfect for larger sunglasses – just adjust on the sides for smaller glasses to have a snugger fit.
Materials needed:

Outside fabric – 2 cuts of 9″ x 5″ (fabric used: Pinwheels by Katherine Codega)
Lining fabric – 2 cuts of 9″ x 5″ (fabric used: Timeless Treasures Sketch Basic in Mist)
Heat n Bond fusible fleece – 2 cuts of 9″ x 5″
Coordinating thread
Sewing machine and notions (straight pins, scissors)
Iron
Glass for creating a curved line
Pen
Step 1:

For my larger glasses I used a measurement of 9″ x 5″ for my fabric cuts, reduce yours in width for smaller glasses.

Take your two outside fabrics measuring 9″ x 5″ and iron to your fusible fleece. Medium heat / steam iron fusible side of fleece to back of fabric.
Step 2:

Lay your lining fabric face down on top of your outside fabric facing upwards. Draw a curved line at your top two corners – using a glass or small plate.

Using a 1/4″ seam allowance sew along the inside line that you just created. Do this for both sides of the pouch.

Cut along the line that you drew and cut small notches along your curve.
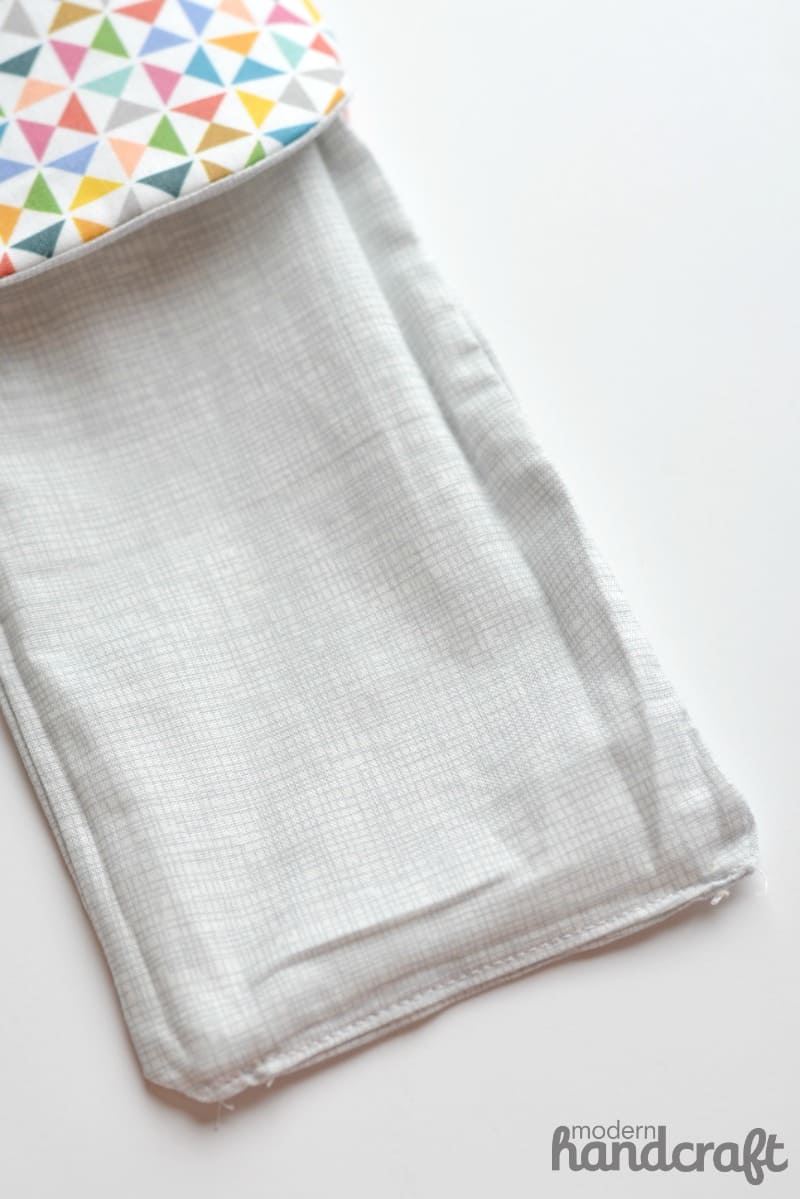
Step 3:

Take your two pieces and match up outside pieces and inside pieces facing each other like shown. The curved part that has been sewn will lay to the side as we sew. Pin in place to hold. You will now sew along the perimeter making sure to leave a 3″ opening at the end of your lining pieces to turn inside out.

When you are sewing next to the curved ends make sure your stitches are sewing just outside the curved line.

Go back now and make sure the curved flap isn’t sewn down to the side. If it is, just use a seam ripper to release and restitch backing up to the flap. I did this by holding it up like shown and made a reverse stitch up against the flap. Check each side to make sure the flap can stand up like this.
Step 4:
Turn inside out through the opening you left in the lining fabric. Use a chopstick or pen to poke out your corners and to round out the curved area of the case. Turn in the open edges of the lining and stitch closed. Tuck in lining and press the case flat to finish it off.
You are finished!


I am going to make a few of these for my regular glasses as well – reducing the size to 3.5″ x 8″ for my fabric cuts. Play around with different sizes to create a perfect fit for you sunnies! This project is perfect for those smaller scraps you have – and would look cute quilted up with several different fabrics sewn together.
Thanks for stopping by today!


0 comments:
Post a Comment