
Useful and Easy Traveling Zipper Catch All – FREE Pattern and Tutorial. DIY Sewing Organizer Bag
Now Grab your machine and lets get stitching this Zipper Catch All!!

Tools:
Best Press
Ruler, Rotary Cutter, Mat
Scissors 8″ Sheers
Thread snips
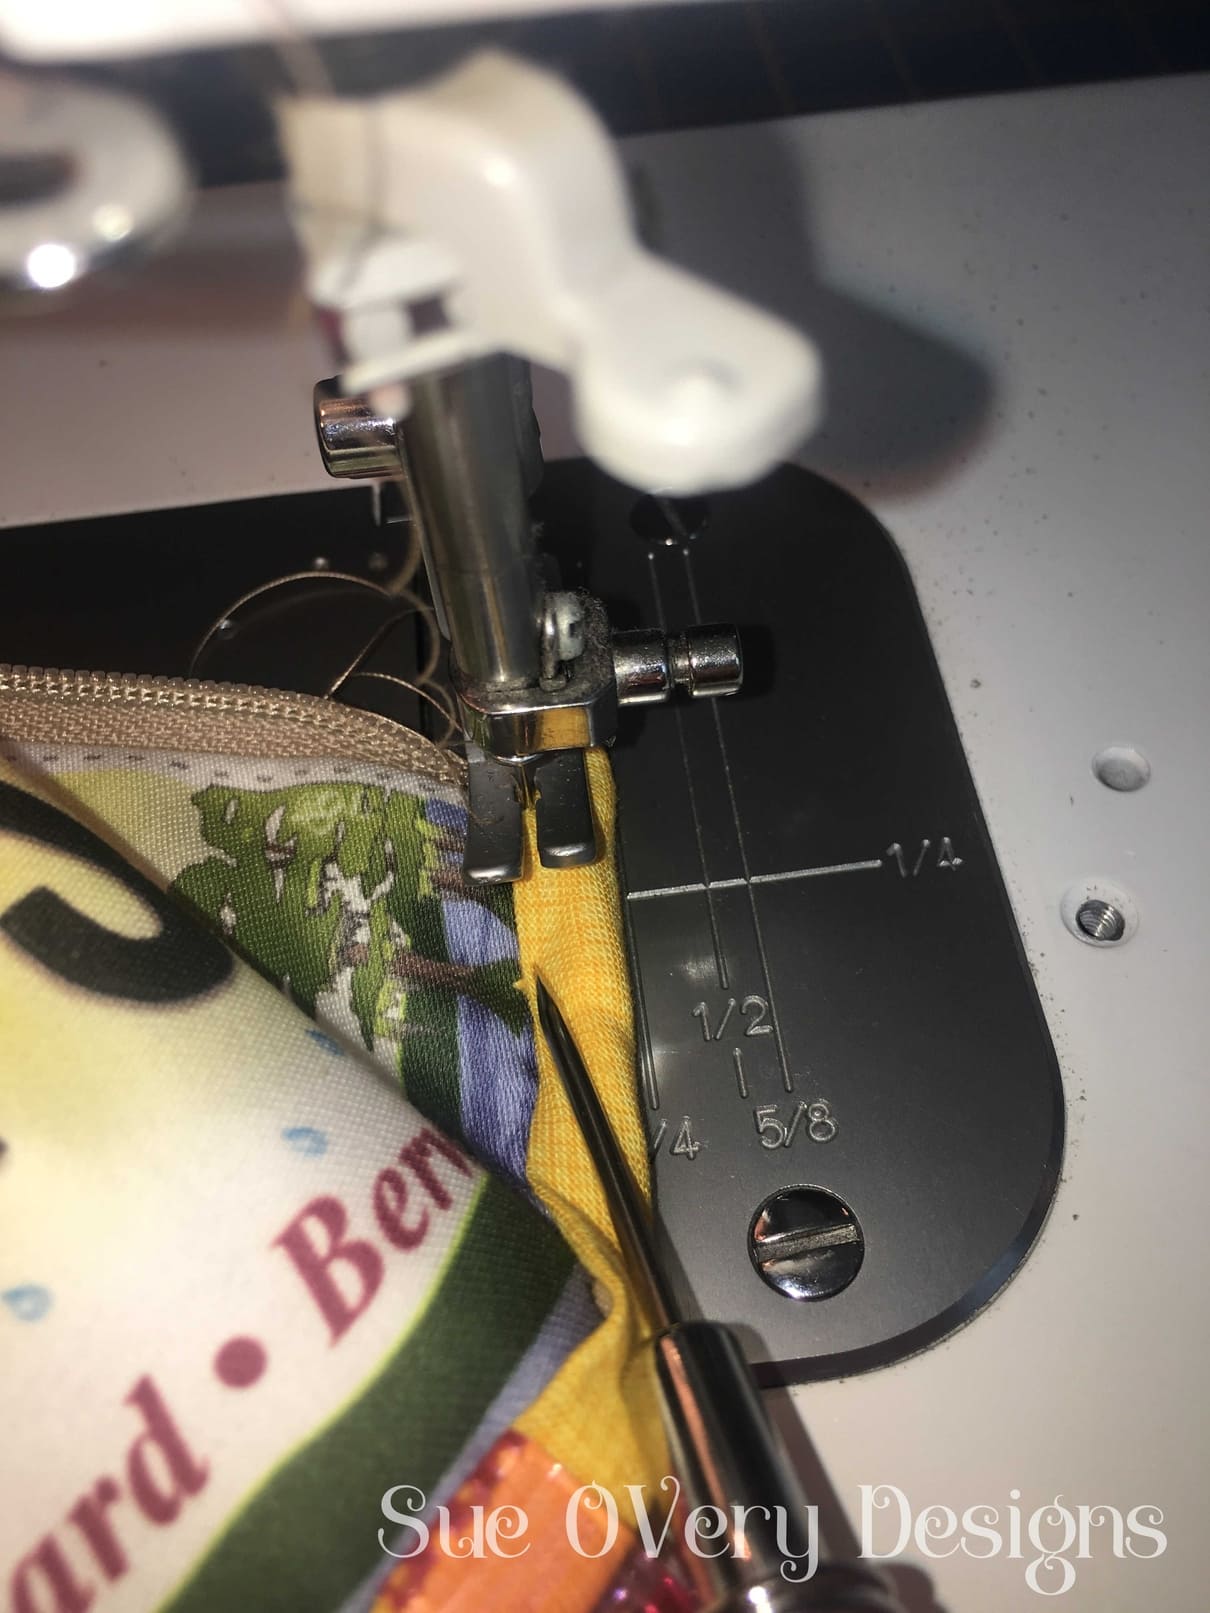
1/4″ foot (zipper foot optional) I used a narrow foot
Marking pen
Wonder Clips
Straight Pins
Stiletto
Materials:

(2) Fabric Plates (Ask local quilt shops for these)
(1) Fat quarter
(1) Zipper cut to 16″
1/3 yd Interfacing/Stabilizer (I used Decor Bond)
Cutting instructions:
Download the two (2) PDF pattern pieces:
Front/Lining Pattern piece PDF pattern
Base Pattern piece PDF pattern
2. (2) Fabric Plates (or regular fabric): Cut down to 4″ H x 7-3/4″ W

*Note: If you don’t want to use Fabric Plates then cut the Front/Lining pattern!
3. Lining Fabric (1 Fat Quarter): Use cutting diagram below

(1) Lining – from pattern piece
(1) Pocket – 6-1/2″ W x 7-1/2″H
(1) Base – from pattern piece
(1) Binding – 2″ W x 10″ H (on bias)
(1) Top – 2-1/2″ W x 7-3/4″ H
4. Decor Bond:
(2) Front/Lining – from pattern piece *Note: Remove 1/4″ around all sides
(2) Base – from pattern piece (only cut one NOT on fold)
(1) Pocket – 6″ W x 3-3/4″ H
Lets Sew the Zipper Catch All!
Now that you have all your tools and materials cut, lets sew up this Zipper Catch All
Steps:
Sew the Top to the two fabric plates. Press.

Use Front/Lining pattern piece to trace top curve. Cut.


Remove 1/4″ around Front/Lining interfacing. This will help reduce bulk in the seams. Press the interfacing to the wrong side of the Front and Lining pieces.

Press the Base interfacing piece to one side of the wrong side of the Base. Press the pocket interfacing to one side of the wrong side of the pocket. Pocket should be 6-1/2″ wide.


Place pocket right side together aligning raw edges. Sew sides with 1/4″ seam allowance. Turn right side out and press.

Find and mark center top and bottom of Front and Lining and Pocket


Align the raw edges of the pocket to the Lining centered. Pin in place. Sew sides and bottom and center. Sew two other mid-pockets if you desire.


Mark Base from fold down 3-1/2″.

Sew sides of Base to sides of Lining. Stop sewing 1/4″ from bottom of Lining.

Cut the zipper to 16″ if you have not already done so.
Cut off the metal tips of the top of the zipper. *Note: cut the bottom metal stop if you still have one.


Mark the zipper 1″ from bottom of zipper. You don’t want to pull the zipper pull more than 1/2″ or else the zipper pull might slip off!

Alight the 1″ mark with the center mark on the Front. Clip in place with a Wonder clip.

Attach Front to right side of zipper all the way to the bottom.

Sew a scant 1/4″.

Stop sewing 1/4″ from the bottom of the Front.

Close zipper and draw a line across the bottom where the Front ends. Clip the zipper right sides to the Front. Repeat the same stitch as the other side.


Place the Lining right sides to the Front. Align the center marks on the top. Use clips to hold in place and sew one side at a time.


Use stiletto as needed.


Turn right side out. Tip: Hold zipper pull while turning right sides out.
Great, now it stands up on its own!


Feed zipper pull inside!


Mark center of the Base and align with the Front/Lining center marks. Clip the Base to the Front/Lining. Smooth out zipper at ends. The zipper will end up being sewn inside the binding. Sew using a scant 1/4″.


Trim even extra material as needed.


Press binding in half lengthwise. Cut end off square.


Attach binding to Base. Align raw edges. Wrap about 1/2″ of binding around the the Front. Clip in place. Sew scant 1/4″.


Use Stiletto as needed. It is sort of like having an extra hand. At end wrap 1/2″ around to the Front.


Looks great! Trim any extra materials as needed.

Wrap Binding around toward the Front. Clip in place. Sew about an 1/8″ inside edge of Binding. Use stiletto as needed.


Use stiletto as needed.

Wonderful!!! You did GREAT!


Fill with goodies!!


Zip up and Go!


0 comments:
Post a Comment