
The Retro Pocket Protector. If you are looking for something fun to make for a Christmas gift this would also be an awesome gift for the teachers or students in your life!

Just look at all the pens, markers and highlighters that it can hold! It even has a flap velcro closure so that you never lose a thing.

Yup, it still fits nicely in that shirt pocket.

Easy access for note writing on the go!
Okay, so lets make one shall we?
2 pieces of 4 1/2 x 7 inch outer fabric
2 pieces of 4 1/2 x 7 inch lining fabric
2 pieces of 4 1/2 x 7 inch medium weight fusible interfacing
1 piece each of outer and inner lining fabric measuring 4 1/2 x 3 inches for the flap
1 piece of 1 3/4 inch velcro

Once you have cut your pieces take your 4 1/2 x 3 inch pieces for the flap and cut one 4 1/2 long side at an angle on both pieces (see picture above).
Next, iron on your interfacing to the wrong side of both outer fabric pieces.

Then take the rough side of the velcro, center and sew it about 1 inch from the top of one of your outer fabric pieces. This picture shows it placed a little off!

Then take your inner flap fabric and sew on the soft side of velcro towards the angled edge.

Next, place your two lining fabrics right sides together and sew along the lengths of both sides as well as part of one short side, leaving a few inches open for turning.

Then, take your two outer fabrics and place them right sides together. Sew along three of the sides, like in the picture above.

Then sew and clip the corners (about 1/2 inch) of both outer and inner fabric pockets you just made. Do this at the short sewn side and not the open end!

Next, place your two flap fabrics right sides together and sew around the three shorter sides.
Turn right side out and press with your iron.

Alright, it’s assembly time!! Woot, Woot!
Turn your outer fabric pocket right side out and place inside the lining pocket. The right sides should be facing like in the picture above.
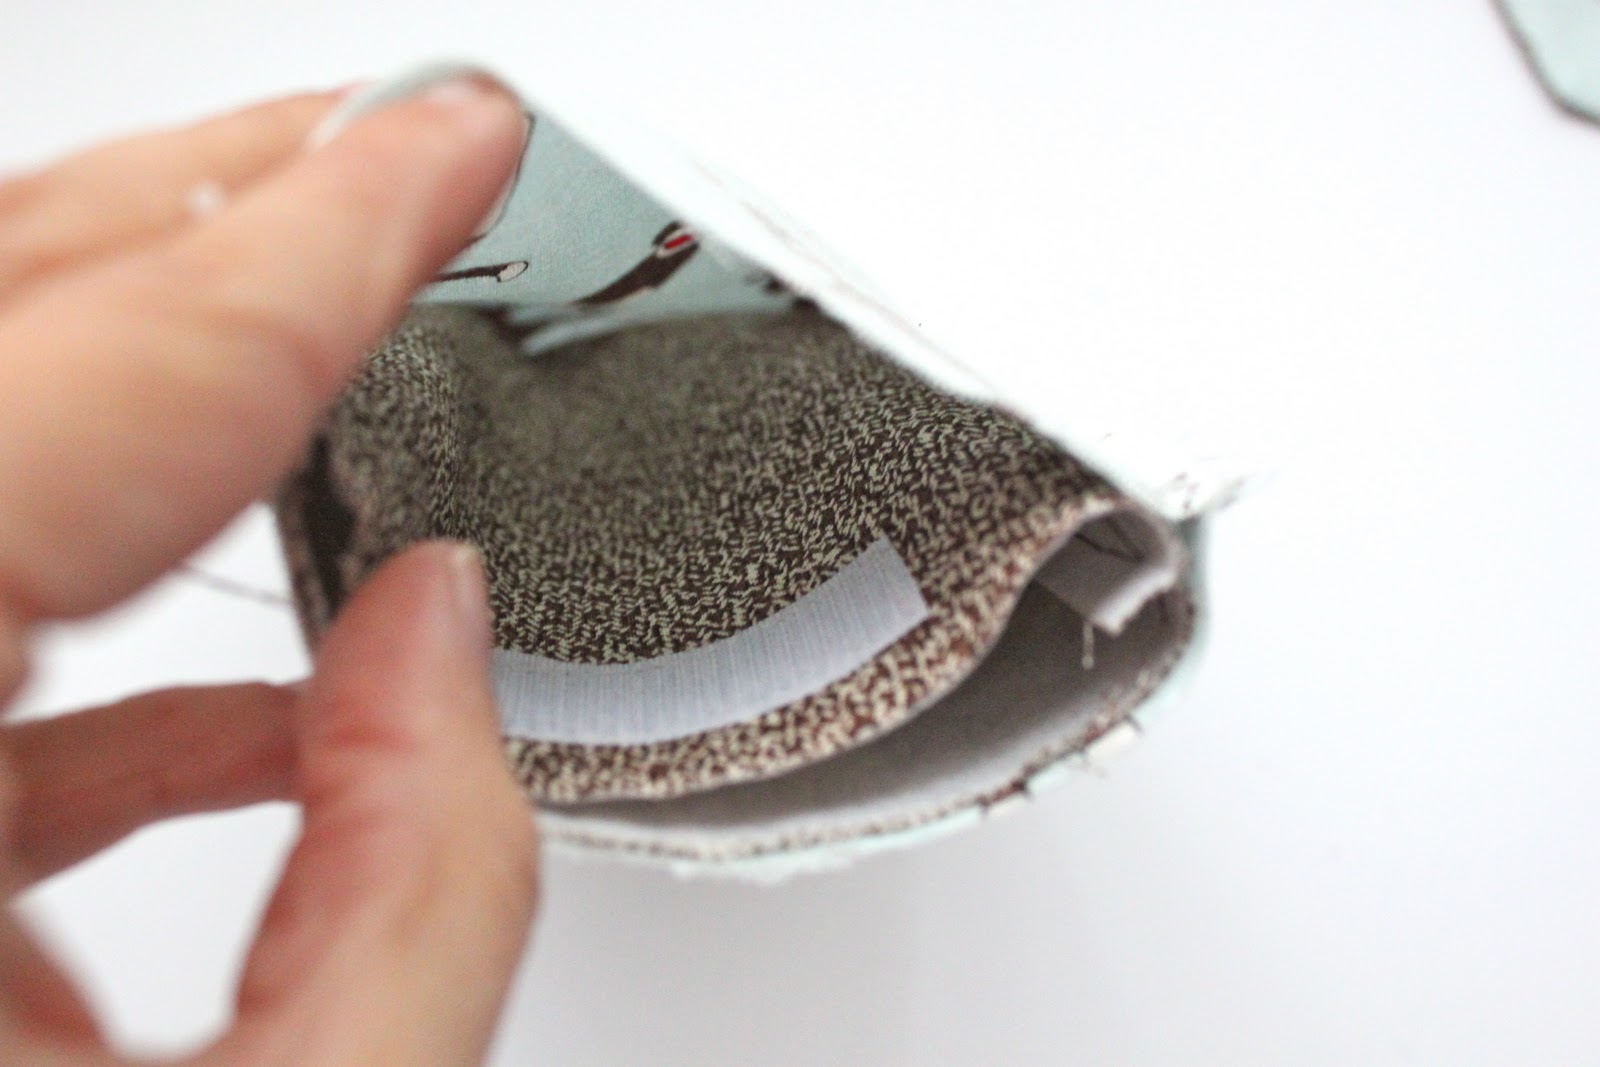
Here’s another view of how the outer pocket should be sitting in the lining pocket.

Then, carefully place your flap so that the lining fabrics are facing each other. Make sure you place it on the side opposite of the velcro from the outer fabric!!

Here’s another view of that last step!
Pin in place an then very slowly sew around the raw edge.

Now you just have to carefully wiggle the outer fabric through the hole in the lining.

Almost done!!
All that’s left is to sew up the hole in the lining and push the lining down into the outer fabric pocket!

Voila!!
Right side out now!

Now just fill with your favorite writing and highlighting goods and you are set for some note-taking fun!

Yup, all snug as a bug in a rug.

A cozy for your pens…
is that sweet or what!?!
Happy Making!!


0 comments:
Post a Comment