
Years ago I found an Amazon box that fit perfectly in one of our grocery bags. Perfectly! Why did I put it in in the first place? I have no clue. But over the years it has served us very well. I use it for produce when we go grocery shopping or pick up from our CSA. The box makes sure that your produce (or eggs, bread, anything else delicate) doesn't get swung around and smashed up while you are carrying it, or fall over in the car.

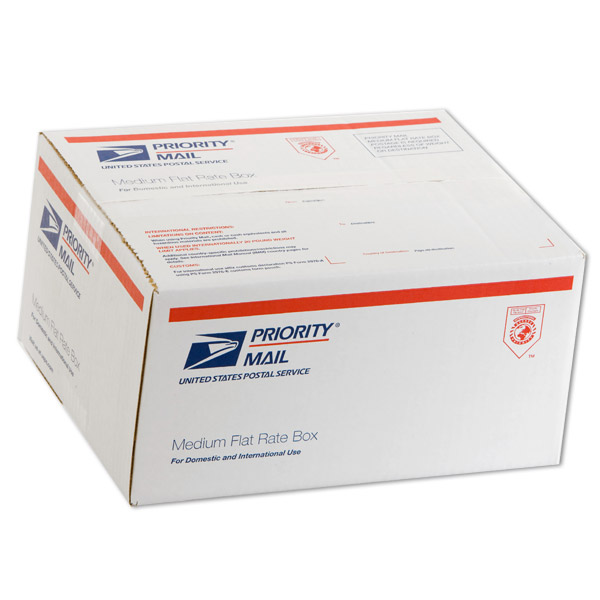
I made a few more using USPS Medium (the boxy medium, not skinny) Flat Rate Boxes. They are free at the post office! You can use ANY box you have laying around as long as you have a ruler to measure it. With all my fabric purchasing and swap sending, there's always a used one that I can reuse.
This is a simple bag with a boxed bottom and French seams. There are TONS of tutorials out there of this kind. What I hope you get from this one if a tried and true way to make sure the bag comes out the right size for the box! The How-To from a math teacher. :)
I think canvas is a nice weight to work with for grocery bags. If you only plan on using this for light use, feel free to use a lighter weight fabric. Also, I ALWAYS pre-wash my fabric, that way when I run the finished product through the wash it won't shrink and warp in crazy ways.
SUPPLIES:
* 1 box (you decide how big/small it should be based on your needs! I used a USPS Medium Flat Rate Box)
* Canvas fabric (about 1 yard. See calculations below BEFORE starting. With the USPS Medium Box, 44" wide fabric is enough. If you are using a TALLER box, you may need 54" wide fabric.)
* Ruler
* Rotary Cutter & mat OR Scissors
* sewing machine with matching/contrasting thread and heavy needle
ASSEMBLY:
1) Assemble the bottom of the box and tape it like you would for shipping. Leave the top open (we have to get things in the box when we shop!).
2) Measure your box. Width, length, height.
**Width and length are mostly interchangeable (depending on how you view the box), but height is definitely how tall the box is once the bottom has been closed but the top is still open**
The USPS box is 11.25" long x 8.75" wide. Height with the top flaps up is 10". If you are using a different box, go measure now!
3) Next, the math (Stay with me! Math isn't scary! If my students can like it, so can you!).We're just calculating here, not cutting yet.
height + width/2 + 5.5" = how wide to cut fabric
10 + 4 3/8 + 5.5 = 19 7/8 (so I'll just round to 20", no biggie to round up here)
** you will need an additional 8"x WOF of fabric for the handles**
TOTAL for MY BAG: 20" + 8" = 28" (1 yard will allow for shrinkage in the wash & trimming off the ragged edges)
4) Cutting the fabric. Keep the fabric folded in half so that the selvages are together. Square up the edges of the fabric if needed (especially if you washed the fabric).
Cut 2: 4" strips (by width of fabric) for the straps and set aside.
Cut 1: your wider piece for the body of the bag from step 3 (mine is 20" wide).

5) Turn the fabric and cut off the folded edge. We’ll need to do one last calculation:
length + width + 1" seam allowance = how wide to cut fabric
For my box: 11.25" + 8.75" + 1" = 21"

6) ** While there are a few ways to box the corners of a bag, I have found that when you need to be precise, it's better to cut out notches first.**
From each side measure in BOX WIDTH / 2
* From each side I measured 8.75" / 2 = 4 3/8"
From the bottom edge, measure up WIDTH / 2
* From the bottom I measured 8.75 / 2 = 4 3/8"
Cut these out. Try not to slice too far past the markings, but a little over won't hurt anything.

7) With WRONG sides together, sew up side seams and bottom using a 1/4" seam allowance. DO NOT sew into the notches. Turn right side out and sew again using a 3/8” seam allowance (you now have a protected French seam!

* A word about why I use French Seams here:
1) Canvas is tends to shred at the exposed edges, so enclosing them hides that.
2) I load up my grocery bags, so this is a nicely reinforced seam
3) The inside looks pretty and beyond professional
4) It takes only slightly longer than serging the seams
8) With wrong sides together, match the side seam with the bottom seam and match up the open ends of the cut out rectangles. Make sure the side seam goes in one direction and the bottom seam goes in the other direction so that the seams “nest”. Pin & sew a 1/4" seam allowance. Repeat on the other side. Sew. Turn right sides together and sew again with a 3/8” seam.

9) Fold down 2" from the top toward the wrong side and press. Fold down another 2", pin and press.

10) Put the box in the bag and make sure you are happy with the fit and the height of the bag to the height of the box. It should be snug! Adjust if you want. Take the box out.

11) Make the handles. Take one of your 4" x WOF strips and fold it in half the long way (hot dog bun style). Open it and press the edges toward the center crease. Press and pin the open edge closed (it should now be 1" x WOF). Using a scant 1/8" seam allowance, sew the open long side closed, then sew along the folded side. Repeat for second strap. Cut them to the desired length (I cut mine to 36").

12) From each side seam, measure over WIDTH / 2 + 1". You will have to mark 4 places (you can use a pin or fabric pencil). Tuck one end of one strap up under the fold at the top of the bag, with the strap on the inside of the mark (further away from the seam). Fold it up. Pin in place.
13) Take the other end of the same strap and tuck it under the folded top edge on the same side of the bag (no crossing of side seams here!), to the inside of the pin. Fold the strap up. Pin in place
* Make sure the strap isn't twisted! *

14) Repeat steps 12 & 13 with the other strap on the other side of the bag.
15) Top stitch along top folded edge and along bottom of the folded edge. I like to backstitch when I go over the straps to reinforce them.
16) Put the box in. You're good to go!


0 comments:
Post a Comment