
And today, I would want to share with you a very quick tutorial with you for a drawstring pouch.
I found this fabric in my stash while I was deciding what handmade gifts to make. This fabric is a japanese cotton fabric, so soft and really lovely in person!
You will need:

2 pcs. 28" x 9" fabric (exterior)
2 pcs. 28" x 9" fabric (interior)
3 pcs. base(1 exterior, 1 interior fabric, 1 batting) measurement: 27.5" circumference, 8.75" diameter
1 pc. 18" x 2" for short sling (exterior fabreic)
2 pcs. 1" x 32" for drawstring (exterior fabric)
lace and ribbon for embellishment
thread and basic sewing notions
1. Get one of your exterior fabric and sew whatever embellishment you'd want to use. In my case I used a vintage lace I found in my stash and a satin ribbon. I also made a tiny bow from the satin ribbon and added a small bead on its center and hand-sewn it on.

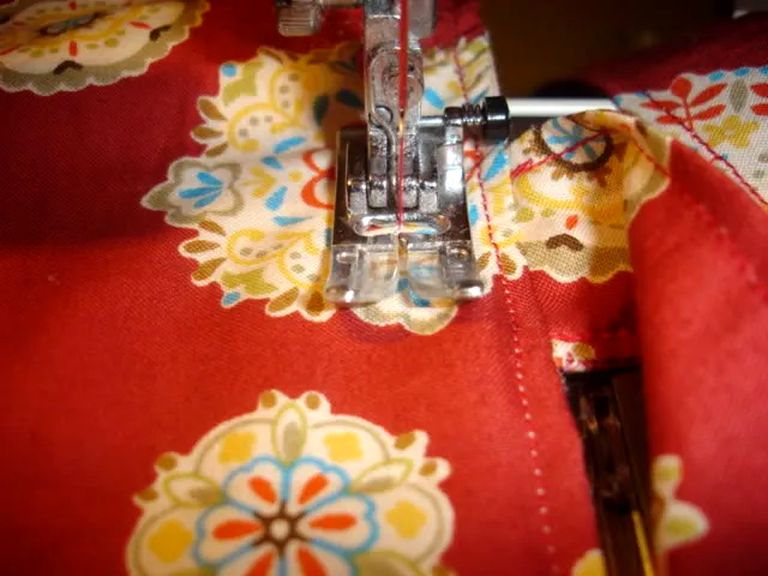
2. Get your rectangular exterior fabric pieces. Lay them right sides together and sew a straight stitch on one short side but do not sew all the way. Leave 1-inch unsewn (from the top) as shown below.

3. Cut along the short side of your sewn stitches. Well, it's more like of a clip than a cut. Fold the piece of fabric from where you've just clipped it, from the edge inwards. Fabric will be facing wrong sides together. I really hope my instruction makes sense... Sometimes, I even confuse myself when I read what I write... ^^)
Well, if you look at it from the right side of your fabric, it will look like this (I hope the picture helps):

Sew a straight stitch so you'll have this:


Do the same to the other side of your exterior fabric.
4. Get your round base exterior fabric and the batting. Sew them together using a basting stitch.

5. Get your exterior rectangular pieces, now sewn together and attach it to the base. Make sure the side where you have the 1-inch folds on each side is on top (not to be attached to the base). It is where you'd be inserting your drawstring later. Sew a straight stitch then zigzag stitch to keep the edges from fraying.

So, you'll have this:

6. Follow the same procedures for your interior fabric but remember to leave 2 inches unsewn on either side of your rectangular piece so you can turn your pouch inside out later on. Also, you can add your tag while you're doing this step.
7. Get your long sling piece, fold it crosswise, right sides together. Sew a straight stitch on each long side leaving one end unsewn (the other end is folded).

8. Turn it inside out and topstitch. You could also iron it first before topstitching.

9. Attach each short side of your handle on your exterior fabric. Mark the center of each (rectangular) piece of your pouch and pin your handle, aligning the edges. Sew a basting stitch.

10. Get your two pouches pieces (exterior and interior). Arrange them aligning the top edges so they'll be right sides together and sew them together. Make sure your sling or handle is well hidden inside so it won't get caught and get sewn.

11. You remember I told you to leave 2" unsewn on one side of your inner fabric? Turn your pouch inside out through it.

Then topstitch on your pouch's top edge leaving 1/4" seam from the edge.

12. Sew a straight stitch 1/2" away from the topstitch you just did.
13. Get your drawstring pieces and fold it lengthwise in 4, as if you're making your own bias tape. Sew a straight stitch all through it's entire length. You could iron it first or just fold as you go.

14. Insert each drawstring to your pouch. I inserted a bead then made a knot on each end. Make sure you insert it in such a way that you have a knotted and beaded end on each side of your pouch.

Now, you have a drawstring pouch! Easy-peasy, right?


0 comments:
Post a Comment