
The medium sized duffle bag is great for sports or as an overnight bag and the mini duffle bag is a perfect size for kids or even a toiletry bag.
This bag is a very basic and a quick sew. It can easily be modified to suit your needs (example: add more pockets, bag hardware or even add an adjustable shoulder strap.) I have just provided the basics for you.
This bag comes with two sizes for you to choose from:
Medium - 13” wide and 8.5” high
Mini – 11” wide and 6” high
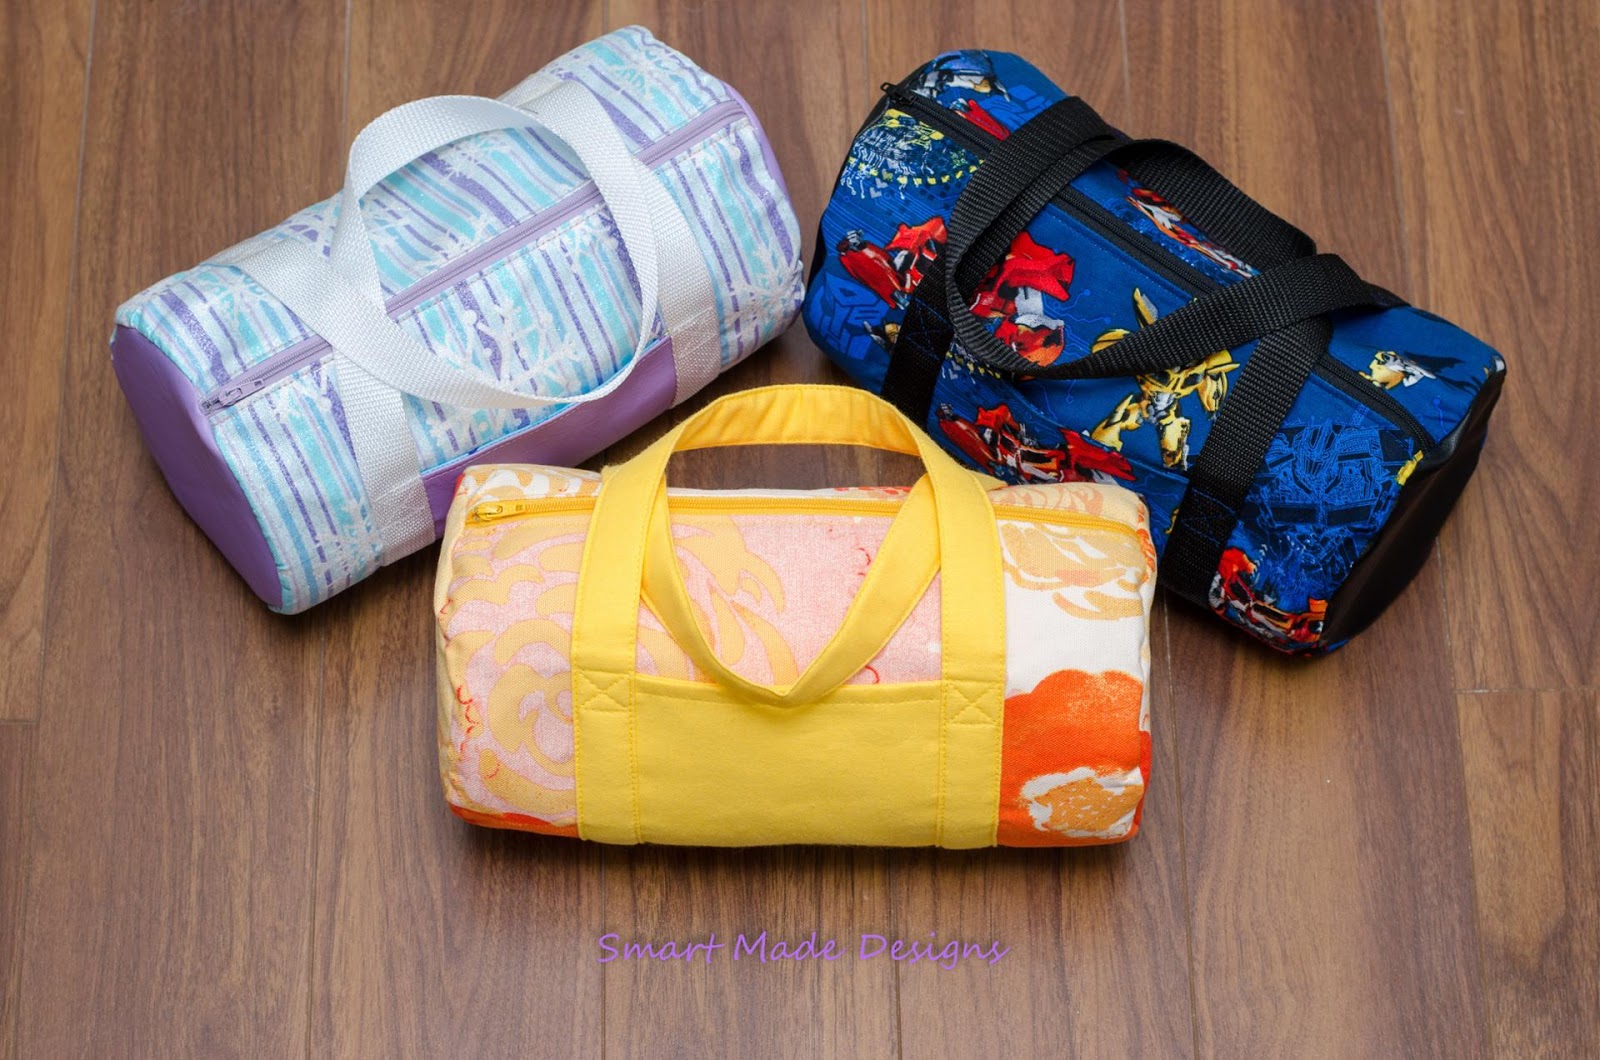
The medium sized duffle bag is great for sports or as an overnight bag and the mini duffle bag is a perfect size for kids or even a toiletry bag.
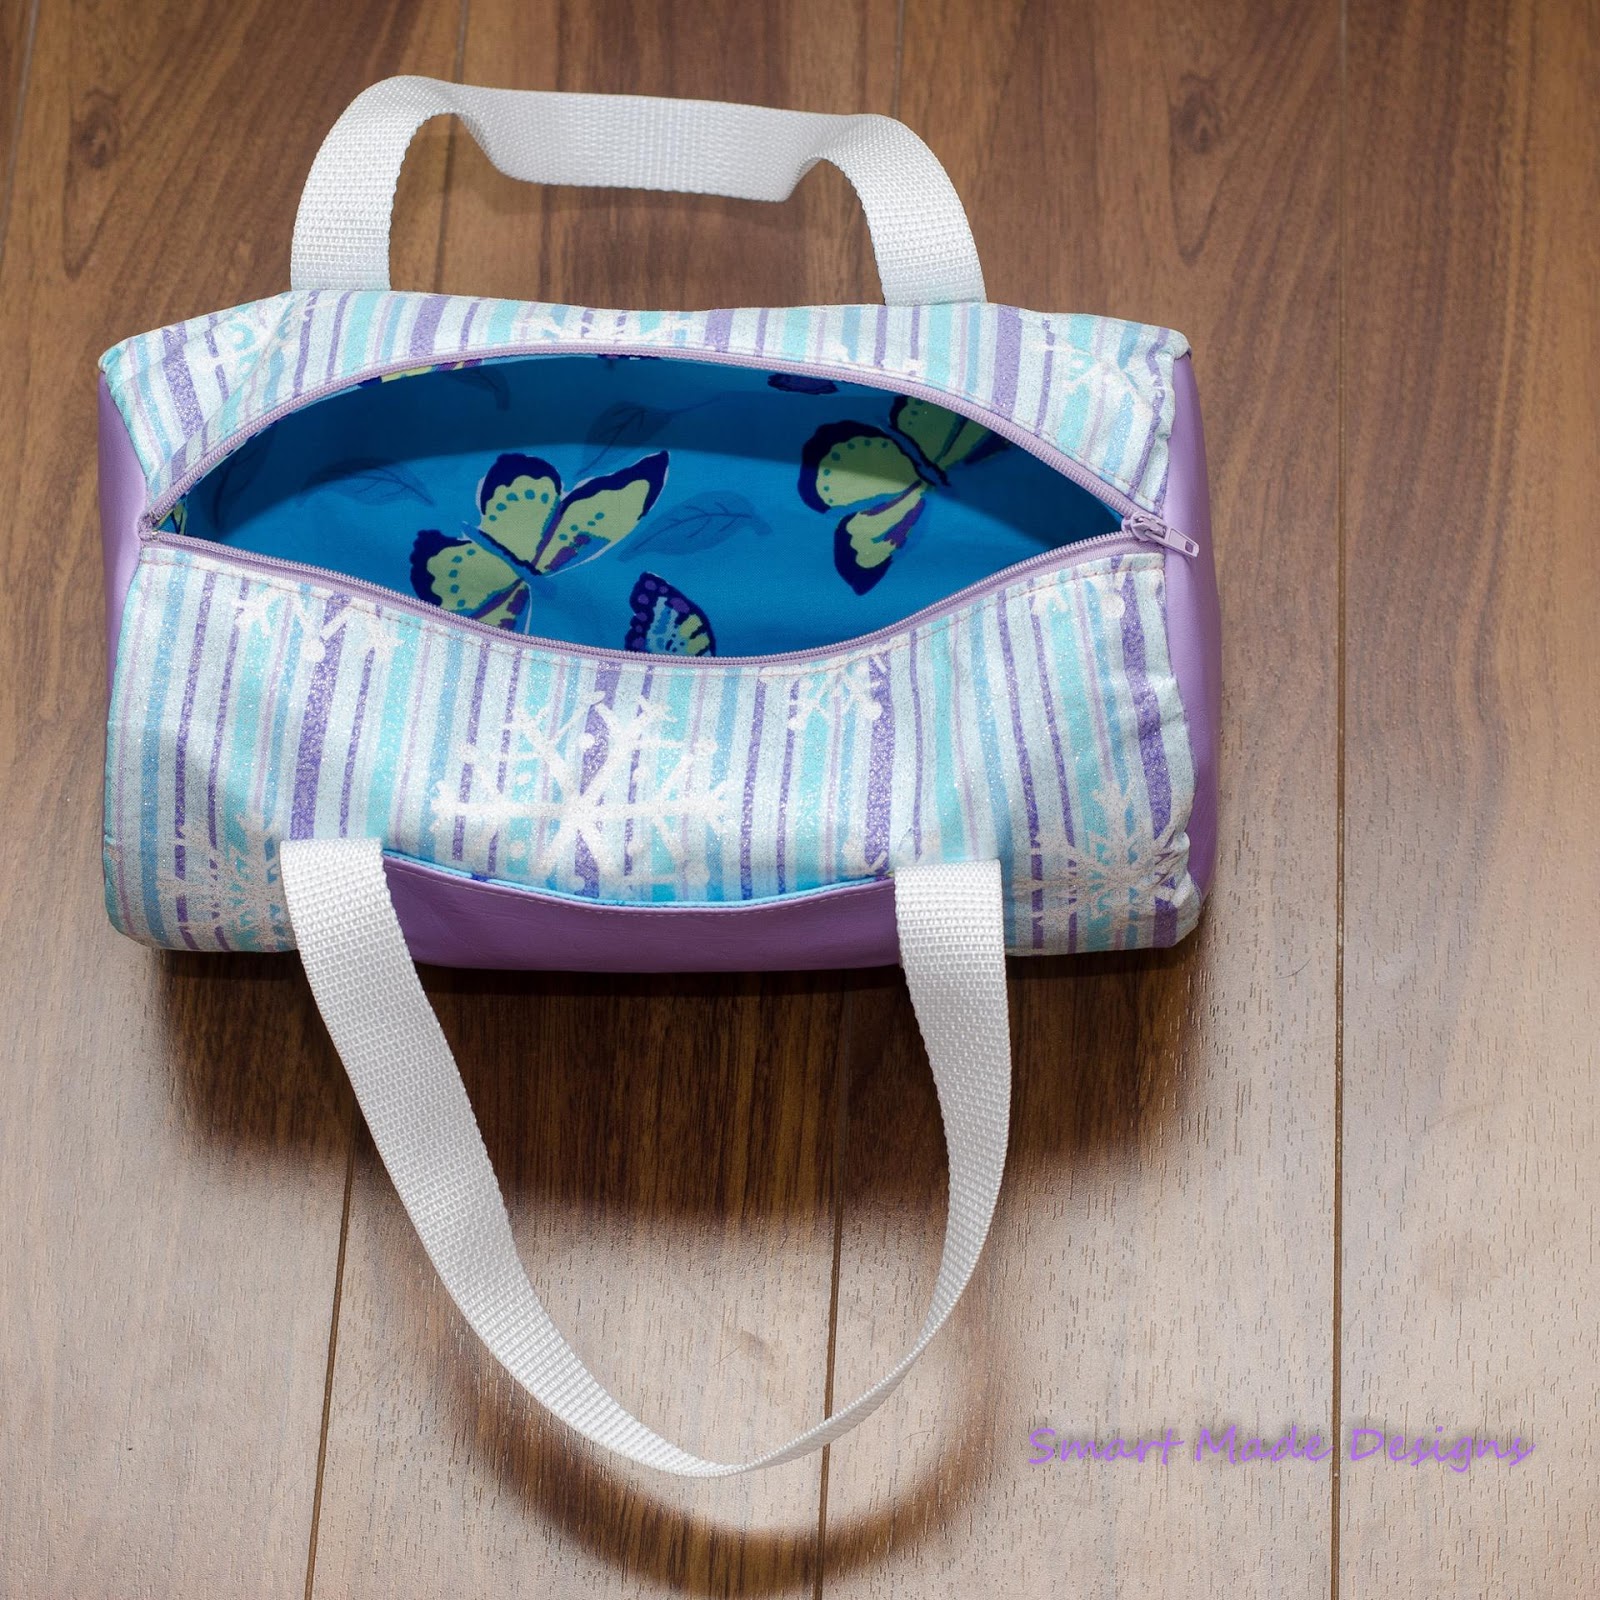
This bag has a zipper opening and one slip pocket on the exterior. For anyone who has experience sewing bags, feel free to add as many pockets as you wish or even add a shoulder strap. Just remember to add more yardage to what I have provided you with.
For the Medium size bag you will need:
• ½ meter exterior fabric (quilting cotton/canvas/vinyl at least 44” wide)
• ½ meter lining fabric (quilting cotton 44” wide)
• 1 fat quarter exterior pocket
• ½ meter fusible fleece OR ½ meter foam stabilizer
• 1 meter woven fusible interfacing (2 meters if using a foam stabilizer)
• 84” of 1” webbing
• 1 – 14” zipper
• Coordinating 100% polyester thread
For the mini you will need:
• ¼ meter exterior fabric (quilting cotton/canvas/vinyl at least 44” wide)
• ¼ meter lining fabric (quilting cotton 44” wide)
• 1 fat quarter exterior pocket
• ¼ meter fusible fleece OR ¼ meter foam stabilizer
• ½ meter woven fusible interfacing (1 meter if using a foam stabilizer)
• 60” of 1” wide webbing
• 1 – 12” zipper
• Coordinating 100% polyester thread
You will also need:
• Zipper foot
• Pins
• Rotary cutter and ruler
• Teflon foot (if using vinyl)
• Wonder clips (if using vinyl)
Please note; I fuse the fleece to the lining instead of the exterior. I recommend this because I find the fleece can make your fabric have a “crinkly” look to it once fused (especially with lighter fabrics). At least if its on the inside, its less noticeable.
DOWNLOAD PATTERN HERE
----------------------------------------------
Cut the following in addition to the supplied pattern piece:
Medium Duffle Bag
Main panel: 14” wide x 15 ¼” high
2 exterior
2 lining
2 fusible fleece or foam stabilizer
2 fusible interfacing (4 if using foam stabilizer) Exterior pocket: 6.5” wide x 8” high
2 quilting cotton
1 fusible interfacing
Straps:
Cut 2 pieces of webbing 42” long
Small Duffle Bag
Main panel: 12” wide x 10 ¼” high
2 exterior
2 lining
2 fusible fleece or foam stabilizer
2 fusible interfacing (4 if using foam stabilizer) Exterior pocket: 6” wide x 6” high
2 quilting cotton
1 fusible interfacing
Straps:
Cut 2 pieces of webbing 30” long
Preparation:
• Fuse woven interfacing to the wrong side of the appropriate exterior pieces (and all lining pieces if using a foam stabilizer) as well as one of your exterior slip pocket pieces.
• Fuse fleece to the wrong side of the appropriate lining pieces OR
• Baste foam stabilizer to wrong side of exterior pieces using a ¼” seam allowance

Making the bag:
Exterior:
1. Grab your slip pocket pieces and with right sides together, sew along the top and bottom using a ½” seam allowance.
2. Turn right side out and press. Topstitch.

3. With one exterior main piece, place your pocket 3” from the top edge and center. Pin in place.
4. Baste along both sides (1/8” from the edge) and sew over the stitching at the very bottom of the pocket. (The raw edges along the sides will be hidden by the straps)

5. Grab one of your straps and measure 3 3/8” from the side, (2 ½” if making the mini duffle bag) place one strap along this point and match strap end with the bottom of the exterior. Pin in place. Mark a horizontal line across the strap 3” down from the top of the exterior main.

6. With the other end of the strap repeat the same process.
**Make sure your strap is not twisted.**

8. Repeat step 7 for the opposite side. Set this exterior piece aside for now.
9. Grab your remaining exterior piece and repeat steps 5 to 8
10. Now, take your exterior piece with the pocket on it and place your 14” zipper (or 12” zipper for mini duffle bag) right sides facing along the top edge. Make sure the start of the zipper tape lines up with the left side of the main panel. The zipper end will be longer than the main panel and will be cut off later.
11. Pin in place. Grab your zipper foot and sew using a ¼” seam allowance.

12. Turn zipper right side out and press. Topstitch 1/8” from the edge.
13. Repeat with the other exterior piece.
14. With right sides together, pin along the bottom and sew using a ½” seam allowance. Press seam open and Topstitch on both sides to flatten your seam.

15. Grab one of your exterior side pieces and mark the center top and bottom and then mark each quarter. (as shown in picture to right)
16. Pin to exterior with right sides together matching top and bottom and then the sides, continue pinning the rest (easing as needed). Sew using a 3/8” seam allowance.


** Make sure the zipper is open halfway**
17. Repeat steps 15-16 with the other side. If you have not already done so, trim down your zipper end to match with raw edges.
18. Your exterior is now complete, set aside for now.

Lining:
1. Measure ½” down from the top edge of one of the lining main pieces and fold towards the wrong side. Press and sew 3/8” from the edge.
2. Repeat with the other lining piece.

3. Now, with both lining pieces, pin along the bottom edge with right sides together. Sew using a 5/8” seam allowance. Press seams flat.

4. Grab one of your interior side pieces and mark the center top and bottom and then mark each quarter. (Same way you did with your exterior side pieces.)
5. With right sides together, pin lining side to lining main matching top and bottom and then the sides, continue pinning the rest (easing as needed). Sew using a ½” seam allowance.

6. Repeat with the other lining side.

Attaching lining to exterior:
1. Take your lining and place it inside of your exterior with wrong sides together.
2. Pin along the zipper. (Make sure to line up the lining edge with the exterior edge)

3. Sew your exterior and lining together. Start to sew as close as you can get to the zipper tab and continue following your previous stitching, once you reach the side seam, stitch in the ditch across your zipper. Continue down the other side of the zipper and again once you reach the side seam, stitch in the ditch across the zipper if you can (move the zipper tab if needed).
**You may stitch down both sides of the zipper as close as you can get to each end and then slip stitch the rest if this is easier.**

Your bag is now done!


0 comments:
Post a Comment