
Victoria Wallet Free Sewing Tutorial.

Victoria Wallet (4 ¼”h x 7 ¼”w, closed)
(10 ¼” h x 7 ¼”w, open)
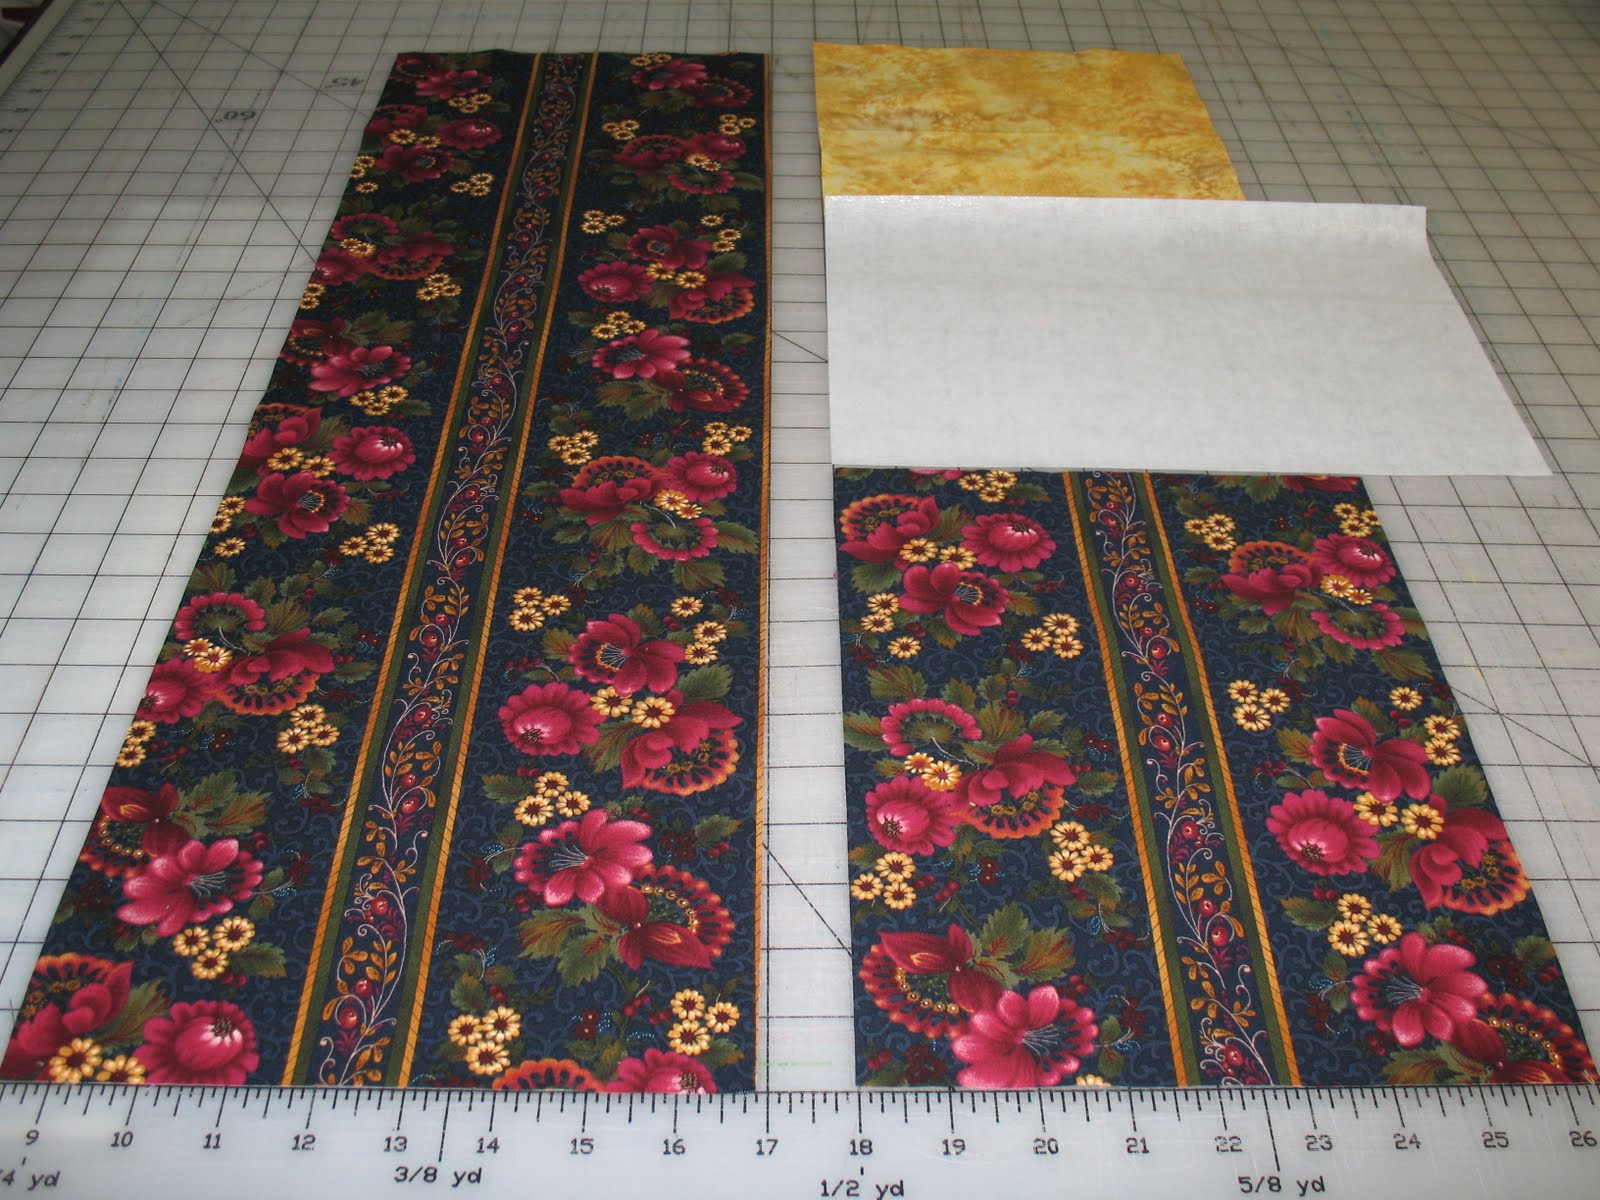
Materials:
½ yard of cotton fabric
¼ yard of interfacing (I used Pellon décor Bond® 809)
Snap fastener (or no sew hook and loop tape)
Matching thread
Evaporating pen or chalk marker (I prefer chalk markers)
*** All seams are ½” unless otherwise noted. ***
Cutting:
1. Cut 11 ¾” x 8 ½” from cotton fabric and interfacing for outside of wallet.
2. Cut 24” x 8 ½” from cotton fabric for inside of wallet.
3. Cut 8” x 8 ½” from cotton fabric for checkbook/extra pocket.
Assembly:
1. Iron interfacing to wrong side of outside of wallet. Make sure to iron out all wrinkles/puckers/bubbles on right side of outside of wallet.
2. Lay the inside of wallet on a flat surface to mark lines for folding. The folds will hold bills and credit cards.
3. Draw lines across the width of the inside of wallet 5 ¾” (line 1), 8 ⅜” (line 2), 10 ⅞” (line 3), 12 ⅝” (line 4), 14 ⅞” (line 5), and 16 ⅝” (line 6) down from top of inside of wallet. Measure and mark carefully, this step is very important. If done incorrectly, the bill and credit card holders may not fit.

4. Fold at line 1, right sides together, and iron to form a crease. When folding, always make sure that the sides of the inside of wallet are aligned with each other.

5. Unfold and fold at line 2, wrong sides together, and iron to form a crease.
6. Unfold and fold at line 3, right sides together, and iron to form a crease.
7. Unfold and fold at line 4, wrong sides together, and iron to form a crease.
8. Unfold and fold at line 5, right sides together, and iron to form a crease.
9. Unfold and fold at line 6, wrong sides together, and iron to form a crease.
10. Fold lines 3-6 according to creases. Pin in place.

11. Draw a center line 3 ½” long, starting at line 2. If done correctly, you will have marked a line 3 ½” long, 4 ¼” from sides.

12. Place a few credit cards in the folds to make sure they fit properly. Remove cards.
13. Sew two times over drawn line (4 ¼” from sides). This line divides credit card holders so that there are now 4 credit card holders.
14. Fold the remaining lines according to creases. Pin in place.
15. Baste ¼” from raw edges, making sure to catch folds. Basting will hold folds in place.
16. Fold checkbook/extra pocket in half lengthwise, wrong sides together, and iron. If done correctly, this pocket should now measure 4” x 8 ½”.
17. Lay checkbook/extra pocket on top of inside of wallet, so that the sides and bottom raw edges are aligned.
18. Pin and baste (¼” from edge) around sides and bottom to hold checkbook/extra pocket in place.

19. Iron to flatten.
20. Place outside of wallet and inside of wallet, right sides together.

21. Pin and sew around all 4 sides, leaving a 2” opening for turning.
22. Clip corners.

23. Turn right side out through opening. Slip stitch closed.
24. Iron both sides of wallet.
25. Topstitch around all four sides of wallet, 1/8” from edge.
26. This step is optional, but I highly recommend it. Draw a line 2 ¼” and 6 ½” down from top (wallet folds). Sew on top of these lines.

27. Center “male” fastener ½” – 1” down from top of wallet. Make sure that the decorative side of the “male” fastener is on the outside of wallet.

28. Attach fastener following manufacturer's instructions.
29. Center “female” fastener on outside of wallet, placing it where “male” fastener will meet the “female” fastener. Make sure that the decorative side of the “female” fastener is on the inside of wallet, under the checkbook/extra pocket.

30. Attach fastener following manufacturer's instructions.
31. Fold wallet and snap shut.

Enjoy!


0 comments:
Post a Comment