
How to Make Fabric Slippers with Free Sewing Pattern and Tutorial.


I have provided a basic pattern and I am a UK size 6. To make them smaller is easy. Make your seam allowances larger and fit them on, taking them in as you need to.
To make them larger, print the pattern off and then put your own foot over the sole and draw around it. See how much more room you need and draw it in using the pattern as a guide.
My top tip is to make it larger than you need and then follow the principles of making the slipper smaller: fit and trim as you sew.

If you add to the sole, add the same to the upper. I have already added a seam allowance for you.

Here is the pattern anyway. The flat bit of the upper is cut on the fold as marked.

So what do we need?
- FQ fabric for the outer
- 30cm strip wool felt for the inner
-FQ Style-Vil foam interfacing (Vlieseline)
- cute buttons
-some sort of felt shape for embellishment - I have used a grey wool felt heart shape.
Your usual sewing needs.
Start by cutting your shapes. You will need four felt sole pieces, two felt uppers and and two fabric uppers. They will look something like this..

And this (sort of remind me of an William-the-Conqueror helmet but without the nose protection piece)...

See what I mean?
Start with the soles first. This is a good way to use those scraps of Style-Vil actually because you only need a piece slightly larger than the sole. take the sole and pin it to the foam interfacing...

Now sew all around the edge with a tiny, narrow seam (as titchy as you can get away with). This is just to keep the sole on the foam.
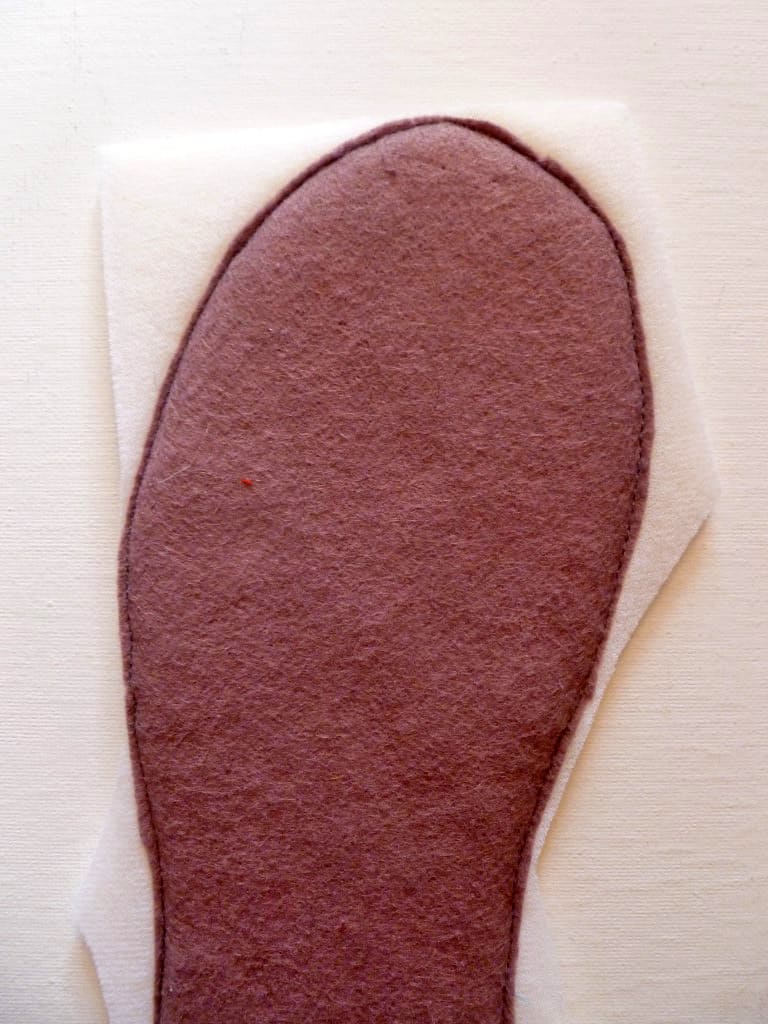
You can see how tiny that seam is. This way it will do the job but not get in the way of the other seams and cause uncomfortable ridges.
Trim the Style-Vil back to the felt shape like this...

Now make your next one. Now a word to the wise....make sure that you pay attention at this point. It is very easy to get caught up in the moment and make the soles both the same -

They need to be mirror image! Don't laugh, it could happen to YOU! They need to look like this...

Anyway, make the two soles and then let's get started on the uppers. Take the upper fabric piece and the upper felt piece and place them right sides together and sew around the horseshoe shape in the middle only...

Now clip this curve so that it sits beautifully when it is turned the right way out. By the way, purists will argue that it should be notched in little 'v' shapes and this is perfectly true. This method reduces bulk. But to be honest, in this setting, it doesn't seem to matter. So just snip and save yourself the bother.

Repeat for the other one and then we will do the heels. Open the upper out and then with lining to lining and outer to outer (right sides together) sew the heel starting on the lining and sewing all the way down...

This feels fiddly and awkward but it is possible with some manipulation.

Notice how there is a curve? Preserve this as you sew because this forms the heel which will cling to your foot and stop the slipper from coming off as you walk.
Now turn the pieces the right way out and press the centre seam ready for topstitching. You can roll this between wet fingers to get it perfect.

Topstitch the slippers on both uppers.
Next, pin the uppers to the soles (right sides together) making sure that they sit well and they are not puckered. Use a LOT of pins because of the curves. Sew the upper to the sole...

Clip around the edge of the sole (no need to notch here either) and trim if needed.

Now this is no good because even though we have a slipper which will do the job, if you turn it the right way out, you will see that there are raw edges and this is very simple to fix. Enter the second piece of sole...

This is another fiddly job....still with the right sides together (if you turned it out to check what I meant about raw edges, turn it back again and pin the other piece of sole over the top, tucking and folding the upper out of the way as you pin. It may take some argument and may the strongest person win.
Sew around the sole with a normal seam allowance but this time, leave a gap somewhere for turning out...

I like to leave the gap on one of the straight bits near the bottom of my foot arch.
Turn out through the gap and poke everything so that it is correctly aligned. sew the gap closed with some very neat hand stitching. as you can see, you shouldn't be able to see where it is.

My gap is on the right hand side of the slipper about half way along. Felt is very good though and forgiving and if you keep your stitches small, you won't easily see them.
Repeat for the other slipper. The only thing left is to add your chosen embellishment and you are done!

These are easy to make and they are cosy but light. I am already working on other designs for deepest winter.
Make a basket of these to keep by the front door for guests. this is actually done quite a lot in Germany where it is normal to remove your street shoes when you go into someone's house. This is not religious, merely to keep the person's home clean.


0 comments:
Post a Comment