
Using separate ziploc baggies within the cosmetic case, to separate all of my products from getting all over each other and the bag itself! Makes the perfect holiday gift for Moms, Grandmas, and teenagers.

I know all of us still need to get a gift idea for “those people” who seem to have everything this Christmas! This cosmetic bag is the perfect, thoughtful addition for any lady, young or aged, in your life! You could also use more manly fabrics to create this as a gift item for that special man in your life to use for travel! The fun thing about this cosmetic bag is that inside there is a surprise!
Sewn inside are various sizes of plastic ziploc bags to hold the variety of beauty products, we, as women seem to need! This would be great for travel or daily use, and I love the ability to customize each person’s needs by adding more or less plastic bags of various sizes!
How to Make the Traveling Cosmetic Bag
Materials:
Ziploc Cosmetic Case Pattern
1/2 – 3/4 yard of fabric (while I used quilting cotton, a home decor weight fabric would be great, as well as oil cloth or laminate!)
1/2 yard of heavy weight stabilizer (you could skip this if using an oil cloth, but you would need it if you have a light weight fabric to give the bag stability)
(1) 34” zipper -or- (2) 16” zippers (I used the double zipper).
Quart and Gallon sized Freezer bags, sliding lock is preferred (key word FREEZER… you want the most durable baggies possible, so it will hold up!)
Cutting Pattern Pieces:

To cut your main, lining pieces and stabilizer pieces, fold your fabric in half and then half again to quarter it for cutting. Place your pattern piece on top like pictured, then cut.

Stabilizer:
Adhere your heavy weight stabilizer to the wrong side of your main fabric piece.

Personalize (Optional):
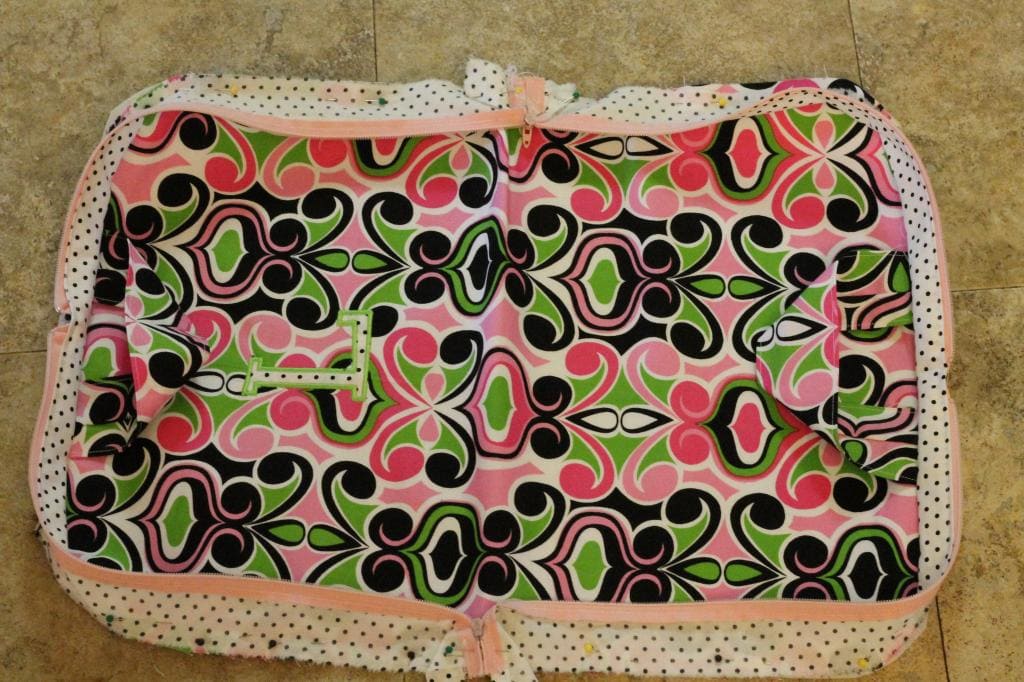
Now would be the time to add a monogram, applique, or even add an exterior pocket. This bag is perfect for customization!

Zipper Construction:
Serge or zig zag stitch along one side.

Line up the bottom of your zipper to the short end of one of your fabric pieces.

Put right sides together along the side you just serged and sew using your zipper foot.

Sew all the way to the metal end pieces, or as close as you can! You will have these zipper tails, which we will deal with in a moment.
Line up the other side of your zipper the exact same way, but on your remaining 2” strip, and sew. When you finish, you will have something like this:

Repeat with our 2nd zipper so that your zippers meet in the middle. If using one zipper, you should be done and can skip to the edge stitching!

Now, press your seams down very well with an iron. Be careful not to press too long on the zipper itself, you don’t want it to melt! Pin your zipper tails together where they meet at the center.


Edge stitch alongside the top to create a finished look (I use my edge joining foot)! You could also sew very carefully topstiching 1/8” from the zipper.


Handle Construction:
Fold your two rectangular pieces (4.5” x 12”) in half and sew.

Turn right sides out. Line the seam to the center and press.

Top stitch along both sides.

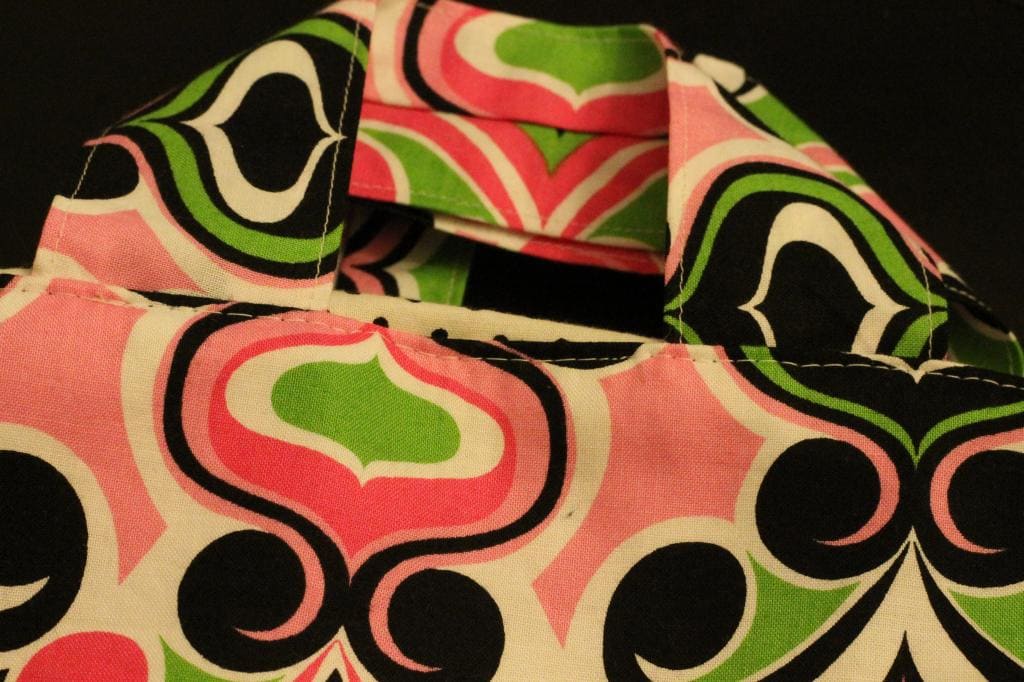
Center and pin your handle on both ends of your fabric! Then, baste.


Bag Construction:
Start by placing your zipper in the center of your bag on the long sides with the zipper open.

I then, made two little corner pleats creating two little triangles, and pinned in place. This will allow ease as you pin the rest of your zipper around the bag.

Pin all the way around the bag with right sides together.

Note that when pinning the handles, I folded them to the right side for added durability.

Sew around the edge!
Lay your lining fabric on top right sides together sandwiching your zipper between. Leave an opening near the side at one of the zipper ends.


Turn your bag right sides out. Iron well all the seams. Pin your opening closed. Sew closed. Then, topstitch around the outside of your bag. I make sure to the have the main outer lining facing up, so I can make sure to get perfect stitching where visible.
Lastly, grab your inner bottom lining piece (5” x 16”) and iron under to the wrong side 1/4” all the way around.
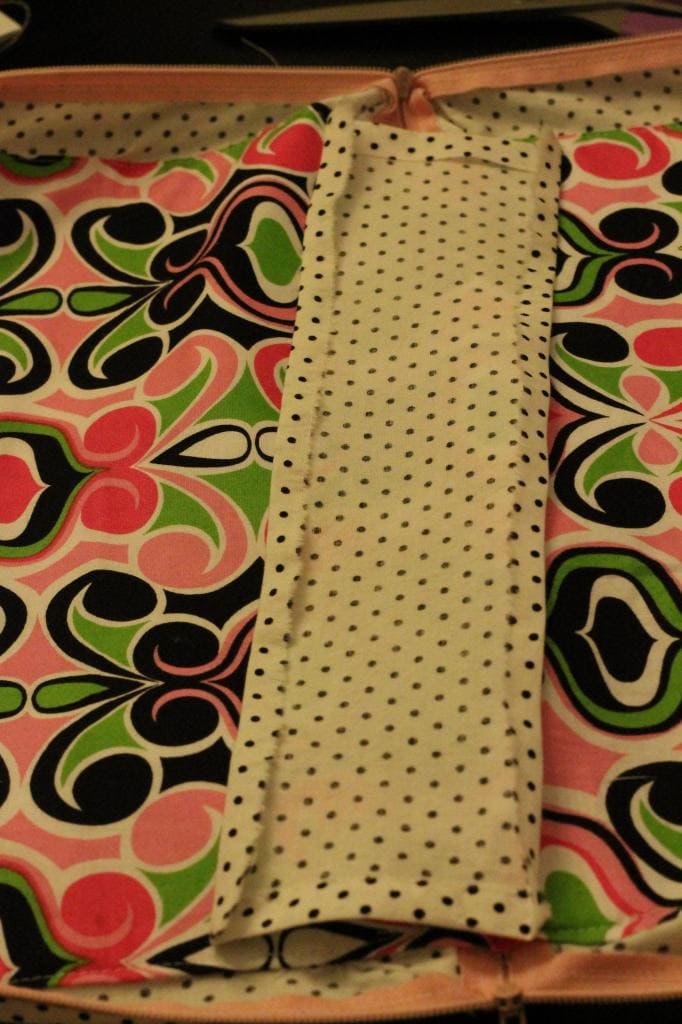
Lay out your plastic bags. I like to put the largest gallon bags to the outside and layer the quart sized bags towards the center. You can add as many or as little as you want. Be sure to place all your sliders towards the same direction.

Pin your bottom lining over the center of the bottom of your bags and sew down!


And you are done!!!!
How fun is this gift!? For yourself or others!

I think I will be making several of these this year! I hope you enjoy, I know my mama will!
Thanks so much for stopping by, and until next time…
Happy Sewing!


0 comments:
Post a Comment