
The Hungry Caterpillar is one of my children's favorite books to read. When I found this fabric on fabric.com I knew I had to have it. It's just too perfect for a lunch tote and snack bag, right?
Snack Pack Supplies
1.5 yards The Very Hungry Caterpillar Fabric
1 yard Clear Vinyl
1 Package of Snap Pliers
1 Package of Babyville Boutique Snaps
1 Yard of Insul Fleece
1 Roll of Ribbon
1 Package of Double Fold Bias Tape
Sewing Machine
Iron

Snack Pack Instructions
Cut two pieces of fabric, two pieces of vinyl and one piece of Insul Fleece 8.5" by 11" You can use a piece of printer paper as your guide for cutting out your fabrics.
Lay the clear vinyl on top of the right side of the fabric. Cover with another piece of fabric and use a warm iron to adhere the vinyl to the fabric. Repeat this step for the lining fabric as well.
The clear vinyl creates a waterproof barrier that protects the fabric from spills and stains. It can be easily cleaned with a wet washcloth.
The Insul Fleece will help the snack bag to retain the inside temperature keeping your snacks cold throughout the day.


Layer the fabric with the laminated fabric right side facing down, then the Insul Fleece and then the laminated fabric with the right side facing upwards.

Using a rotary square up the edges to make sure all of the fabrics are aligned.

Use something round like a plate as a guide to trim the corners of the layered stack of fabrics. This will make it easier to apply the bias tape in the following step.

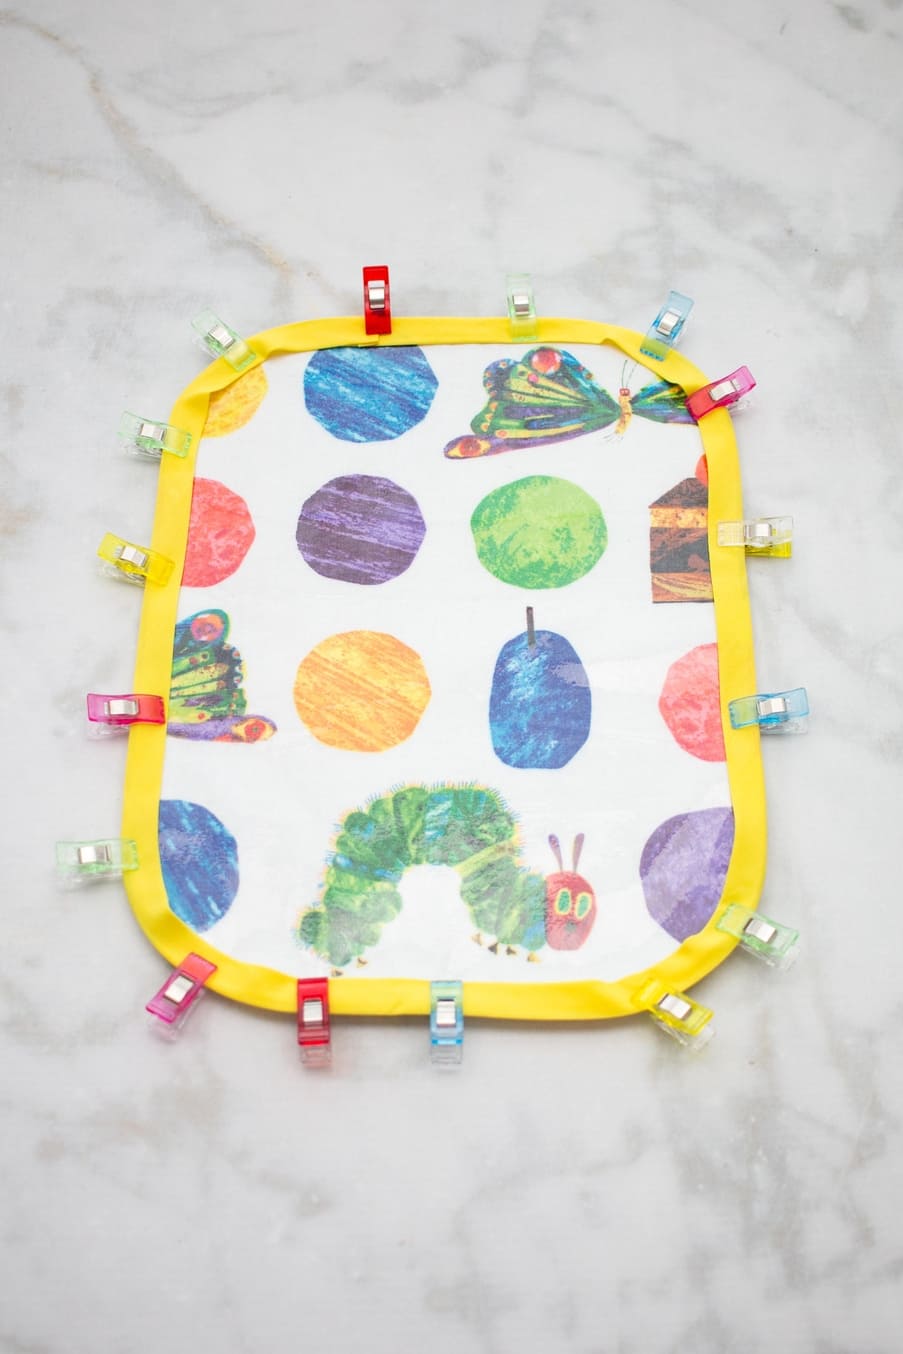
Sandwich the layered stack of fabric in between the bias tape.
Carefully open the bias tape and slide it onto the fabric so that the edge of the fabric is pressing against the crease of the bias tape.
Use plenty of pins to secure the bias tape. Gently pull the bias tape as you go around the corners.


Once you reach the end, fold the end of the bias tape under and press it with a hot iron. Layer it over the beginning of the bias tape.
It's best to have the beginning and the ending of the bias tape fall along a straight edge.
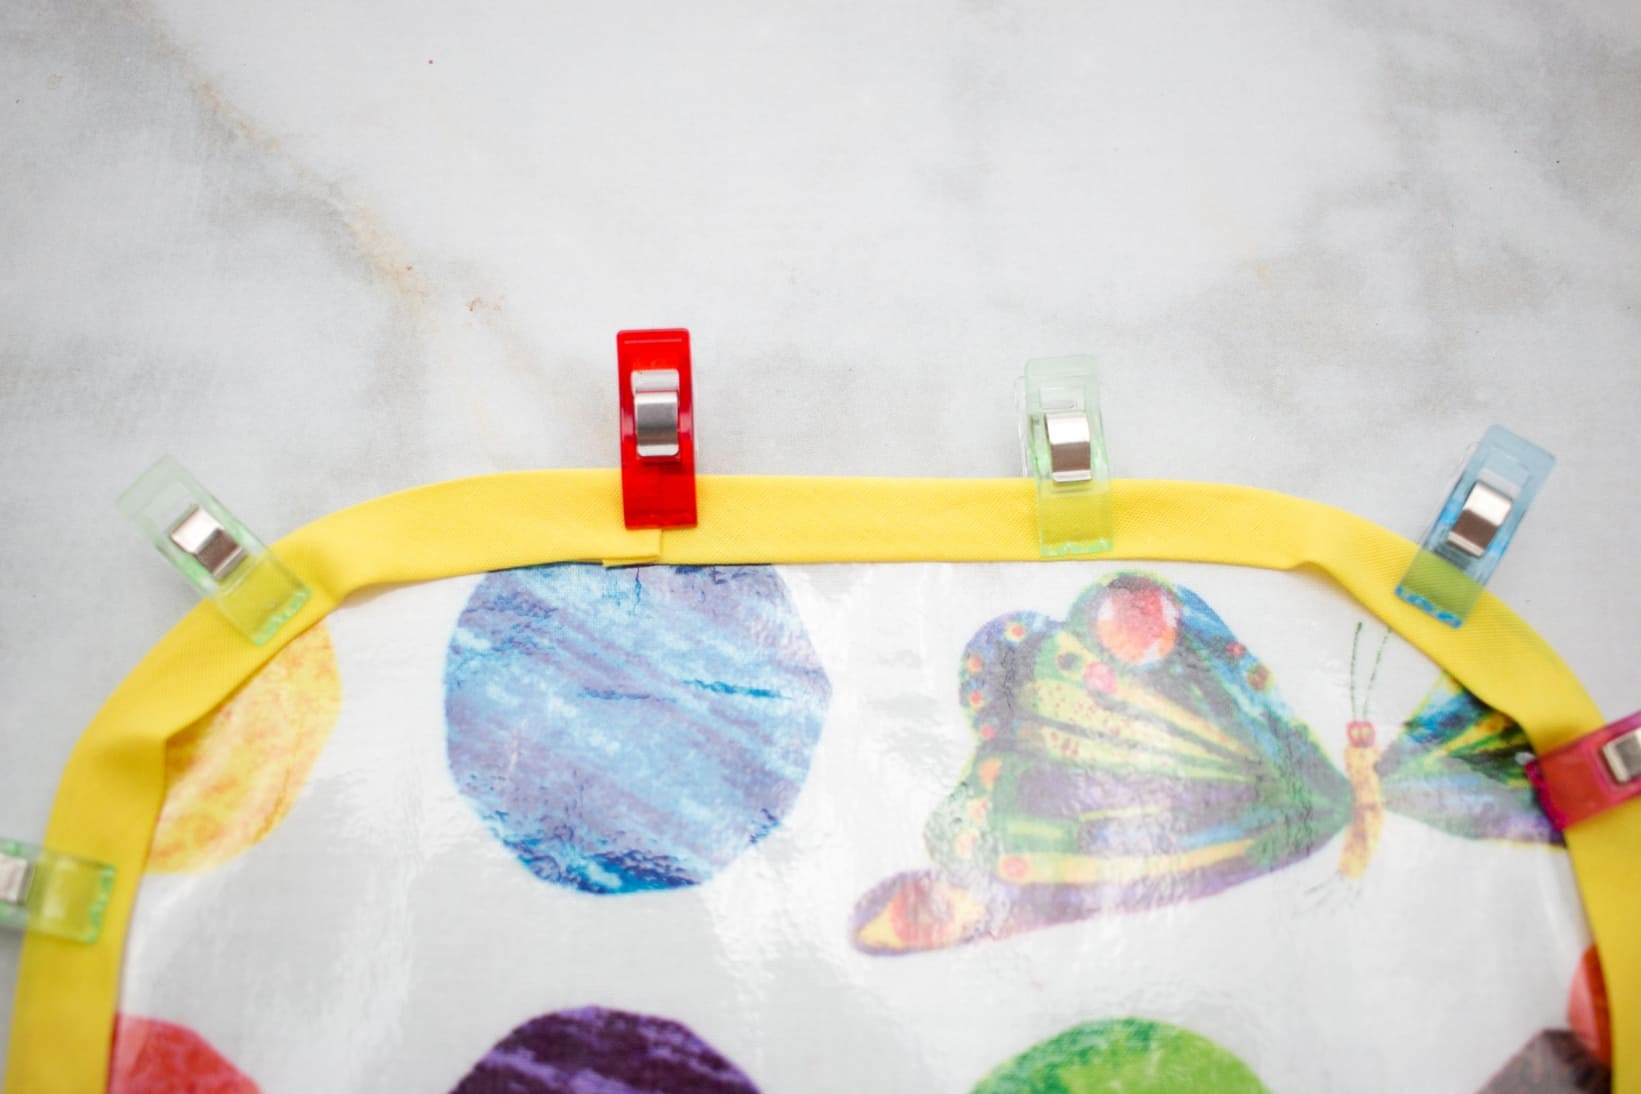
Use clips or pins around the entire snack bag. I prefer using clips when working with a laminated fabric because it doesn't leave small holes in the fabric or puncture the vinyl.
Slowly stitch 1/4 inch from the edge around the entire strip of bias tape.


Fold up the bottom of the bag and clip or pin it in place.

Sew along the overlapping pieces of fabric to secure the fold in place.


Using the awl from the plier package make two holes in the front of the flap and two holes directly behind it.

Apply the snaps following the directions listed on the packaging.


This snack pack is very eco-friendly! Simply rinsing it out each time will save hundreds of zip locks or paper bags per year with your kids.
Lunch Tote Supplies
1.5 yards The Very Hungry Caterpillar Fabric
1 Roll of Ribbon
Sewing Machine
Safety Pin
Iron

Lunch Tote Instructions
Cutting Chart:
Cut 2 12" x 12" Squares
Cut 2 4" x 12" Rectangles
Ribbon 50 inches

Lay the main bag pieces on top of each other with right sides together. Sew along the sides and bottom with a 3/8th's inch seam allowance leaving the top open.
Finish the edges on the bag and the contrast fabric with a zig zag stitch to prevent fraying.


Fold the edges of the contrast pieces under 3/8ths of an inch on each short side and press in place with a hot iron.

Fold the rectangle in half lengthwise with wrong sides together aligning raw edges and press again with an iron.

Align the raw edges of the contrast fabric with the raw edge of the bag. Pin around the entire top of the bag.

USing a 3/8ths inch seam allowance sew all three layers together.

Use a zig-zag stitch along the edge of the fabric to prevent fraying. Align the edge of the fabric with the needles furthermost right position.


With a hot iron, press the contrast fabric upwards and the seam allowance down towards the bag.

Thread the ribbon all the way through the contrast fabric until it appears next to where it started.


Tie a bow with the ribbon.
Now you have an adorable lunch tote and snack pack for back to school!


0 comments:
Post a Comment