
This past Christmas I made my youngest niece Phoebe a pretty cushion with pom pom trim and a little pocket on the back that she could keep her favourite book in or small toy. I chose the print and colours to match her new duvet cover that sit on her new bunkbed that she loves. Here's my tutorial for a Pom Pom Trim Pocket Cushion...

You will need...
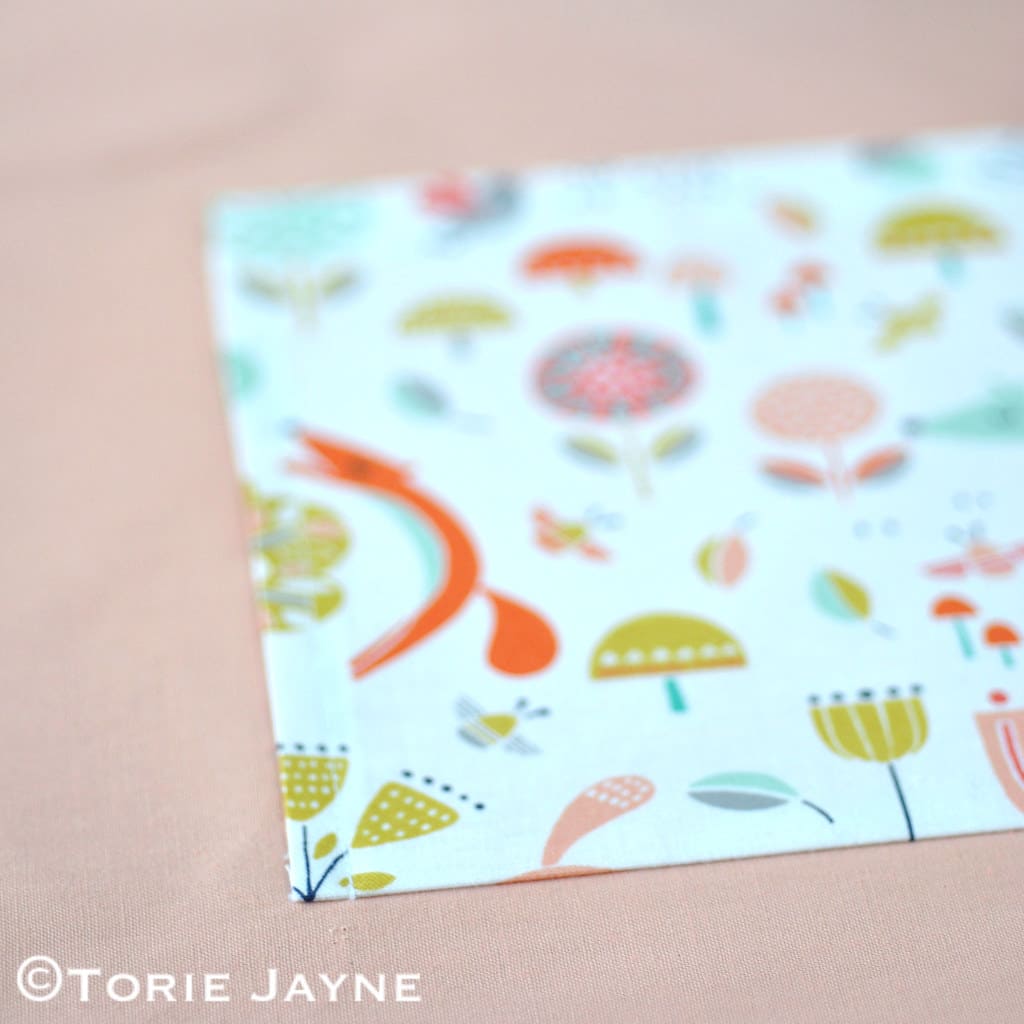
dashwood studio fablewood fabric (Front 37cm x 37cm Pocket 20cm x 19cm)
peach cotton fabric (back 37cm x 37cm)
all purpose sewing thread
142 cm peach pom pom trim
35 cm invisible zip
cushion pad (35cm x35cm)
How-to step by step...

Step 1
Start by cutting out the front, back and pocket panels, using the illustration above

Step 2
Pin the pom pom trim round the outside of the front cushion, so that the balls face inwards and the middle of the woven trim on the edge of the pom pom trim is aligned with the 1cm seam allowance

Step 3
Using a 9mm seam allowance stitch the pom pom trim in place, leave to one side

Step 4
To create the hem on the top of the pocket. Fold over the top of the pocket by 2cm so that the right sides are facing together. Using a 1cm seam allowance stitch the top hem sides down.

Step 5
Turn the top hem right side out and fold the sides of the pocket in 1cm, press the top hem and the sides

Step 6
Using a 1cm seam allowance stitch the top hem down

Step 7
With fabrics right sides together pin the bottom of the pocket 10cm up from the back panel bottom hem

Step 8
Using a 1cm seam allowance stitch the pocket down across the bottom

Step 9
Press pocket up so that wrong sides are facing each other and pin to secure in place
Step 10
Using a 5mm seam allowance stitch the sides of the pocket down

Step 11
Place your zip on to the bottom of the cushion cover back, so that right sides face each other, ie the side with the zip pull should be facing down. Centre your zip over the opening and line your fabric raw edge and zip tape edge together, pin to secure. With your zipper foot attached, stay stitch the zip in place so that it doesn't move or shift around when you stitch really close to the teeth later.
With your zipper foot still attached, starting at one end of the zip, stitch as close to the zip teeth as you can, backstitching at the beginning and end. Repeat to remaining zip side on the front of the cushion cover. Place your front and back pieces right sides together, using a 1cm seam allowance starting at the bottom right next to the zip, stitch the front and back together.

Step 12
Clip the corners. Serge the raw edges, you can do this using an overlocker or using a zig zag stitch. Turn the cushion right sides out, using a chop stick push corners out, press the cushion cover. Insert cushion pad into cushion cover and close zip


0 comments:
Post a Comment