
The kawaii bento lunch drawstring bag is one that I’ve looked at for a long time and finally…finally decided to give it a try. This bag can be given a more sophisticated look by simply changing up the fabric and made for other purposes such as a project bag by changing the size. And because I love pies, I’m thinking of making a pie taker!
Okay, ready? Let’s get started on the tutorial based on my interpretation of a couple of different Japanese patterns:
Sewing Seam is ¼” except for Drawstring pieces which will have a ½” seam for the sides
Body Piece
Cut fabric & Interfacing (opt) : 10.5” (width) x 14.5” (height)
Note : Instead of interfacing I used flannel. It works well for stability without adding too much bulk at the seams.
Apply interfacing according to manufacturer’s instructions. (optional)
Fold fabric in half, right sides facing. Sew sides.
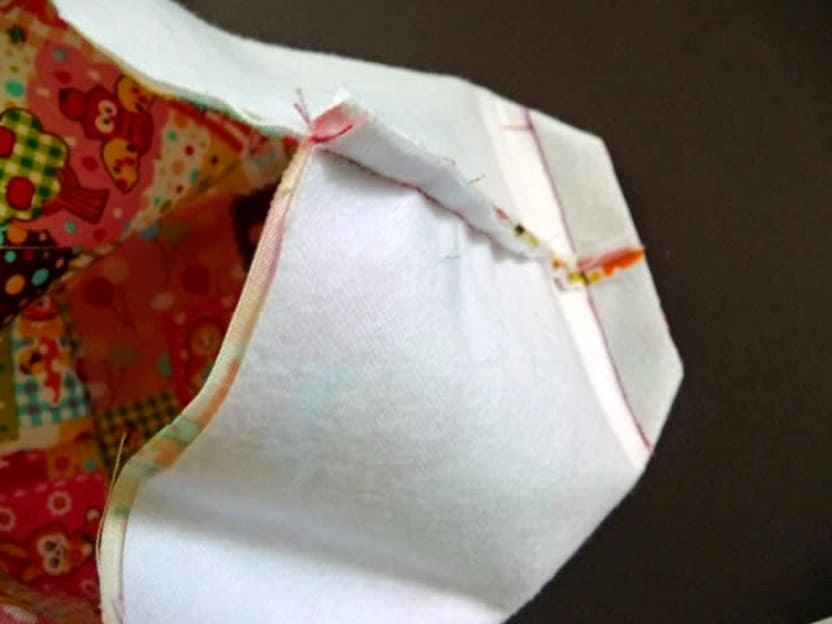
Sew boxed corners : Flatten corners so it looks like the one in the pic. Be sure the seam is centered. Open sewing seams. Snip the top if that helps to flatten the seam. Press down. Measure 4” width. Draw sewing line. Sew. Cut off excess. I leave ½” of fabric on bag.
Set body piece aside.


Lining Piece
Cut lining fabric : 10.5” (width) x 14.5” (height)
Fold lining in half, right sides together.
Sew sides leaving a gap on one side for turning. For the side with the gap; first sew 1 ¾” from the top; then leave a 2 - 2 ½” gap, then finish sewing side.
Sew boxed corner as done for body.
Set lining piece aside.
Bag Handles
Cut one fabric piece & interfacing (optional): 5” x 13 ¾”, then cut in half : 2.5” x 13 ¾”
Note: If you want a wider handle, cut the fabric 4x the desired width
Note: The stiffness of the bag handles will depend on the type of interfacing used. I think a medium fusible interfacing should be okay for this bag.
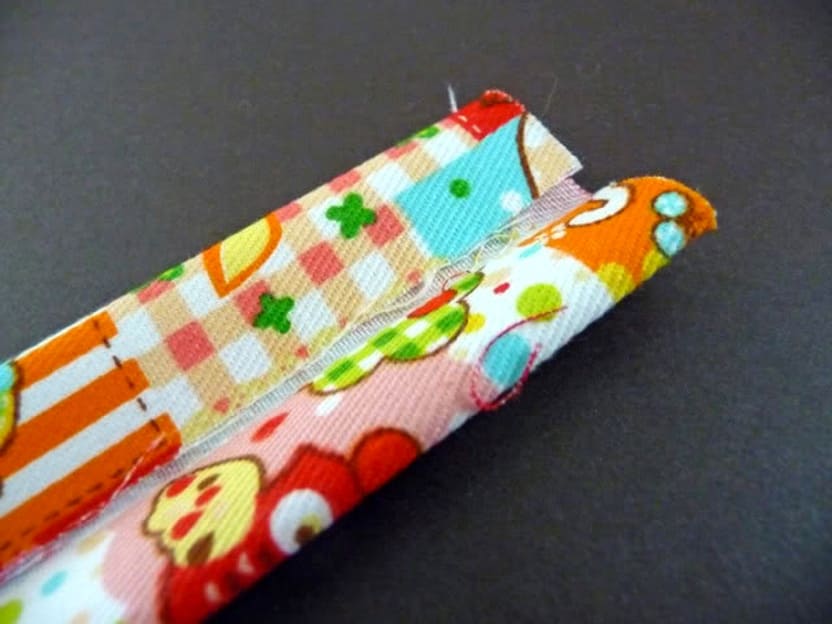
Fold fabric in half and press. Fold over sides towards center. Then fold over again. Press. Top stitch 1/8” lengthwise along the length of the straps of both sides
Set aside.

Drawstring Piece
Cut 2 pieces : 11.5” 11.0" (width) x 5.5” (height)
Stitch both sides stopping 2 ¾” from the top, USING an ½” SEAM
Press seams open. Turn over edge to hide raw edges. Press. Sew.
To make the casing for the drawstring: Turn over the top edge ½” 1/4" and press. Fold over again about 1 ½” to fold the casing. Stitch in place.


Putting It All Together
Straps Placement : Measure 2.5” from each side for strap placement. Place the straps at the markings; aligned with the top edge. Pin straps in place then baste with a few stitches.

Joining the Drawstring piece with the body : Place the body inside the drawstring piece; right sides together. Pin top edges together and sew. Pull up the drawstring piece. Press the joined edge and top stitch along this joined edge on body side.

Joining the Lining : Fold down the drawstring piece to expose the top edges again. Place the bag/strap/drawstring piece into the lining; right side of lining to wrong side of drawstring piece. Sew along top edge. Pull bag through gap. Make everything pretty. Sew gap close.


Insert drawstring cord through casing: Cut 2 cords; each 23.5” long. Attach a safety pin to one end of the cord and pull cord through casing until the both ends of the cord are on one side of the bag. Tie ends together. Pull the second cord through so that the ends are on the opposite sides of the bag. Tie ends.


0 comments:
Post a Comment