
I decided I needed a new library bag. I wanted my library bag to be fun, but grown up. Inspired by a slogan I’ve seen on Pinterest and other places on the web, here is my finished product!
Would you like to make one too? Here is the tute.
You need:
– 1/2 metre/yard of calico or other solid fabric
– 1/2 m/y of fabric for lining
– 1 metre of cotton ribbon, other ribbon or calico strips for shoulder straps
– machine, thread, cutting tools etc
– T-shirt transfer paper. Mine was about $20 a pack at my local craft store
– iron and ironing board
– computer and printer

If you are not sure about designing your own slogan, use mine!

**Important: Do a test print using plain paper. If it reverses your image, you are ready to print onto your t-shirt transfer paper. Just double check your settings in properties again before you hit the print button.
If your computer does not automatically flip your image, you can do it yourself. Click on your image, and in the above tabs choose Picture Tools. Choose Rotate, then choose Flip Horizontal. (you can see the picture tools in the screen grab below.)
When you print this, in Properties just choose the highest quality printing option you can. Again, do a test run with plain paper – you don’t want to waste that expensive transfer paper!
If you are choosing to just create a page in your word processor to print, you will have to make sure your printer had the t-shirt transfer option available, because you cannot flip your basic text in the same way as an image.
Once printed you should end up with this:

As you can see I was in the process of making two bags – one for me and one for my sister who is a big Harry Potter fan!
Now onto the sewing – cut two pieces of outer fabric (I used a simple calico) to 35 cm wide(14″) x 42cm long (16″). Do the same with your lining pieces.

Trim your transfer to make it easier to iron on.

Iron your fabrics. Following the instructions on the packet, position and iron your transfer onto your outer fabric.

When you have finished ironing it, give it another quick iron, just to be sure. Once it has cooled down, peel the backing paper off your transfer and you should have your slogan or image nicely adhered to your fabric.
Place both fabrics right sides together.

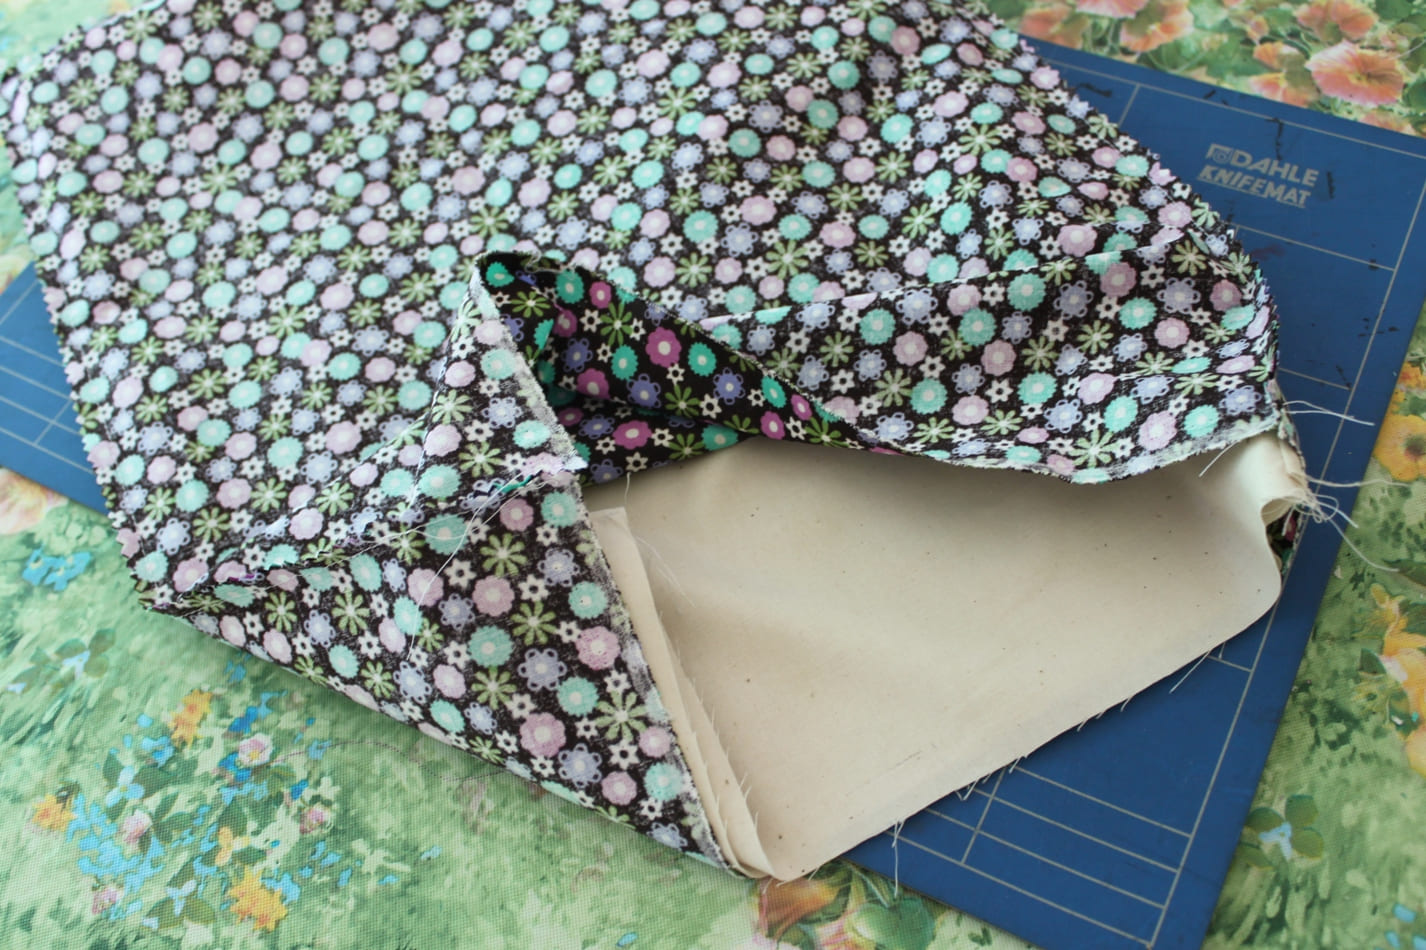
Sew your exterior fabric around three sides with a 1cm seam allowance. Clip corners and trim seams. (Oh look at my poor cutting mat! It has seen lots of projects!)

With the lining pieces, sew down the sides, but along the bottom leave a 10cm (4″) gap along the bottom. (The floral print makes my pins hard to see, but if you look closely you can see the pins marking the gap)

Place the exterior bag inside the lining so that the right sides are together.
Now we can add some shoulder straps. I used some cotton ribbon that I ripped off a paper bag from a fancy clothing store because I am tight thrifty! You can use any kind of wide ribbon, or you make your own can by cutting some strips of your exterior fabric, fold in half, sew, turn inside out, and topstitch.
Pin your straps inside like this:


Sew the whole way around the top of your bag. Reverse over your straps for extra strength.
Use the gap in the lining to pull your bag through to the right way out.

With the gap in the lining, pinch the raw edges under to line up with the existing seam.

Sew the gap shut, stitching close to the edge.

Push your lining into your bag. Almost finished… Use your iron to press around the top of your bag.

And finally topstitch around the top of your bag.
You are finished!!

Now you can go to the library and feel smug when people say ‘Love your bag, where did you get it?’


0 comments:
Post a Comment