
I designed this pouch in my head; thinking through ideas, erasing, rethinking, going through each step including how to sew the pieces together.
This pouch starts with a basic NO ZIPPER pouch; a method found in Japanese craft books. I love how this simple pouch transforms to your sense of style with a few tweaks to the shape, different fabrics, types of interfacing, embellishments, and size.
For my pouch, I changed up the shape of the flap; to mimic a cloud, wanting to add a 'cloud face' but junked that idea.
And the Pièce de résistance? ... this kawaii embroidered mouse!!


No-Zipper Pouch Tutorial- The Basics
...the best part is that the basic pouch comes together quickly; perhaps no more than an hour...
Materials
Main Fabric : Cut one piece : 8 1/4" wide x 11 1/4" long
Lining Fabric : Cut one piece : 8 1/4" wide x 11 1/4" long
Interfacing : Cut one piece : 8 1/4" wide x 11 1/4" long; apply to main fabric following manufacturer's instrutions (note: I used mid weight interfacing for the zakka pouch and fusible fleece for the tutorial. The fusible fleece gives the piece structure; use either type depending on the look and feel you desire)
Cord : 18" long (rick rack, ribbon, leather tie, etc. )
Large Button
Embellishments (optional) (you could also do this pouch in a patchwork style)
Note : Seams are 1/4" ( I almost always use the pressure foot to sew seams; aligning edge of foot along edge of fabric; a bit more than 1/4"; either way / size is fine)
Preparation
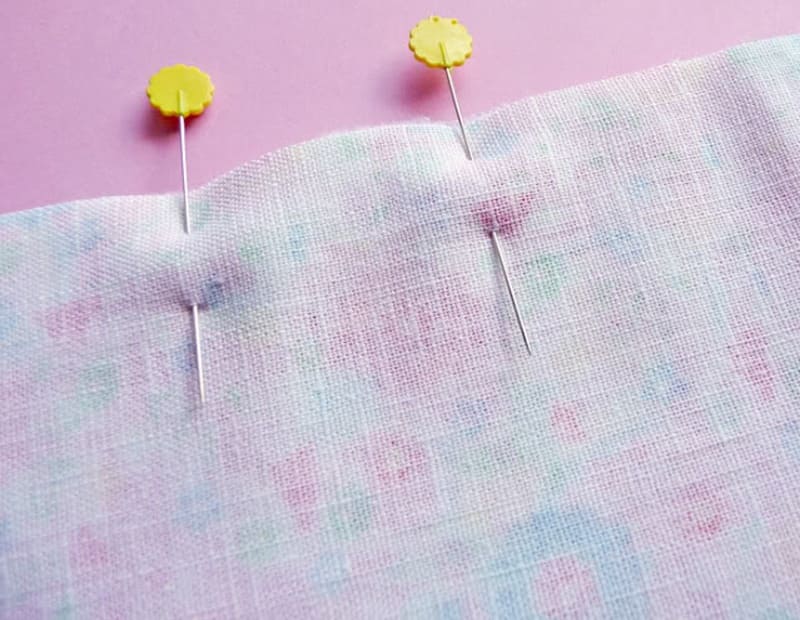
Step 1 - Pin main fabric and lining, right side together, along one short edge; sew.
Step 2 - Mark 3 1/4" from top on main fabric and lining; this is the flap portion

Step 3 - Add embellishments at this time if you like (lace, ribbons, patches, etc). Find center of main fabric; mark for cord placement. Place cord and baste to main fabric.

Step 4 - Now for the fun part. Tuck the bottom of the piece (where the main fabric and lining were sewn together in step 1) in between the main fabric and lining up to the 3 1/4" mark made for the flap. This step forms the pocket.

Step 5 - Pin all layers together. Sew along left side; top (back stitch over cord to double secure); and right side (LEAVE A GAP FOR TURNING). Do not sew the bottom.

Step 6 - Turn inside out; Press; Sew Gap closed with ladder stitch.

Step 7 - Sew on button. Press as needed. This is another point in the process to add embellishments if you like.

A NO ZIPPER pencil pouch in less than 10 steps. Change the pattern size to make cozies for your electronic devices (big and small), eye glass cases, make up bags, evening bags, casual bags, travel pouches, "envelope pouches", pencil cases, crochet hook cases, .... did I start you thinking?


0 comments:
Post a Comment