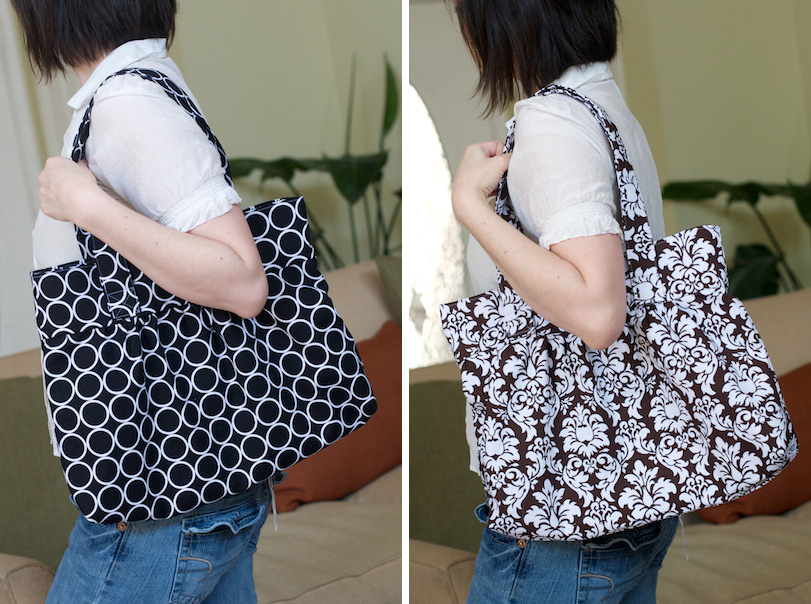
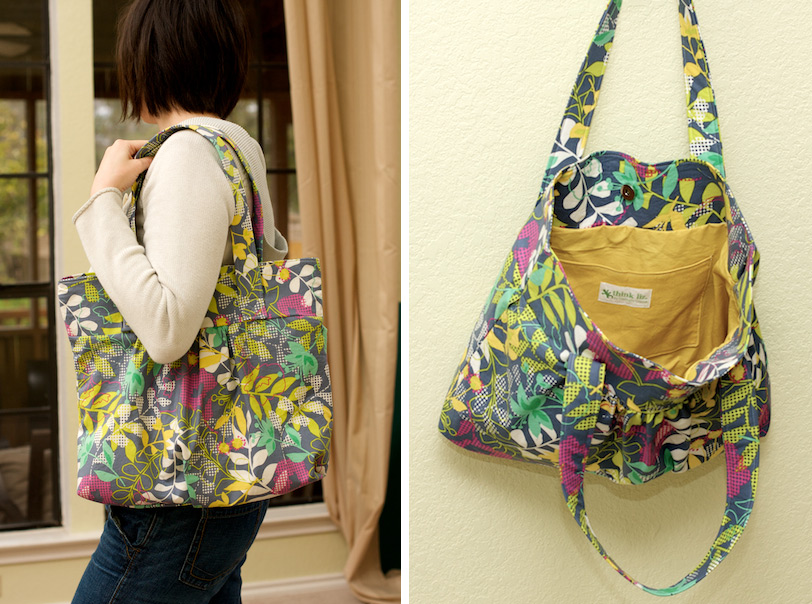
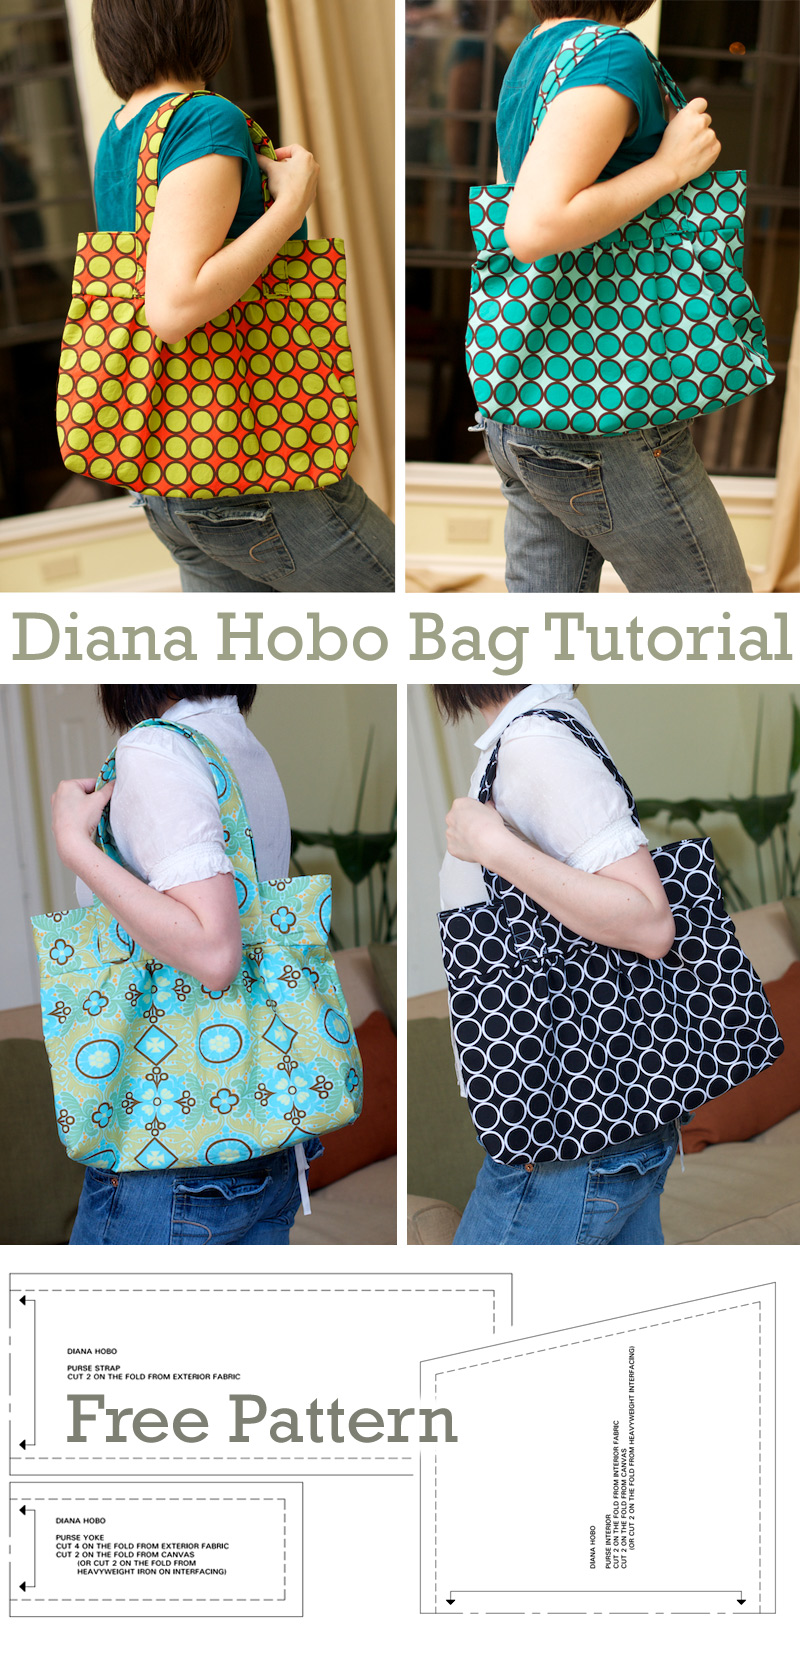
The Diana hobo purse pattern is free. The size and body of the purse are perfect, and it was easy to customize. And it only took 3 hours to make.
Download the Pattern on 11×17 Format
Download the Pattern on 8.5×11 Format
Materials Needed:
1.5 Yards Exterior Fabric - 44”/45” width
1 Yard Interior Fabric – 44/45” width
1.5 Yard Canvas - at least 24” width (or iron on heavy weight interfacing)
1 Magnetic Snap
***All seam allowances ½” unless otherwise noted.
1.5 Yards Exterior Fabric - 44”/45” width
1 Yard Interior Fabric – 44/45” width
1.5 Yard Canvas - at least 24” width (or iron on heavy weight interfacing)
1 Magnetic Snap
***All seam allowances ½” unless otherwise noted.
Preparation
Step 1: Cut out all pattern pieces.
Step 2: Cut out fabric pieces as noted on the pattern. If you would like to add a pocket, cut out two 8”x12” squares (or any other size desired) from interior fabric.
Make Lining
Step 3: Baste canvas pieces using a ¼” basting stitch to lining and yoke pieces (or iron on heavy weight iron on interfacing).
Step 4: Place pockets right sides together and sew seam around all sides, leaving a 3” opening at the middle of the top of the pocket. Turn right side out and press. Sew a ¼” seam across the top of the pocket, closing the opening, backstitching at each end.
Step 5: Center Pocket on lining and pin in place. Stitch a ¼” stitch around all edges but the top, backstitching at each end.
Step 6: With the right sides of the interior facing together, stitch around all edges but the top, backstitching at each end.
Step 7: Miter (also known as boxing the corners) and sew 1 ½” from the corner point, back stitching at each end. Make sure to make your miters even and perpendicular to the side and bottom seams. Line up the bottom and side seams at the corner and then hem the top edge.
Make Exterior
Step 8: With right sides of exterior facing together, stitch around all edges but the top, backstitching at each end.
Step 9: Miter and sew 1 ½” from the corner point, back stitching at each end (reference Step 7 for greater detail).
Step 10: Mark 4” in from each side. Create the gather – using a ¼” basting stitch, begin and end stitching at the 4” marks. Make sure to only sew through one layer of fabric. You don’t want to close the bag! Repeat on other side.
Make Yoke
Step 11: Center one half of the magnetic snap on the right side of each canvas lined yoke piece (canvas will be in back) and install per manufacturers instructions.
Step 12: Place the two canvas lined yokes right sides facing together and sew the short ends together, backstitching at each end. Press open seam allowances. Repeat for the remaining two unlined yoke pieces.
Make Handles
Step 13: Fold handle together, right sides together, lengthwise and iron a seam.
Stitch a sew up the long side and turn right side out. Tuck ends under ½” and pin.
Edge stitch around all sides of handle and secure openings on each end. Repeat on other handle.
Attach Yoke to Interior and Exterior
Step 14: Right sides together, slide the yoke pieces with the canvas and snaps over the interior lining so that it is even with the top of the bag. There will be nothing sitting out over the top of the bag. Stitch around the opening of the bag, backstitching at each end, securing the yoke to the interior.
Step 15: This is similar to step 14, but you’re going to use the thread the you basted in step 10 to gather the material so that the bottom of the yoke is even with the exterior of the bag. Just gently pull one thread on each side to create the gather. Pin in place when you’re happy with your results and stitch around the opening of the bag, backstitching at each end.
Attach Handle to Yoke
Step 16: Mark 3-4” in from each side of the exterior yoke. Place handles on the
inside of these marks and pin. Sew a 1” square and ‘X’, backstitching at each end,
to secure the handles onto the bag. Repeat for both sides of the bag.
Attach Interior and Exterior
Step 17: Place exterior (with handles pinned out of the way), right side facing out, inside interior, wrong side facing out and match up the top of the yoke pieces (right sides should be facing together). Stitch around the opening leaving a 4” opening on the middle of one of the yoke pieces. Backstitch at each end. Turn right side out through the opening you left. Edge stitch ¼” all the way around the top, closing the opening you turned the bag through.
Admire and enjoy your newly finished bag!


I just made one! woot woot! My first ever bag/purse. I also wanted to print it at home and since I don’t think I had enough fabric for the large one I just made a smaller one. In Print Preview you can reduce the size of what you want to print or you should see something that says “shrink to fit” and that’s what I did. I ended up with a small bag which is good for my first try. I got lost on the instructions though, I am used to a lot of pics. I didn’t know what basting is so I pleated by hand and it’s not perfect. Also, I didn’t quite understand some of the steps so when I was done my 4inch opening was on the front where now I realize it should have been inside. But overall this was super fun and easy!
ReplyDelete